A failed terrain print at 11 pm is one of the more demoralising experiences in the hobby. You set a four-hour castle section going, came back to find a peeled corner and a spaghetti pile, and now you are deciding whether to restart or go to bed. The causes of terrain adhesion failure are well understood and almost all of them are preventable. Most of them trace back to one thing: Z offset.
What follows covers the plate choice, the glue situation, and the first-layer settings that keep textured terrain prints stuck from the start. Get these right once and the problem goes away.
Why textured terrain is harder than a simple shape
A ruined castle wall has a small contact footprint, a tall mass above it, and a first layer that is not a smooth rectangle. The small footprint means the bed adhesion force is distributed over less area than a box or a benchy. The tall mass above the footprint adds leverage: any force that tilts the piece during printing acts through a longer moment arm than a flat piece would have.
The textured first layer compounds this. A cobbled base or a stone-floor tile has surface geometry that creates air gaps between the print and the bed during the first few layers. Those gaps weaken the initial adhesion before the brim has bonded fully.
The result is that textured terrain pieces fail at the first layer in a way that a rectangular box printed at the same height and mass would not. The solutions address all three of these factors: contact area (brim), layer bond (Z offset and first-layer flow), and plate grip (plate choice and glue).
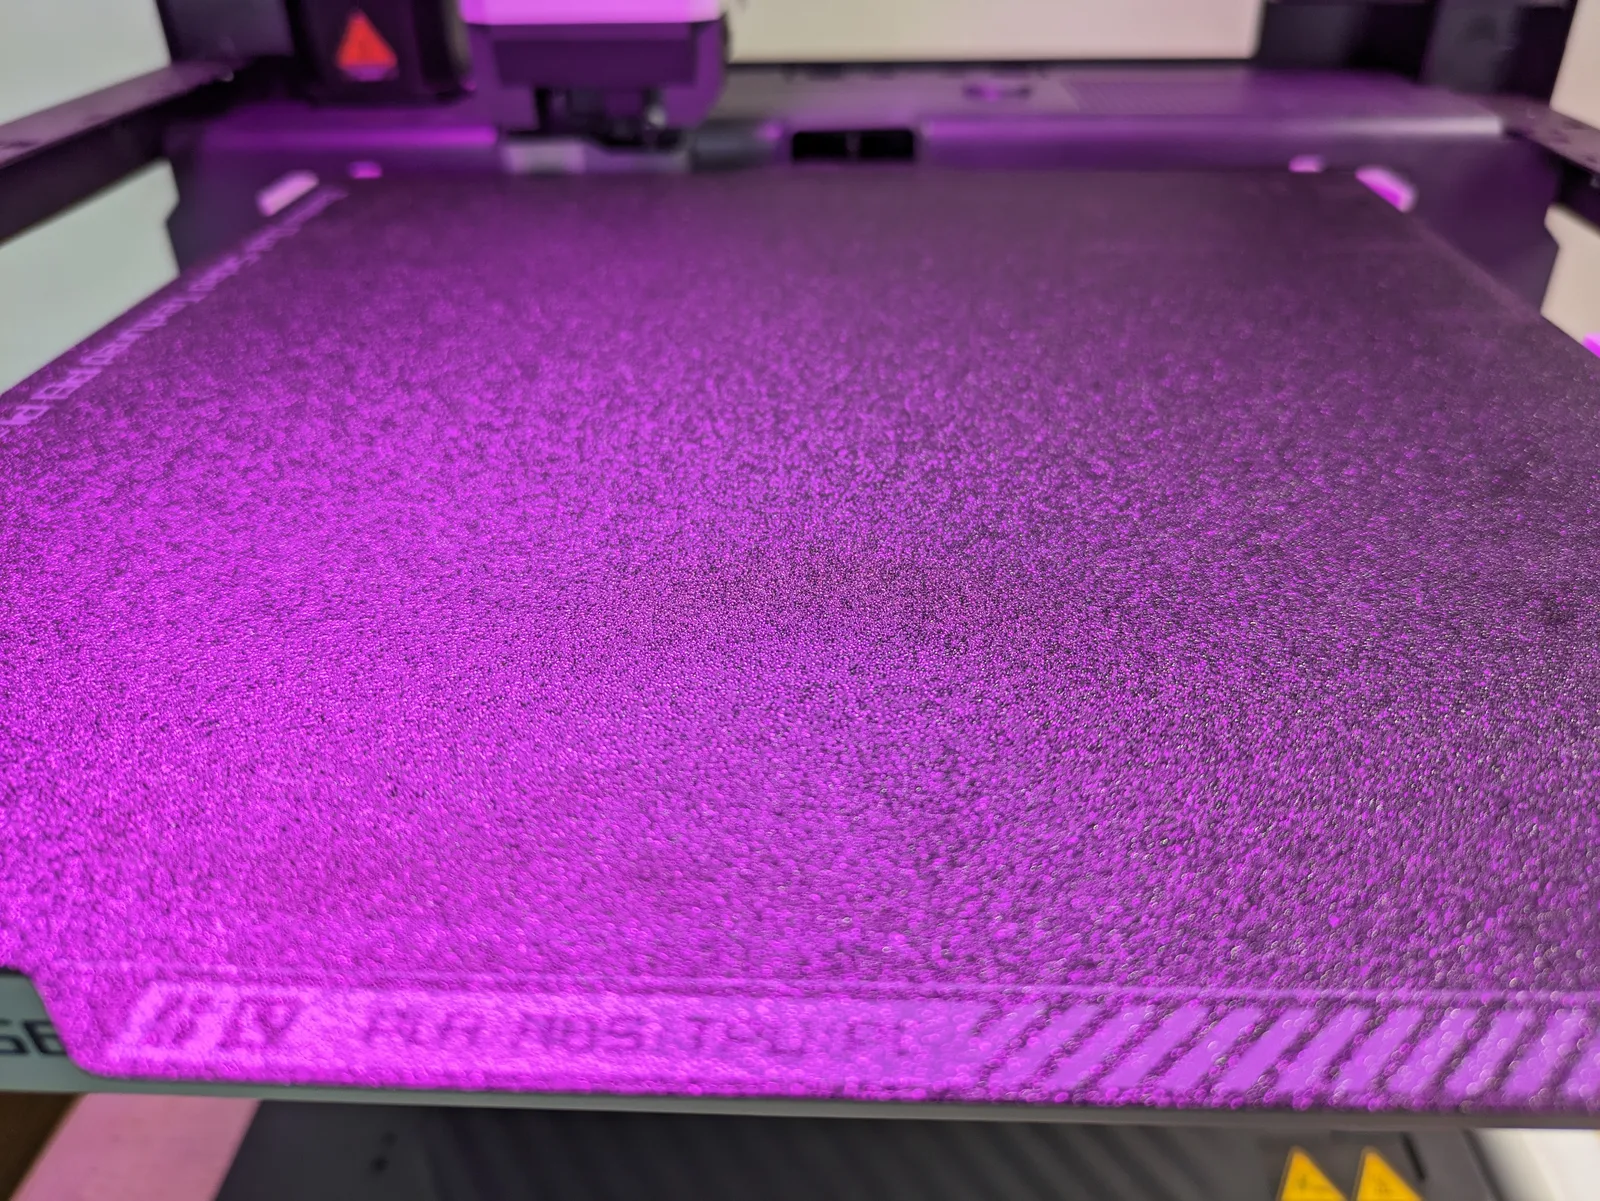
The build plates worth using
Two plates are worth thinking about for terrain on a Bambu printer. Other plate types cover specific edge cases, but the decision for terrain is between these two.
Smooth PEI plate. The default plate that ships with most Bambu printers. Clean prints on the bottom surface, adequate adhesion on PLA without any glue. On PETG, smooth PEI is a problem: PETG sticks too aggressively and risks pulling the coating off the plate during removal. For standard PLA terrain, the smooth plate works reliably with a clean surface.
Textured PEI plate. The one most terrain printers end up using. It offers better grip across more filament types, including PLA, PETG, and PLA-CF. The textured surface gives the bottom of the print a slight texture, which disappears entirely under primer and is not visible in a painted piece.
The Bambu Cool Plate and engineering plates are not better choices for terrain. They are designed for specific materials (high-flow or engineering filaments) and their adhesion characteristics are less suited to the varied geometry of terrain first layers.
Glue or no glue
The glue decision is filament-specific, not a general rule.
PLA on textured PEI: no glue needed. The textured surface provides enough grip for PLA without any additional adhesive. If you are having PLA adhesion failures on a clean textured plate, the cause is Z offset or plate contamination, not missing glue.
PLA on smooth PEI: a thin glue-stick layer on a cold plate adds grip and makes removal easier. Apply a thin, even coat across the print area. Let it dry before heating the plate. The glue also acts as a release layer on some PLA formulations that bond too aggressively to smooth PEI.
PETG on any PEI plate: no glue. PETG sticks aggressively enough without it. Adding glue with PETG on smooth PEI is a plate-damaging combination; the PETG pulls up the PEI coating along with the print. Apply a thin barrier of glue stick only if you have tested that your specific PETG does not bond aggressively to your specific plate.
PLA-CF on smooth PEI: glue stick or hairspray, applied weekly or as adhesion degrades. PLA-CF has slightly worse natural adhesion than plain PLA on smooth surfaces. Rotate the adhesive application zone to avoid buildup in one area.
Z offset: the dominant cause of failure
If one setting causes more terrain adhesion failures than any other, it is Z offset. A Z offset that is one or two notches too high leaves a gap between the nozzle and the bed at the first layer. The filament lands on the bed rather than being pressed into it. The bead does not flatten and bond correctly. The first layer sits on top of the plate rather than being embedded into it.
The visual test is the brim. Print a test piece with a brim and look at the brim under good light after the first layer completes. A correctly set Z offset produces a brim where the individual lines are slightly squished into the plate surface, slightly wider than the nozzle diameter, and showing no gaps between adjacent lines. A Z offset that is too high produces a brim where the lines are round in cross-section, clearly separated from each other, and sitting above the plate rather than pressing into it.
Run the auto bed-level routine before the first print of a new filament spool or after the printer has been moved. Dial Z manually if the auto calibration produces a brim that fails the visual test.
The auto bed-level routine on a Bambu printer handles most situations correctly. Manual Z adjustment from the machine screen or Bambu Studio corrects the cases where auto calibration leaves the offset slightly too high. The adjustment is small: a quarter turn on a manual printer, or a 0.05 mm tweak in the software, is often all that is needed.
First-layer settings that matter
The following settings directly affect whether the first layer bonds. Each of them is adjustable in Bambu Studio or OrcaSlicer.
First-layer speed. 30 mm/s is the correct speed for terrain. Faster first layers give the filament less time to settle and bond to the plate. The 5 to 10 minutes added by a slow first layer on a piece that takes 4 hours to print is a worthwhile trade.
First-layer flow. 105% to 110% flow rate increases the material output for the first layer, producing a slightly over-extruded first pass that presses into the plate more firmly. This is not compensation for a wrong Z offset; it is an additional bonding aid. If you are using 100% flow for the first layer, try 107% and run the brim test again.
First-layer height. 0.20 mm to 0.24 mm. A first layer height of 0.16 mm on terrain is counterproductive. The lower height reduces the volume of filament pressed into the plate per unit of surface area. Terrain bases want grip, not surface quality on the first layer, because the bottom of the piece is on the table where no one sees it.
First-layer fan. Off. Running the fan on the first layer cools the filament before it has bonded to the plate. Turn the fan off for layer 1 in the profile and bring it to full speed from layer 2. The default Bambu PLA profiles already do this correctly; confirm it is off if you are using a custom profile.
Brim: the workhorse
A brim extends the contact footprint of the piece without adding mass or print time beyond the first layer. For terrain, it is the single most effective adhesion tool available.
5 mm brim is enough for most terrain pieces. Floor tiles, wall sections, scatter terrain, and dungeon tile sets all print reliably on a correctly set-up plate with a 5 mm brim.
8 mm to 10 mm brim is worth adding for tall thin pieces: columns, pillars, arch keystones, and any piece with a contact footprint under roughly 8 cm squared and height over 10 cm. The extra brim width adds contact area at exactly the point where lever forces from the tall piece would otherwise cause peeling.
Brim removal on primed terrain is quick. A hobby knife along the bottom edge and the brim comes away in one piece without leaving a visible mark. On an unprimed piece the removal mark is visible but disappears under primer. Do not skip the brim to avoid removal time; the 20 seconds of removal is significantly cheaper than a failed print.
Raft: the last resort
A raft is a full-coverage base layer that the print sits on top of rather than bonding to the plate directly. It is more reliable than a brim in specific edge cases but adds meaningful cost: roughly 30 minutes of additional print time per piece, more filament, and harder bottom-surface cleanup where the raft meets the print.
Use a raft in two situations:
Warp-prone filaments on a challenging surface. PETG on a textured PEI plate produces enough initial adhesion that the piece starts correctly, then pulls as the material cools at layer 50 or 100. A raft distributes the cooling stress across a larger base and prevents the warp from transferring to the piece.
Very small footprints. A piece with a contact area under roughly 4 cm squared cannot support a brim wide enough to counteract the height-to-footprint ratio. A raft provides a larger and more adhesion-stable base for those pieces.
For standard terrain on a well-prepared plate, a brim is sufficient. Reach for a raft only after confirming that the plate is clean, the Z offset is correct, and the brim is set to at least 8 mm.
Plate cleaning routine
A plate that looks fine but produces sudden adhesion failures is almost always contaminated with finger oil. PEI plates pick up skin oils from handling, and those oils create adhesion-resistant patches that cause failures in a specific area of the build surface without any obvious visible reason.
Weekly: wipe both sides of the plate with isopropyl alcohol on a paper towel. Use at least 90% isopropyl concentration. Let the plate dry fully before printing. This removes the oil layer and restores grip.
Monthly: wash the plate with dish soap and warm water. The dish soap removes any residue that isopropyl alone does not shift. Dry completely and let the plate cool to room temperature before placing it back on the printer.
Never touch the build surface with bare hands after cleaning. Pick up the plate by the edges. The adhesion on a freshly cleaned plate is noticeably better than a plate that has been handled without cleaning for two weeks.
When to replace the plate
Bambu PEI plates are consumables. They do not last indefinitely. The visual signs that a plate needs replacing: visible coating loss at the corners and edges, gouges or pits from past adhesion failures where a piece pulled the coating up, and persistent adhesion failure after thorough cleaning that suggests the coating is worn through.
A plate that still has intact coating but is producing adhesion failures is almost always a cleaning or Z-offset problem, not a wear problem. Confirm the cleaning and calibration steps before concluding the plate is worn out.
Budget roughly one replacement plate per year of regular printing. The cost is low enough that holding onto a worn plate past its useful life is not worth the failed prints.
Closing thoughts
The vast majority of terrain adhesion failures come from three causes: Z offset too high, a dirty plate, or a brim that is not wide enough for the piece geometry. Almost none of them are filament defects, plate incompatibility, or obscure settings issues.
The protocol that prevents failures is straightforward: clean the plate weekly, run auto bed-level at the start of each new spool, dial Z manually if the brim test fails, and set a brim of at least 5 mm on every terrain piece. The first print of a new session that follows that protocol reliably sticks.
For the filament combinations that work best with each plate type, see best filament for 3D printed terrain. For the full slicer profile that pairs with these adhesion settings, see the FDM slicer settings for tabletop terrain guide. And for a look at the printer this workflow was developed on, see the Bambu P1P review for terrain. If you are still deciding which FDM printer to buy, the best 3D printer for terrain guide covers the current options.

