Some links on this page are affiliate links — marked with aff — and if you buy through them I may earn a small commission at no extra cost to you. Read the full disclosure.
Your new printer has arrived. Before you pour a single drop of resin, there are a few things to check, and one thing to do that will determine whether your first print succeeds or not. The checks catch quality control issues while the return window is still open. The levelling procedure sets up the printer correctly for everything that follows.
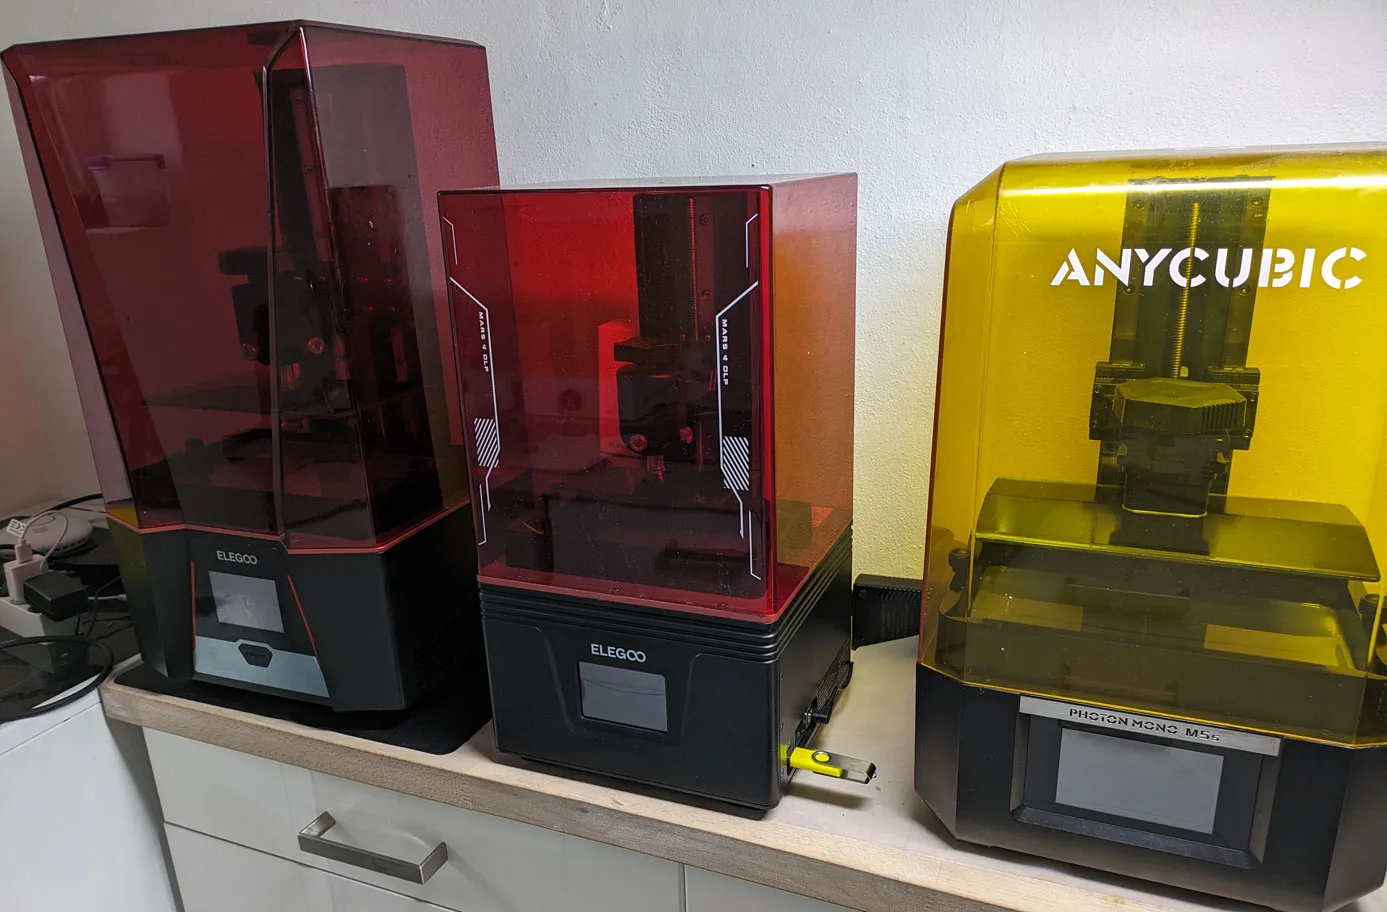
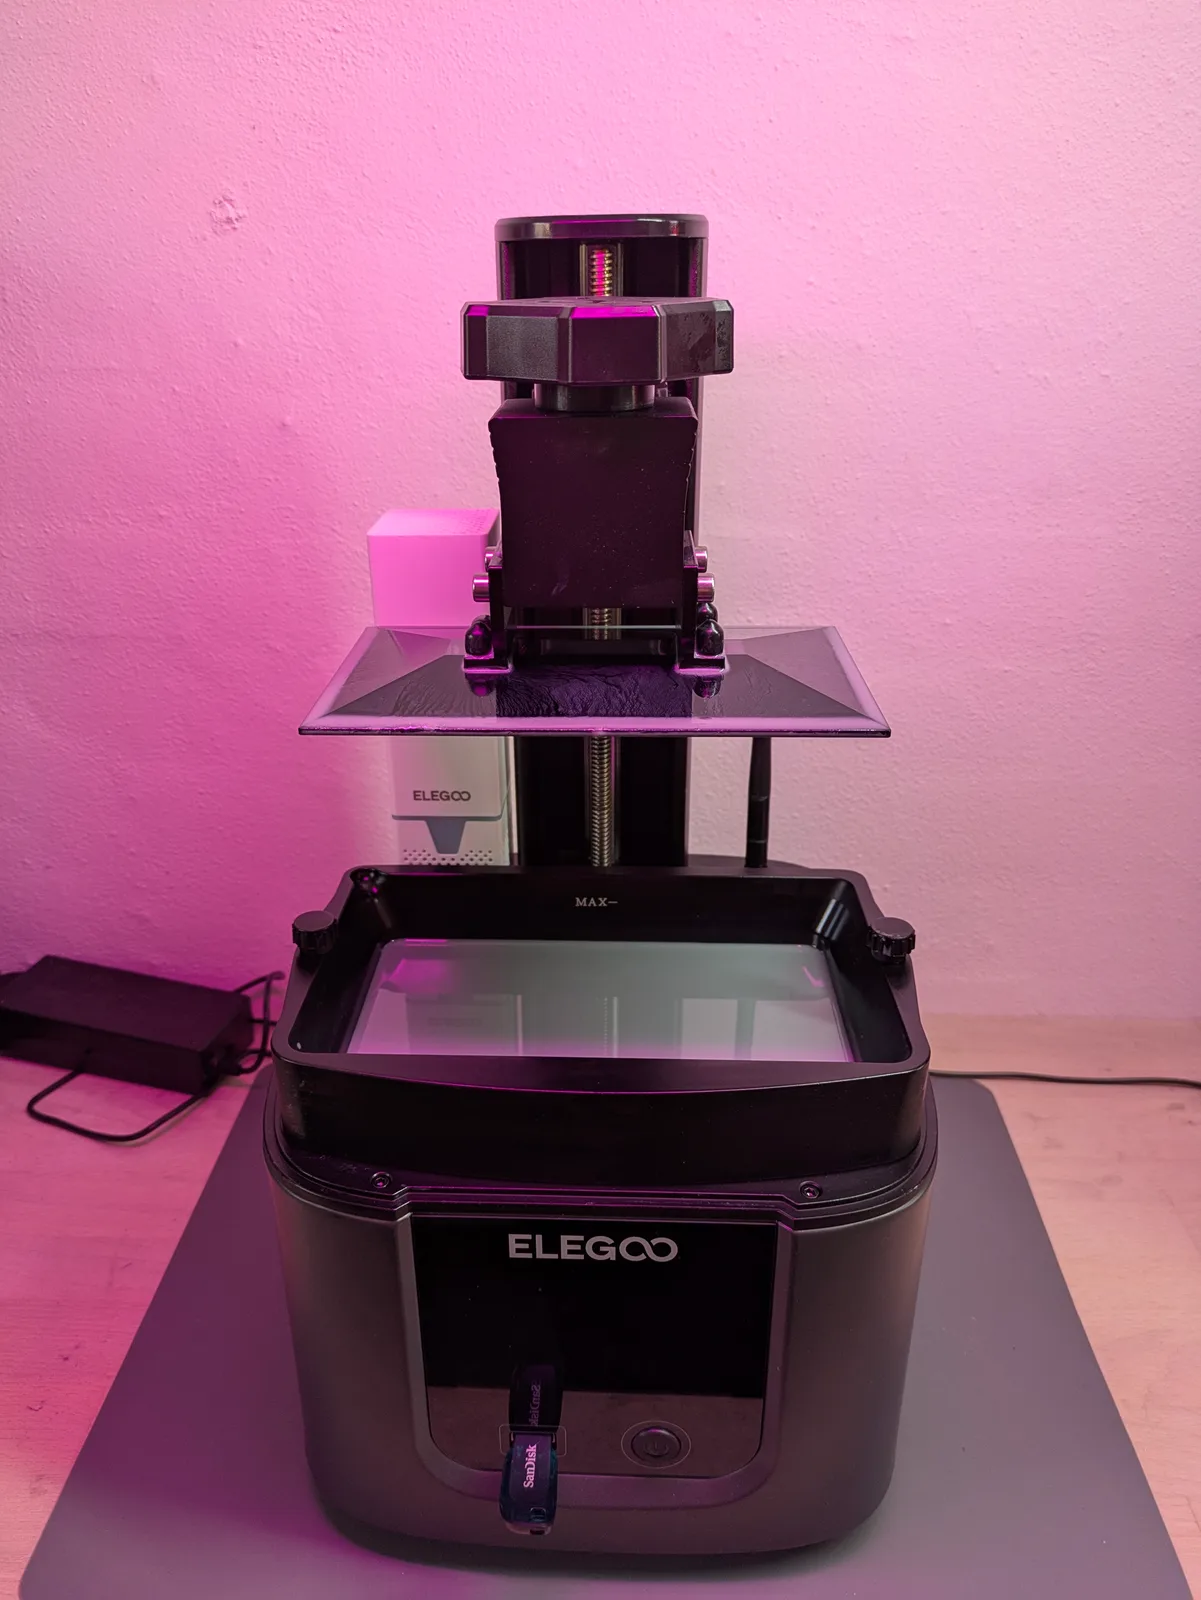
The Elegoo Mars 4 Ultraaff is the reference printer throughout. The specifics vary by model, but the inspection logic and the levelling method apply to every consumer MSLA resin printer. Whether your printer is a compact Mars-class machine or a mid-format Saturn, the procedure is the same; only the touchscreen menu names and physical dimensions change.
Unbox it and inspect it immediately
Do not put the box in the garage and come back to it later. Open it now, while the return window is active, and check everything. Resin printer quality control is not always consistent, and catching a problem on day one is much easier than discovering it after the return window has closed.
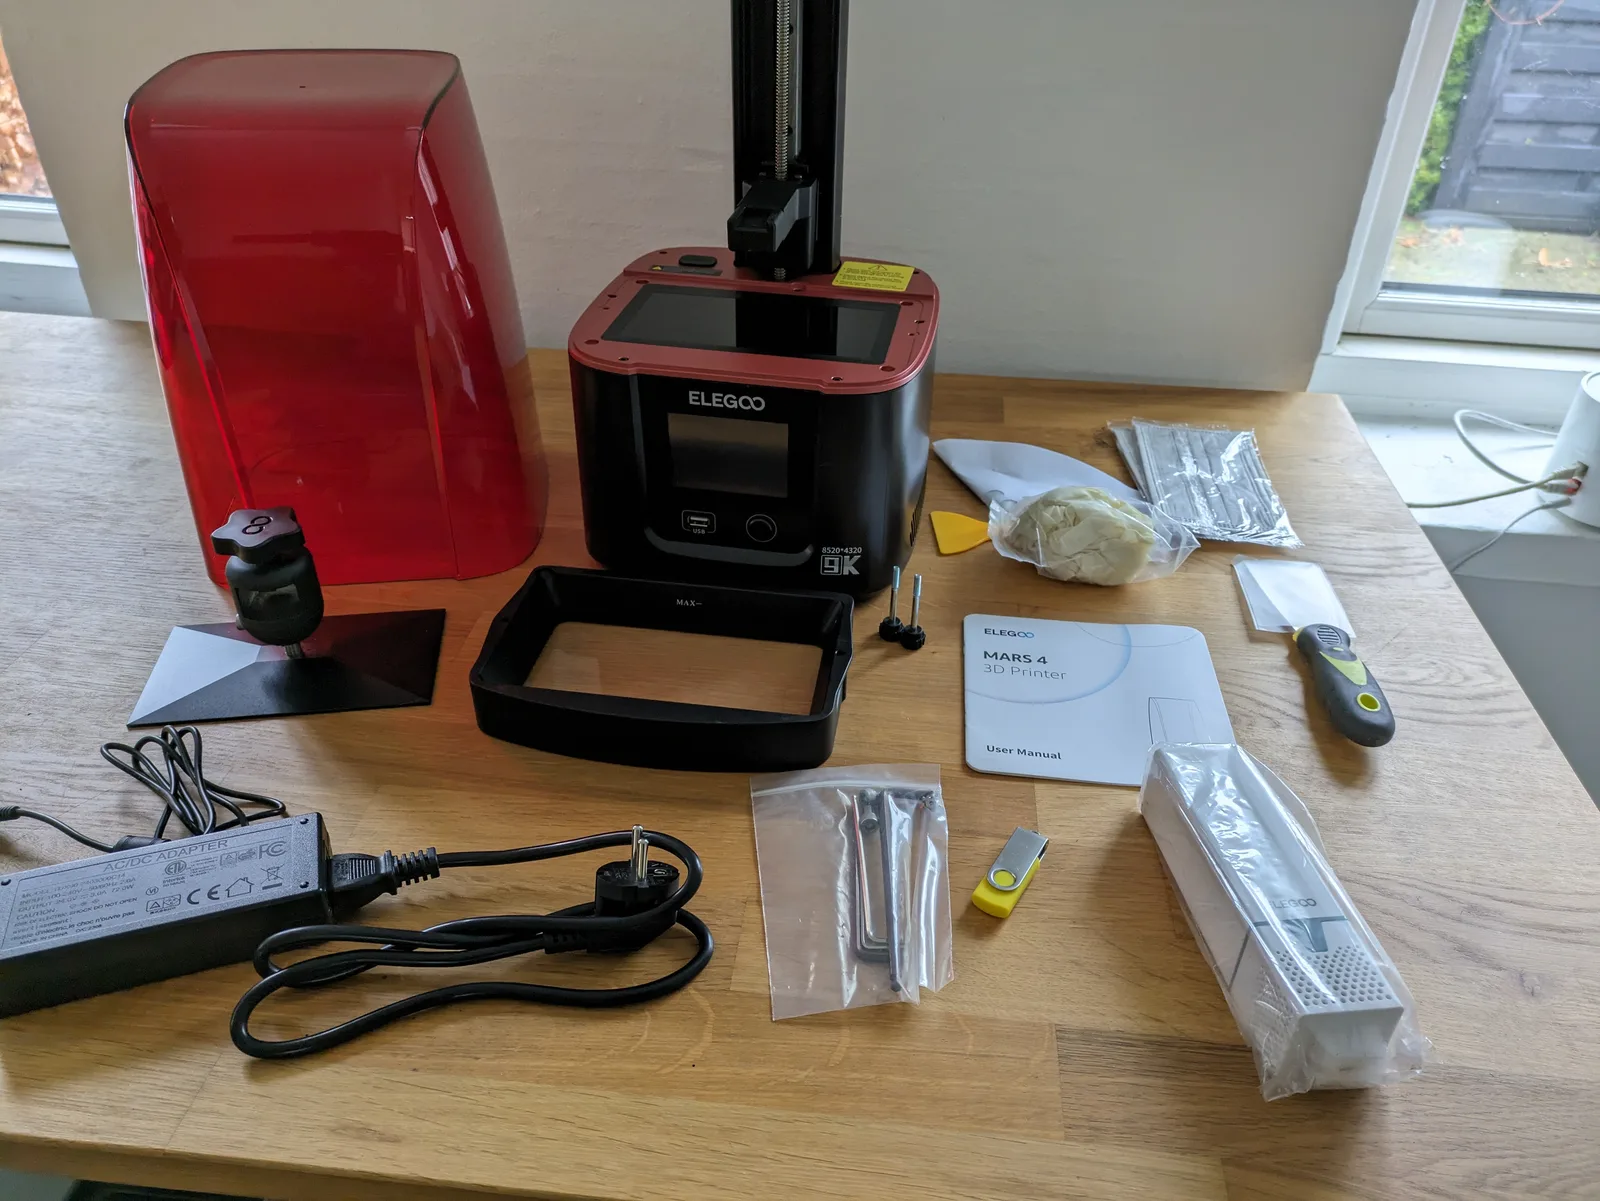
Work through each component as you remove it from the box.
Power cord. Check it is correct for your region. Most printers ship from China and include a US or EU cord; UK buyers may need an adaptor.
USB stick. The USB stick that comes with most printers is a low-quality drive included to keep costs down. It is fine to run the initial test prints from it, but replace it before serious use. Corrupt files from cheap USB drives cause print failures that look like calibration problems. A decent name-brand USB stick is one of the cheapest reliability upgrades you can make.
Scrapers. Most printers include a plastic scraper and a metal scraper. The plastic scraper is not useful for removing prints. The metal one is serviceable but not the best tool available. Keep both for now, and consider a dedicated build plate removal tool once you have a sense of what you prefer.
Levelling card. This is a card included for the levelling procedure. It works, but any reasonably stiff piece of paper will do the same job. Keep it as a spare.
Gloves. The included gloves are usually adequate for initial setup. Buy a proper box of nitrile gloves before you start printing regularly.
Funnels and filters. These are useful and worth keeping. You will need them when decanting resin back into the bottle.
Mask. The included mask is not rated for resin VOCs. It may filter dust but it does not filter organic compounds. You need a respirator with an organic compound filter cartridge for any session where resin is exposed to air. The included mask is better than nothing but should not be your regular protection.
Allen keys. Keep these. You will need them for levelling and potentially for FEP replacement.
Air purifier. Some printers include a small air purifier that sits inside or beside the printer. If yours has one, check whether it has a protective plastic layer over the filter and remove it before use. A purifier with a sealed filter does nothing.
Check the screen
Before you do anything else with the printer, check the screen. A defective screen is the most expensive component to replace, and catching it early is important.
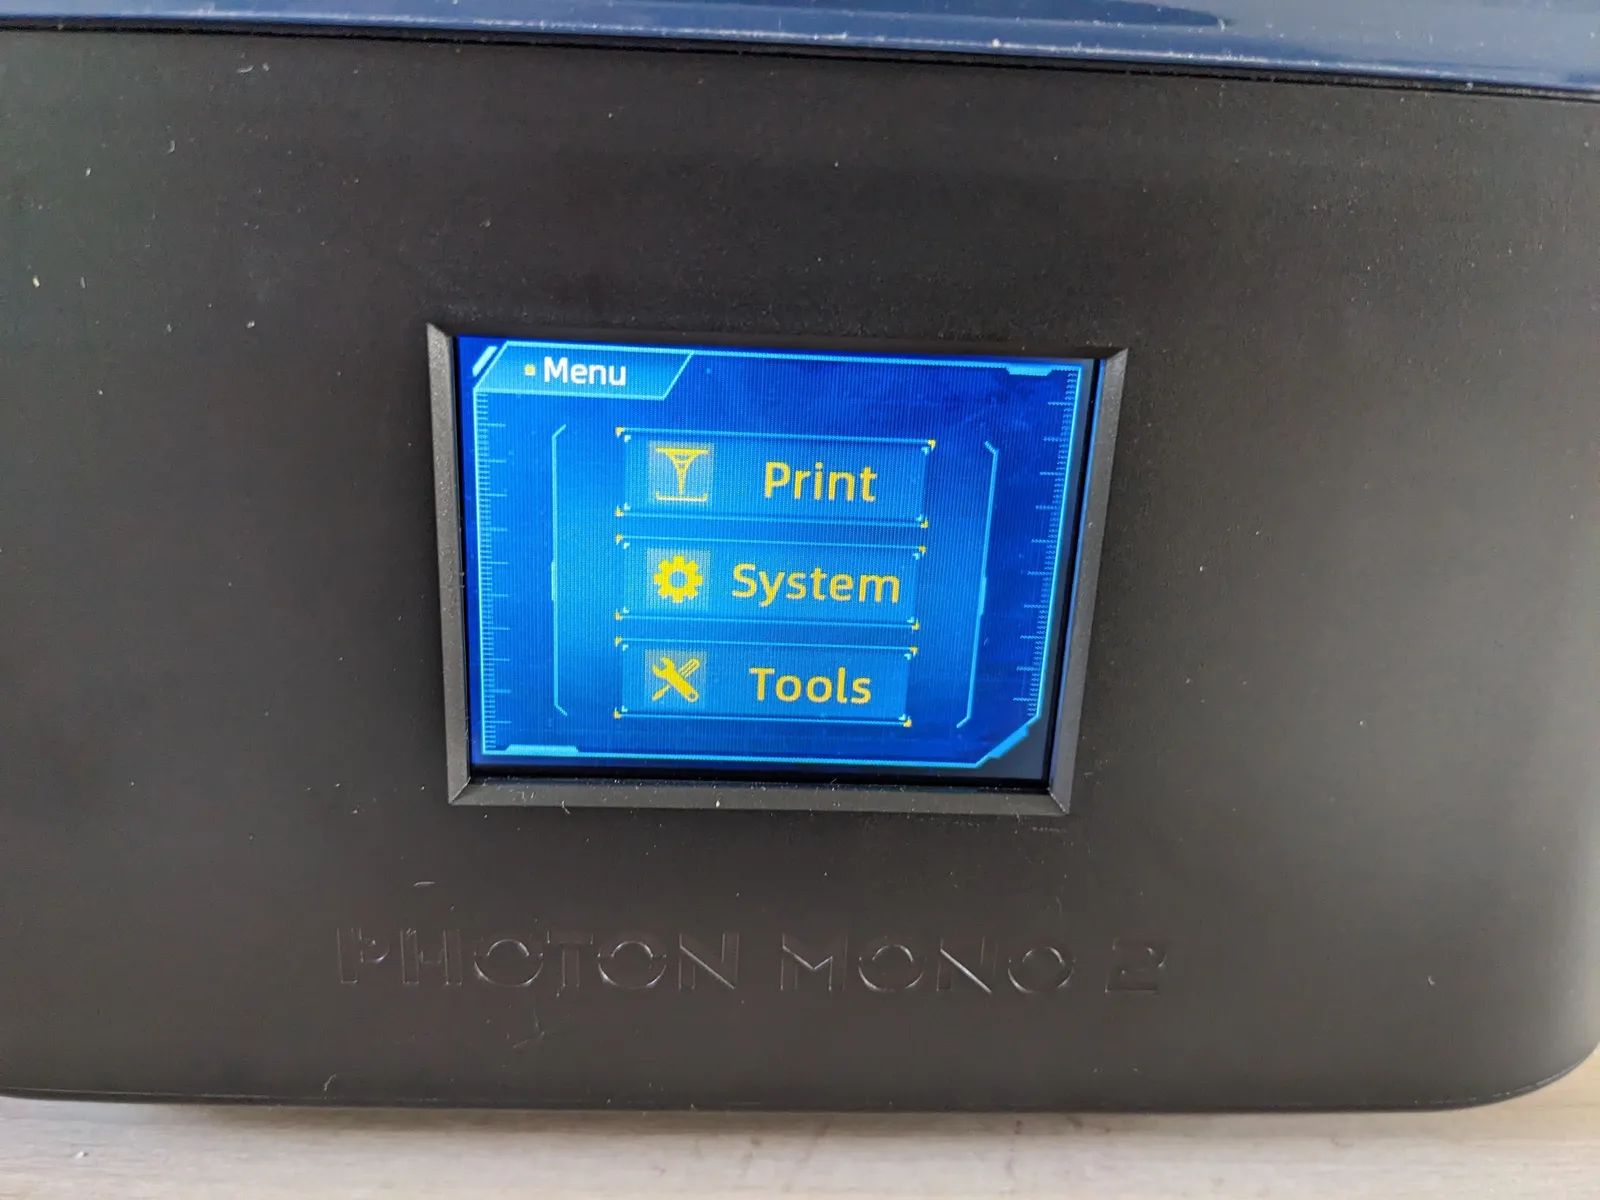
Most resin printers have an exposure test function accessible from the settings menu. This illuminates the full screen at maximum exposure. Use it to inspect for dead pixels or sections of the screen that are not lighting up.
Looking directly at a UV screen without protection is not safe. The procedure is: start the exposure test, glance briefly at the screen without UV safety glasses to check that it is illuminating, then put on UV safety glasses and inspect carefully. You are looking for dark patches, lines, or sections that are noticeably dimmer than the rest of the screen.
A small number of dead pixels that are clustered away from the centre of the screen will not affect printing meaningfully. A large dark patch or a dead section of the screen is a warranty or return issue.
Check the FEP
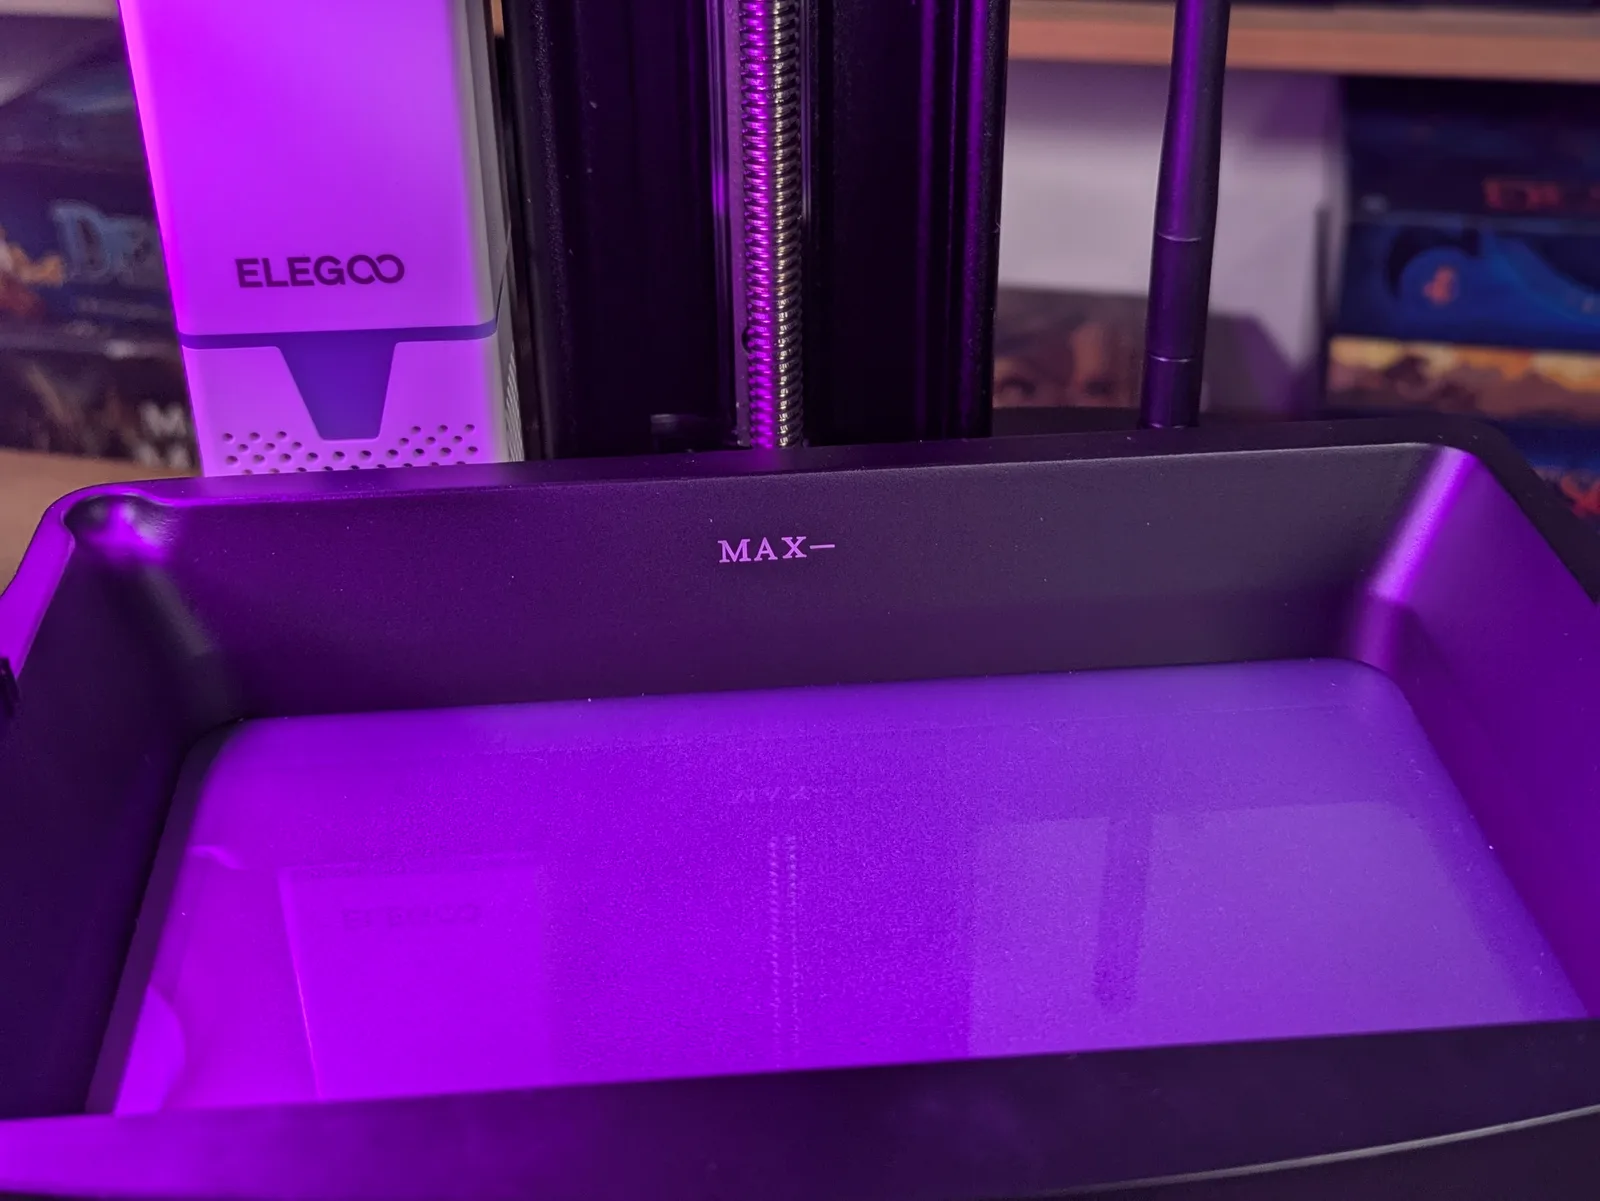
The FEP is the transparent film at the bottom of the resin vat. It is a wear item that you will replace periodically, but a new printer should have a FEP that is scratch-free, flat, and without peeling at the edges.
Run a metal spatula or scraper gently across the inside surface of the FEP. It should feel smooth and uniform. Any hard spots, bumps, or areas that feel different from the rest indicate debris or damage. Look at the FEP from above in good light and check for scratches, milky patches, or areas where the film is starting to separate from the frame.
A scratched or damaged FEP on a new printer is worth raising with the retailer before you start printing. It will not necessarily prevent your first prints from succeeding, but it will affect print quality and its lifespan will be shorter than expected.
Check the rail and build plate movement
With the resin vat removed, move the build plate up and down through its full range of travel. The movement should be smooth and the build plate should not wobble significantly at the top of the rail.
Some wobble at the top of the travel is normal on most printers. Excessive wobble, grinding, or sticking at any point in the travel indicates a rail or motor issue. Run the build plate up and down a few times and listen for any unusual sounds.
A note on firmware
Some smarter resin printers benefit from a firmware update before use, and the manufacturer’s app or the printer’s settings menu will usually indicate whether an update is available. On more basic non-networked printers, firmware updates sometimes cause more problems than they solve. Check the Micron Monster community or forums specific to your printer model before updating, and only do so if there is a known reason the current version has a problem.
Levelling the build plate
Levelling is the most important setup step before a first print. A build plate that is not level will produce inconsistent adhesion across the plate surface, which means prints on one side will fail while prints on the other side succeed, and the prints that do succeed will have distorted base layers from the compression being uneven.
The levelling method covered here is the paper method. It is reliable, does not require any special tools, and works on every printer.
Step one. Remove the resin vat and put it aside. Make sure nothing is inside the printer.
Step two. Place a piece of stiff paper or the levelling card flat on top of the FEP screen. This is the surface the build plate will be pressed against.
Step three. Use the printer menu to move the build plate down to the home position. This is the position the printer defines as zero, at the level of the FEP. The build plate should descend and stop when it makes contact with the paper.
Step four. With the build plate resting on the paper, loosen the locking knob or screws that hold the build plate angle in place. Most printers have a single large knob at the back of the build plate arm. Loosening this allows the build plate to settle flat against the screen surface under its own weight.
Step five. With the build plate settled, tighten the locking knob. Do not overtighten. Firm is enough.
Step six. Confirm the height in the printer’s menu, then raise the build plate and remove the paper.
Step seven. Reinstall the resin vat.
After levelling, you will need to re-level any time you change the FEP film. The levelling is set relative to the FEP surface, so replacing the FEP changes the reference point. Re-levelling after a FEP change is a short process once you have done it a few times.
Build plate flatness is occasionally raised as an issue, particularly on larger format printers with a 10-inch or larger screen. On smaller printers in the Mars class, flatness is rarely a problem. If you are using a Saturn-class or larger printer and experiencing persistent adhesion issues despite correct levelling, build plate flatness is worth investigating. It is an advanced topic beyond the scope of this introduction.
Run the test print
Once the printer is inspected and levelled, the test print on the included USB stick is worth running. It will not tell you much about calibration, but it will confirm that the build plate is adhering to the resin, that the printer is mechanical working, and that nothing major was missed during the inspection.
The detailed calibration work is covered in Resin Printer Calibration Tools, Starting with the Cones of Calibration. Levelling is the prerequisite. Get it right once and the calibration process that follows has a solid foundation to build on.