What does success look like with a resin printer? Not a perfect miniature on the first try. Not zero failures ever. Success looks like a workflow that produces good results consistently, that you understand well enough to fix when something goes wrong, and that does not turn every printing session into a stressful hour of problem-solving.
That is what the CRISP method is about. CRISP stands for Consistent, Razor sharp, Improving, Safe, Painless. Each letter describes a quality of a good printing workflow, and the order they appear in is deliberate.
Consistent
Consistency is the foundation. Before worrying about detail, speed, or exotic materials, a resin print needs to succeed reliably. A workflow that produces a great miniature one time in three is not a workflow. It is luck.
Consistency comes from calibrated settings. Every printer and resin combination behaves differently, which means borrowed settings from a forum or a Facebook group are a starting point at best. They may work, but you will not know why, and when they stop working you will have no idea where to start looking.
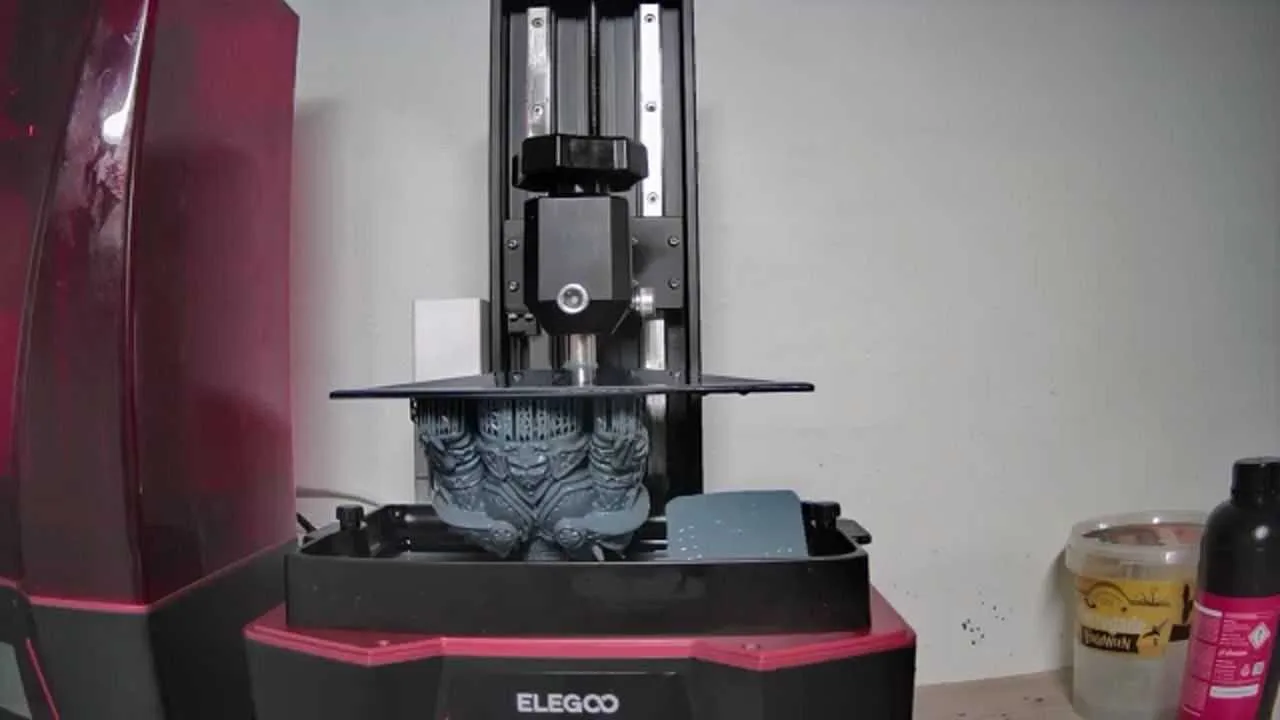
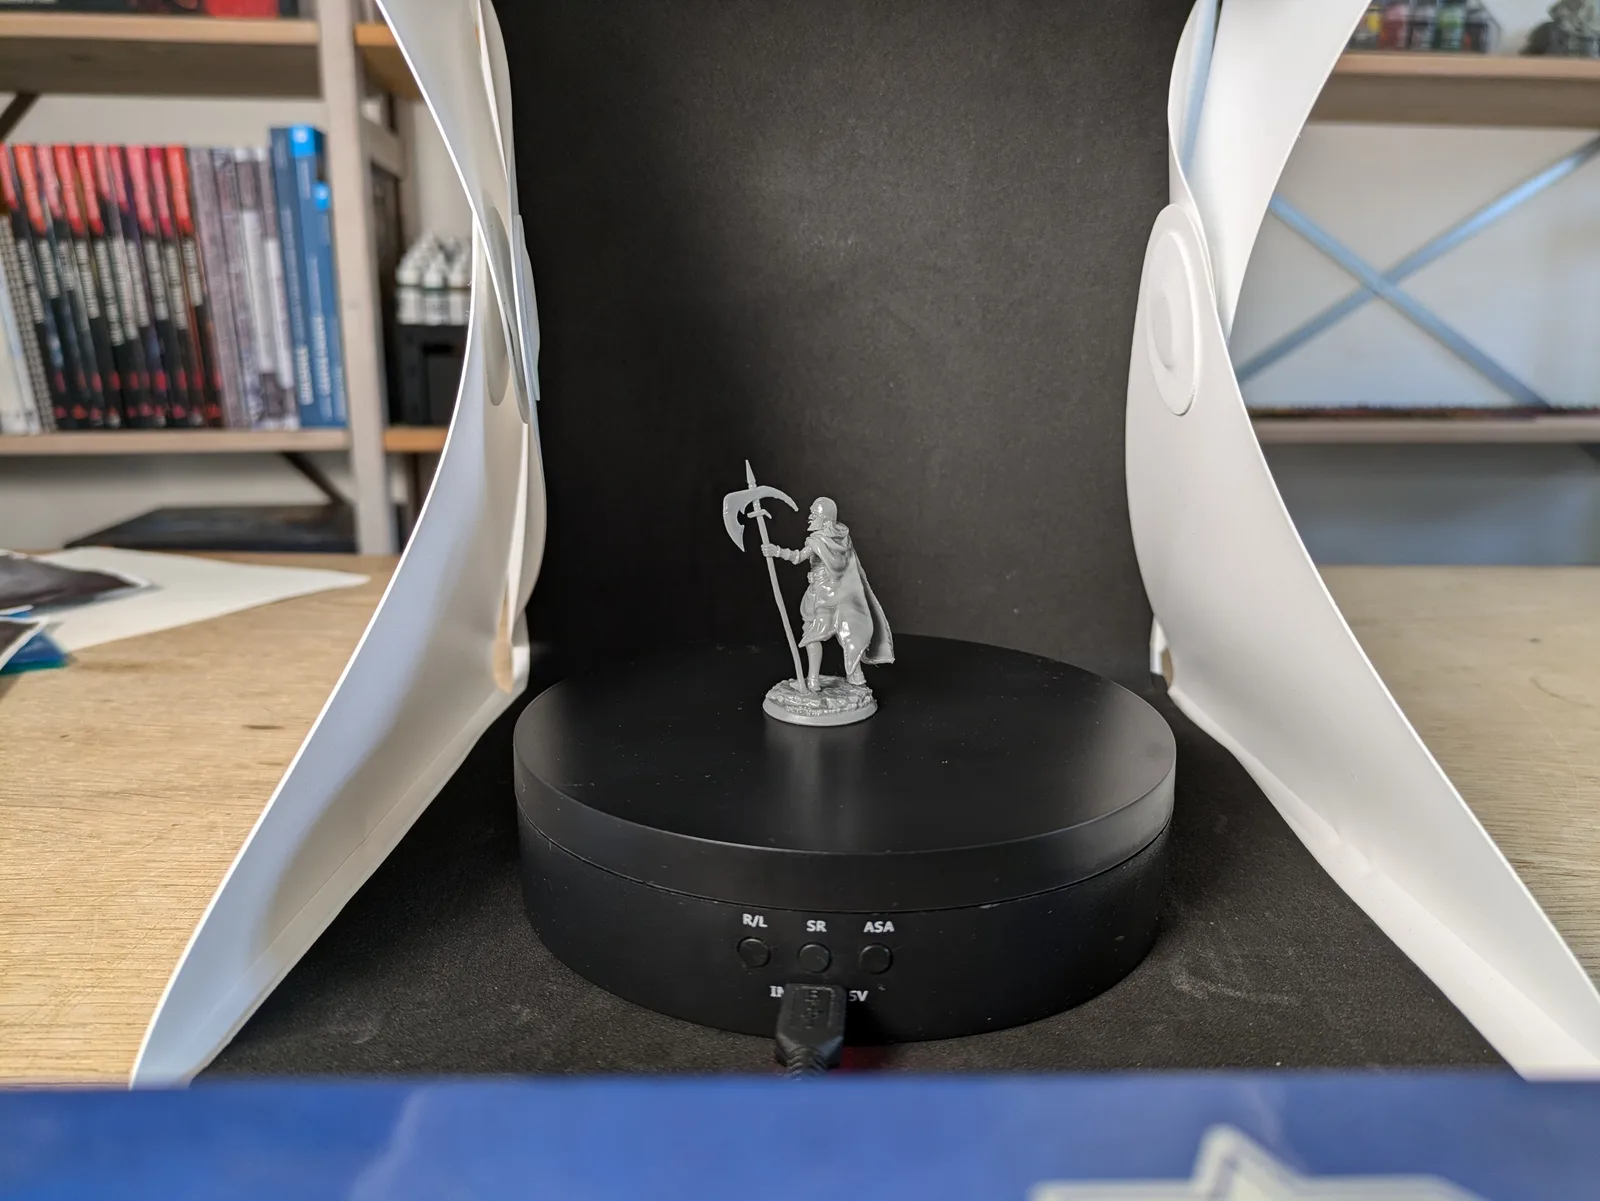
The ideal workflow is: load your file, slice it with your calibrated settings, start the print, post-process the result, remove the models from the build plate, break off the supports, wash them, dry them, cure them. That sequence, repeated without surprises, is what consistent looks like.
Failing to achieve that is expensive in ways people underestimate. A failed print wastes resin. It wastes the time to clean up the vat. If cured resin lands on the FEP, it can damage the film. A damaged FEP can tear and spill resin onto the screen. A screen covered in resin may not survive the cleaning process. A dead screen ends the session and costs real money to replace.
One failed print rarely causes all of that. But the cascade is real, and it starts with cured debris on the FEP. Consistency is worth prioritising for practical reasons, not just aesthetic ones.
Razor sharp
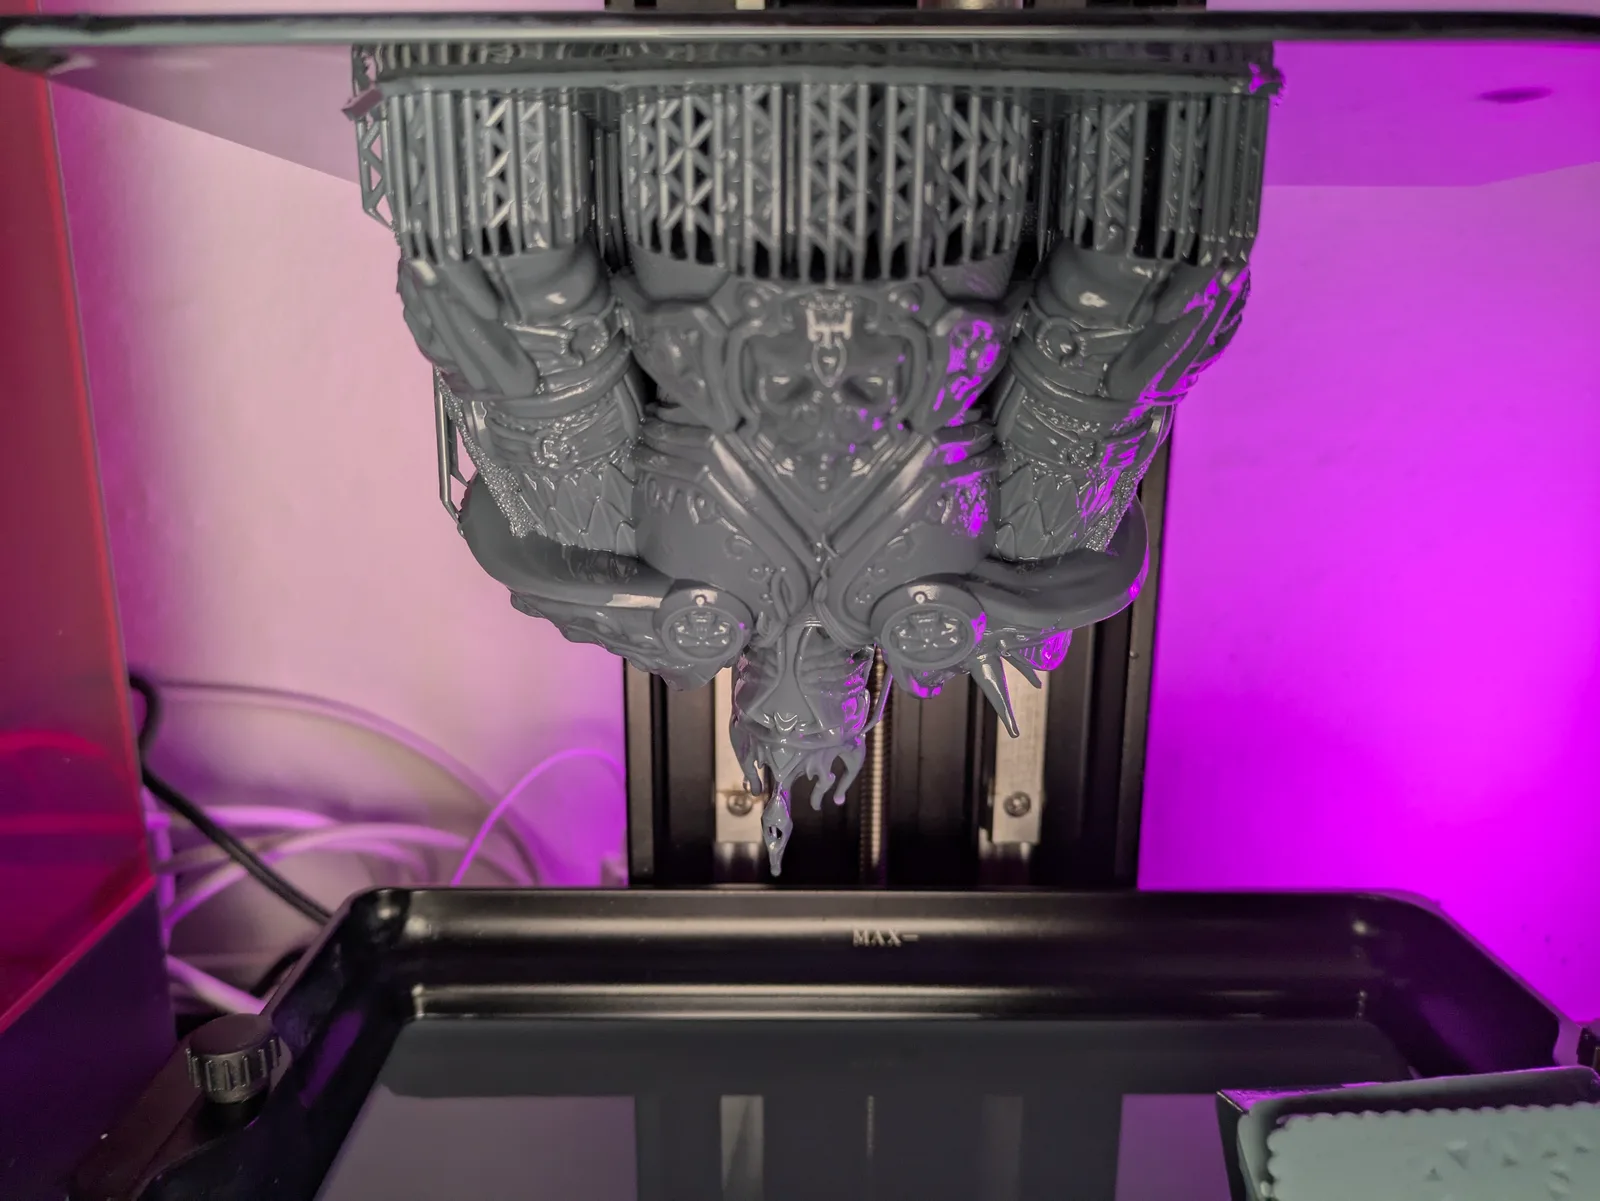
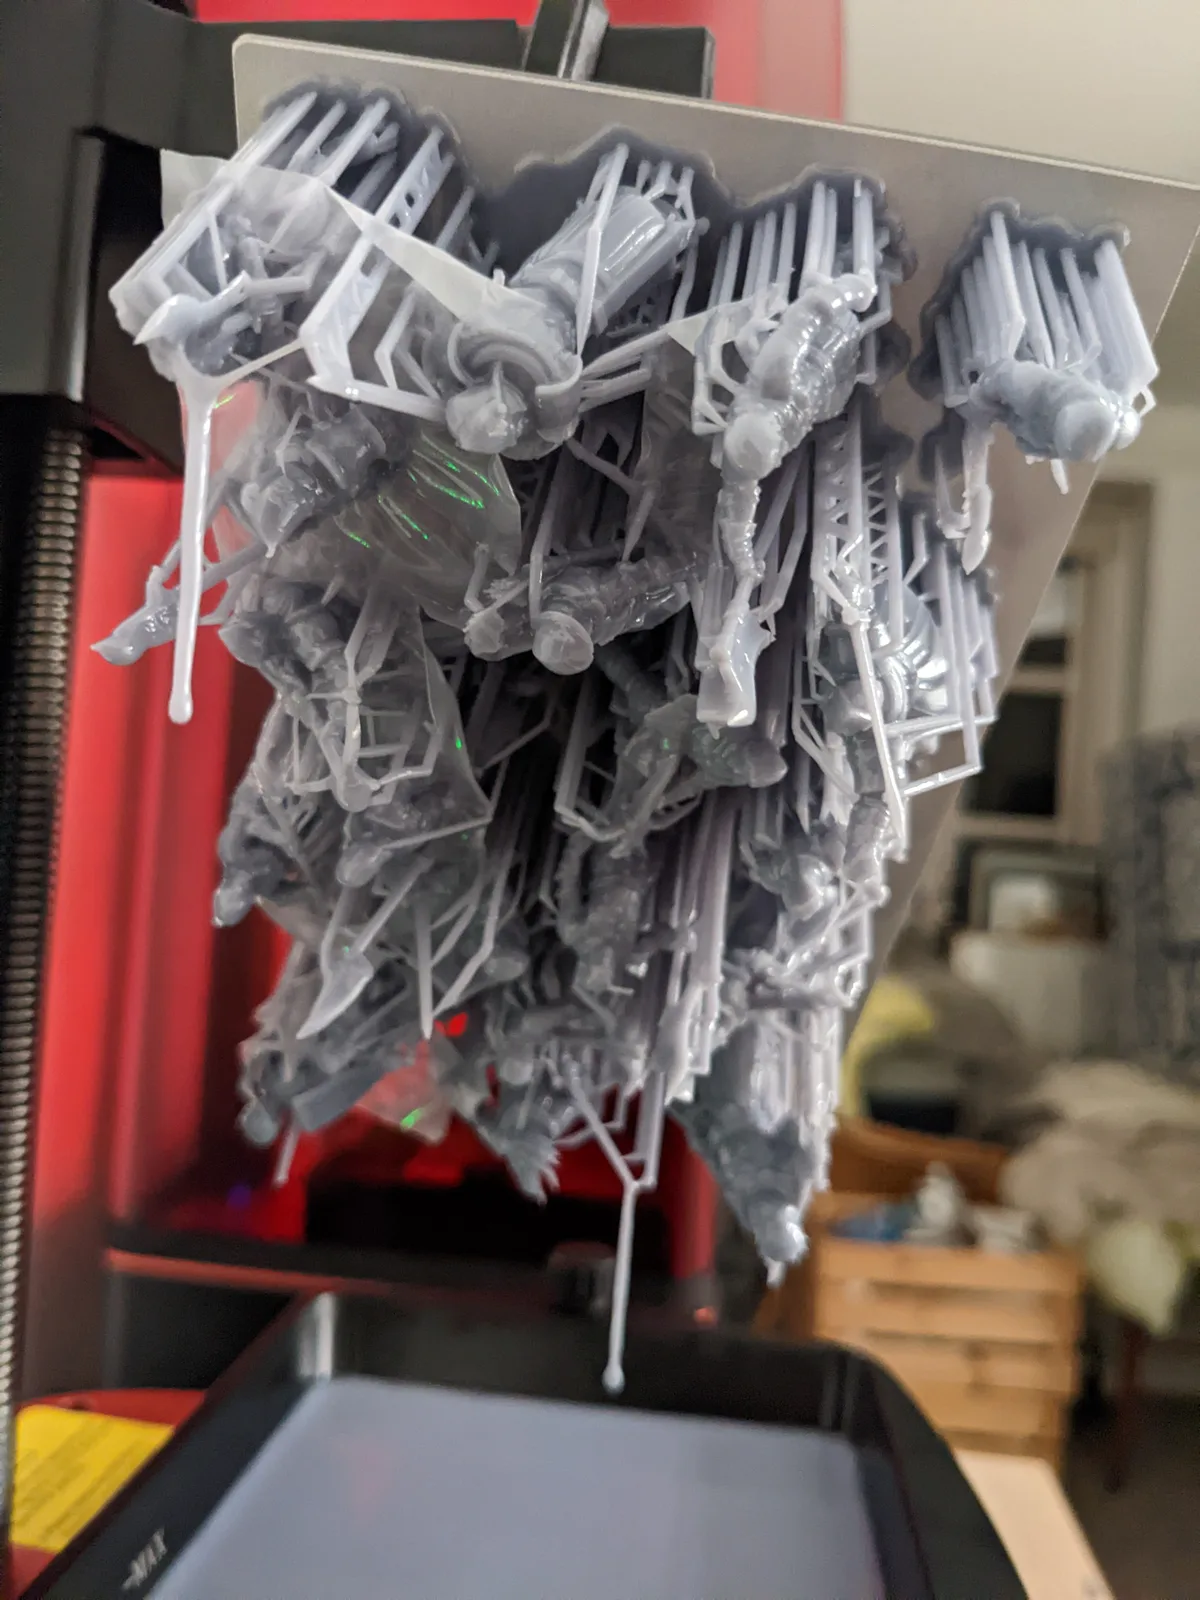
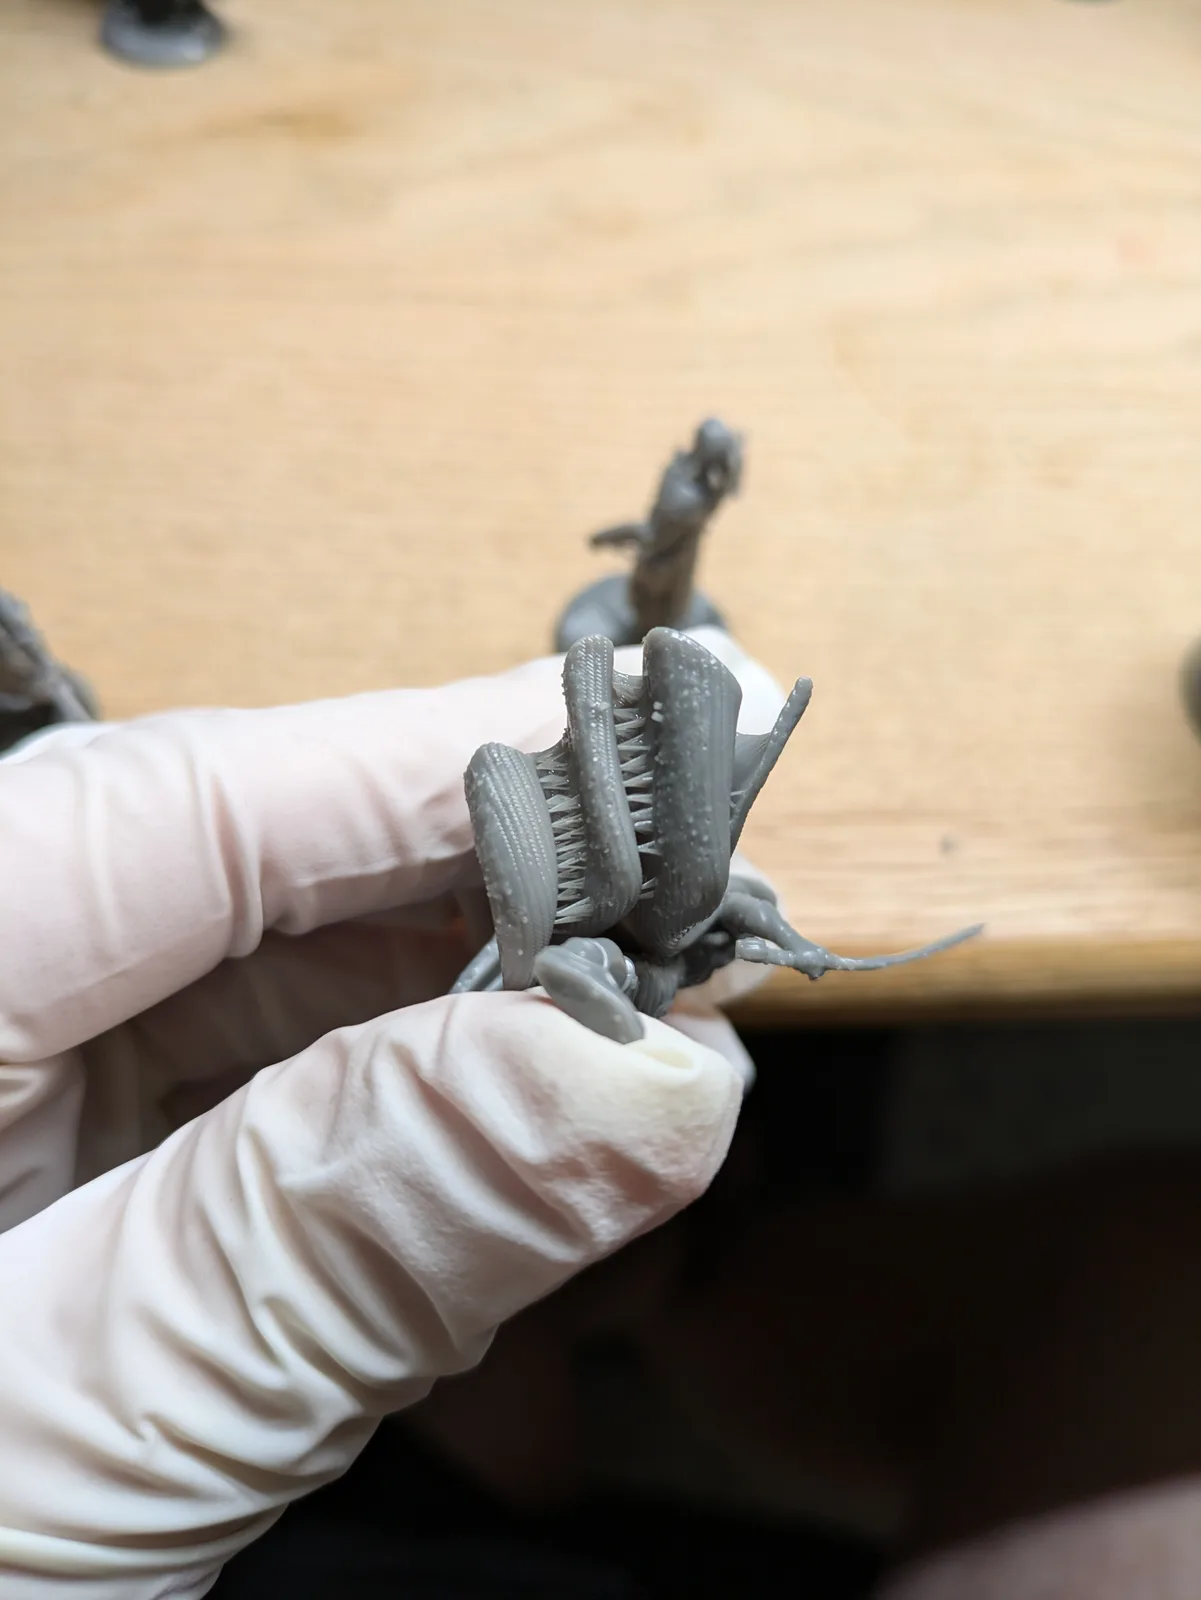
Once prints succeed consistently, the next goal is quality. Resin printers are capable of detail that no FDM machine can match, but that detail does not come automatically. It requires the right layer height, the right exposure time, and supports that hold the model in position without leaving marks on visible surfaces.
The recommended layer height for miniatures is 30 microns. Some people use 50 microns for larger models or when print time is the priority. Thinner than 30 microns is possible but rarely necessary and slows prints significantly.
Exposure time affects sharpness directly. Overexposed layers spread slightly beyond their intended boundaries, softening fine detail. Underexposed layers do not cure fully and may fail to hold together. Calibrating exposure is the single most impactful thing you can do for print quality. The resin printer calibration tools article covers the right test prints and what to look for.
Improving
A good printing workflow gets better over time. Settings get dialled in more precisely. Support placement improves. Post-processing becomes faster and cleaner. Understanding of what causes failures grows.
The improving part of CRISP is not about constant experimentation. It is about treating each print run as an opportunity to learn one thing. When something goes wrong, figure out why before the next print. When something works unexpectedly well, note what was different so you can repeat it.
The printers themselves improve too. Lift height, retract speed, and wait time are all settings that can be adjusted to reduce the tug-of-war between the FEP and the model. Slower lift and retract speeds with enough wait time for the resin to settle before the next UV exposure reduces peel forces and reduces failures on large or complex models. The cost is longer print times. That trade-off is worth it while you are learning.
Safe
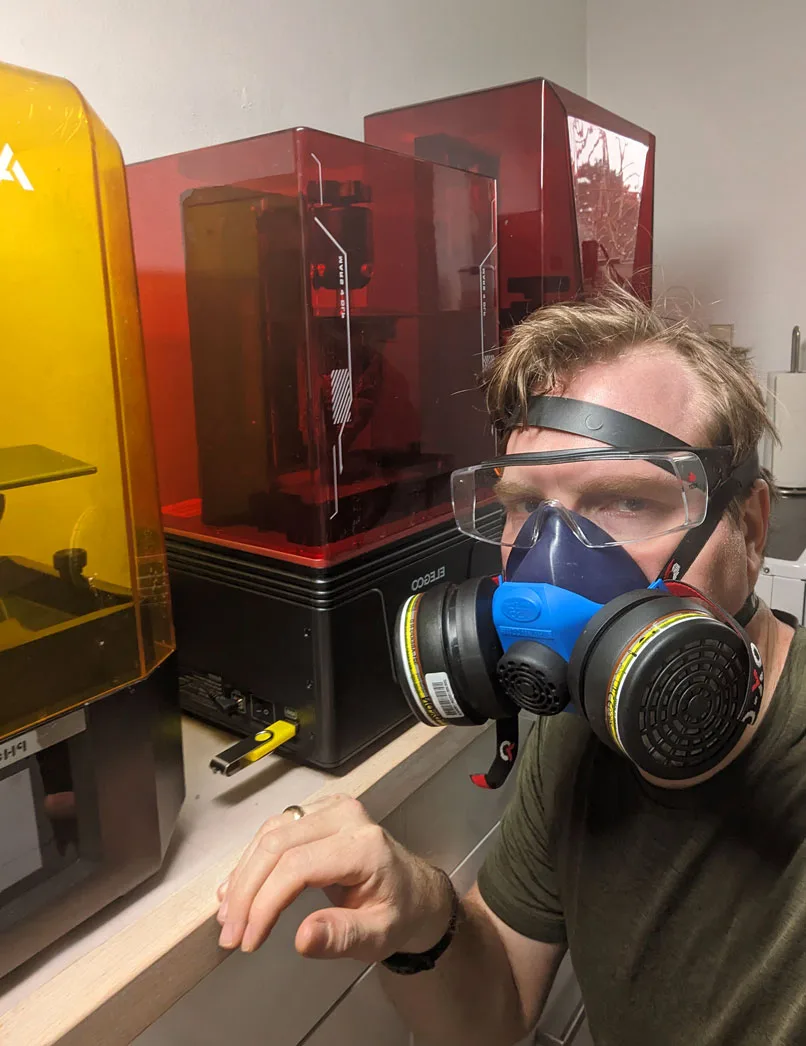
Resin printing has real safety requirements that cannot be skipped. Every resin, including water washable varieties, releases volatile organic compounds during printing, washing, and stirring. An organic compound respirator mask is not optional. Nitrile gloves protect against skin sensitisation, which is cumulative and can develop into a serious allergy with enough exposure. Eye protection matters whenever liquid resin is handled.
The Safe letter is in the middle of CRISP rather than at the end because safety is not an afterthought. It is part of the workflow from the first session.
Ventilation matters too. Printing in a well-ventilated space, or with an air purifier running, reduces VOC concentration in the room. The ventilation setup needed before you start printing is covered in detail in the article Ventilation and Safety for Home Resin Printing.
Painless
A resin printer that lives in a corner because using it feels like a chore is not a useful tool. The hobby is supposed to be enjoyable. Painless means building a workflow that is efficient enough that the printing itself stops being the barrier between you and finished miniatures.
Painless does not happen immediately. The first few print sessions will feel slow and uncertain. That is normal. As the workflow becomes familiar, the setup and breakdown time shrinks, the decisions become automatic, and the printer stops feeling like an obstacle.
The practical side of painless is removing friction wherever possible. A dedicated workspace means you do not have to set up and pack away every session. Keeping PPE where you can reach it without searching means you actually wear it. Having your containers, paper towels, and tools in consistent positions means the post-process becomes muscle memory rather than decision-making.
Common failure modes worth knowing
When CRISP fails it usually fails in patterns: a layer that does not stick, supports that snap during the lift, a model that came off the build plate mid-print, an exposure that drifted out of range, or a vat with a damaged FEP. Each of those has a known cause and a known fix. The full diagnostic walkthrough lives in how to diagnose failed resin prints. Refer to that piece when one of these patterns shows up.
The full CRISP workflow in order
To make it concrete: a successful CRISP print session looks like this.
Load the file into Lychee with your calibrated profile already set. Check the supports, confirm the orientation, slice, and send to the printer via USB or wifi. Start the print. While the print runs, prepare the post-processing station: gloves, mask, containers, paper towels.
When the print finishes, remove the build plate carefully, carry it to the wash station, remove the models at an angle with a plastic scraper, check the build plate for leftover resin, and begin washing. After washing, dry the models fully before curing. Cure for two to four minutes.
Clean up the workspace: wipe the build plate, filter any resin back into the bottle if you poured too much, put lids on containers, cure any leftover small bits of resin in a clear bag outside in the sun so they can go into normal rubbish.
That is it. Consistent, Razor sharp, Improving, Safe, Painless.