Printing bigger models and hollow models both require adjustments from the standard small miniature workflow, and both have specific failure modes that do not show up when printing standard character-scale figures.
Why bigger models behave differently
When a layer cures and the build plate lifts, the model has to peel away from the FEP. For a small figure, the cross-section of each layer is small, and the suction force holding the model to the FEP is modest. The build plate wins the tug-of-war easily.
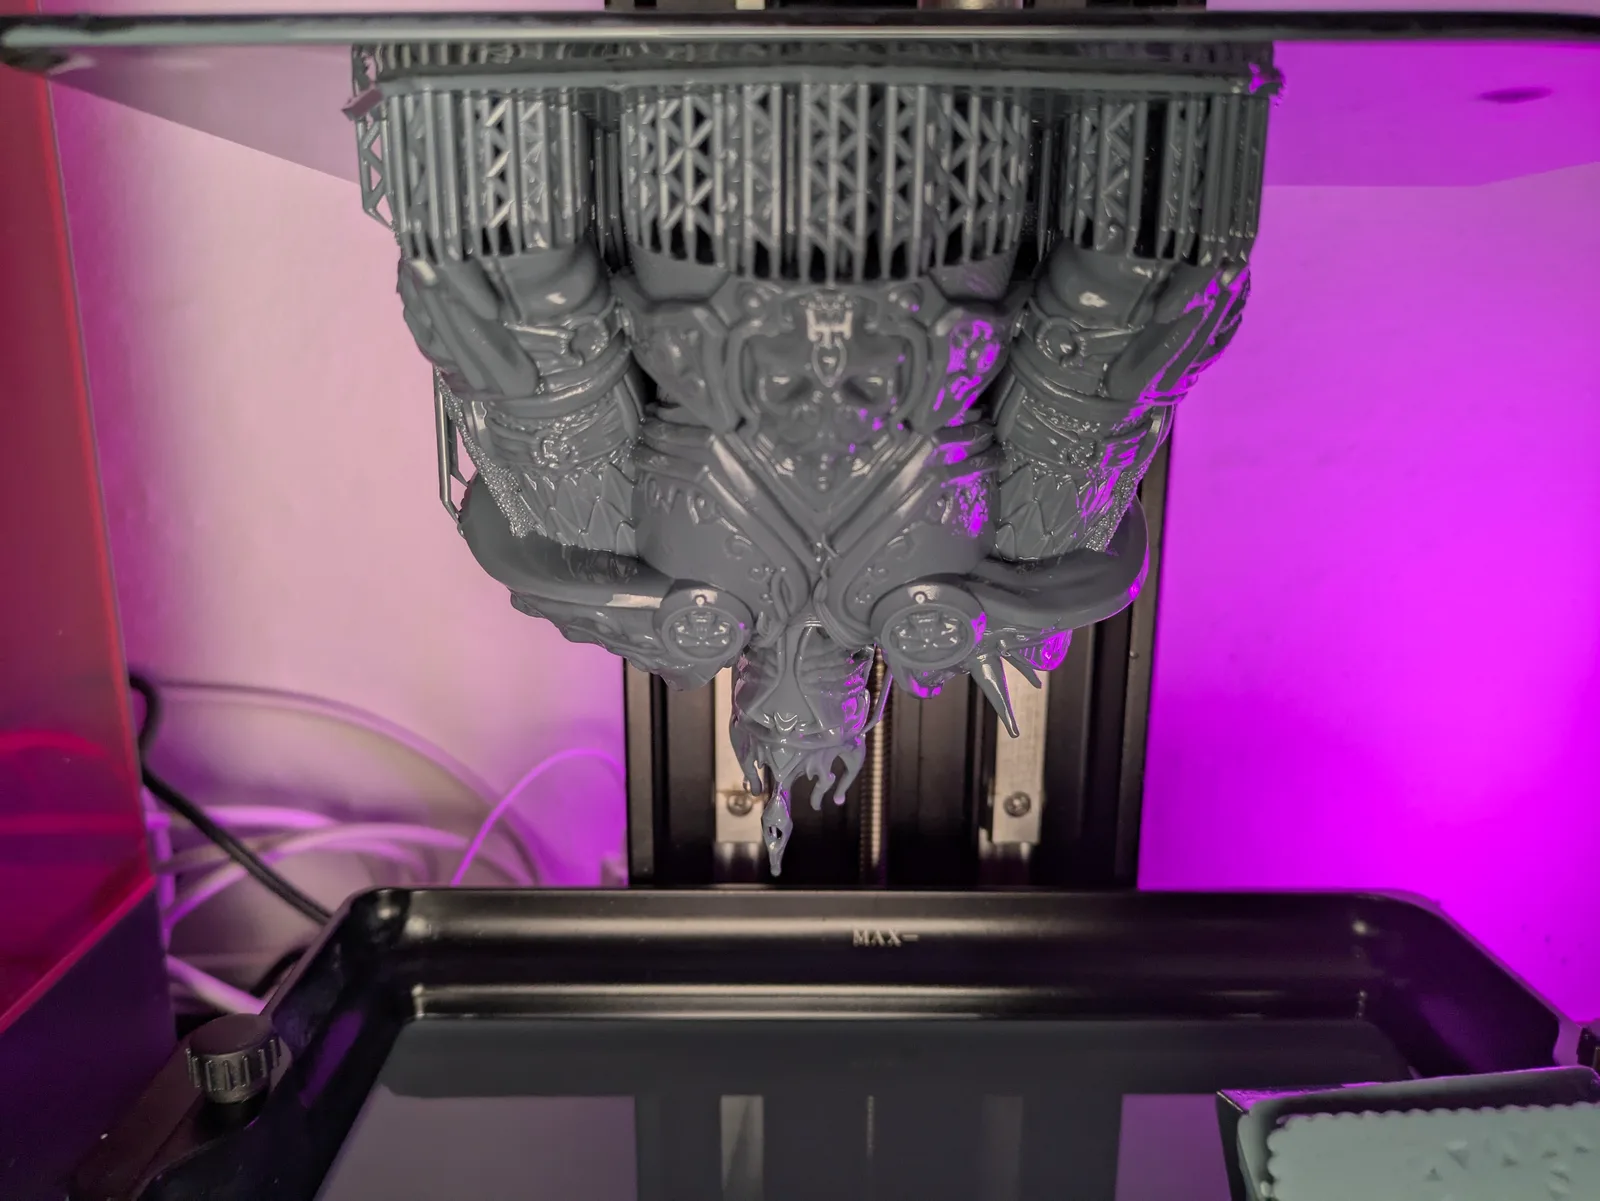
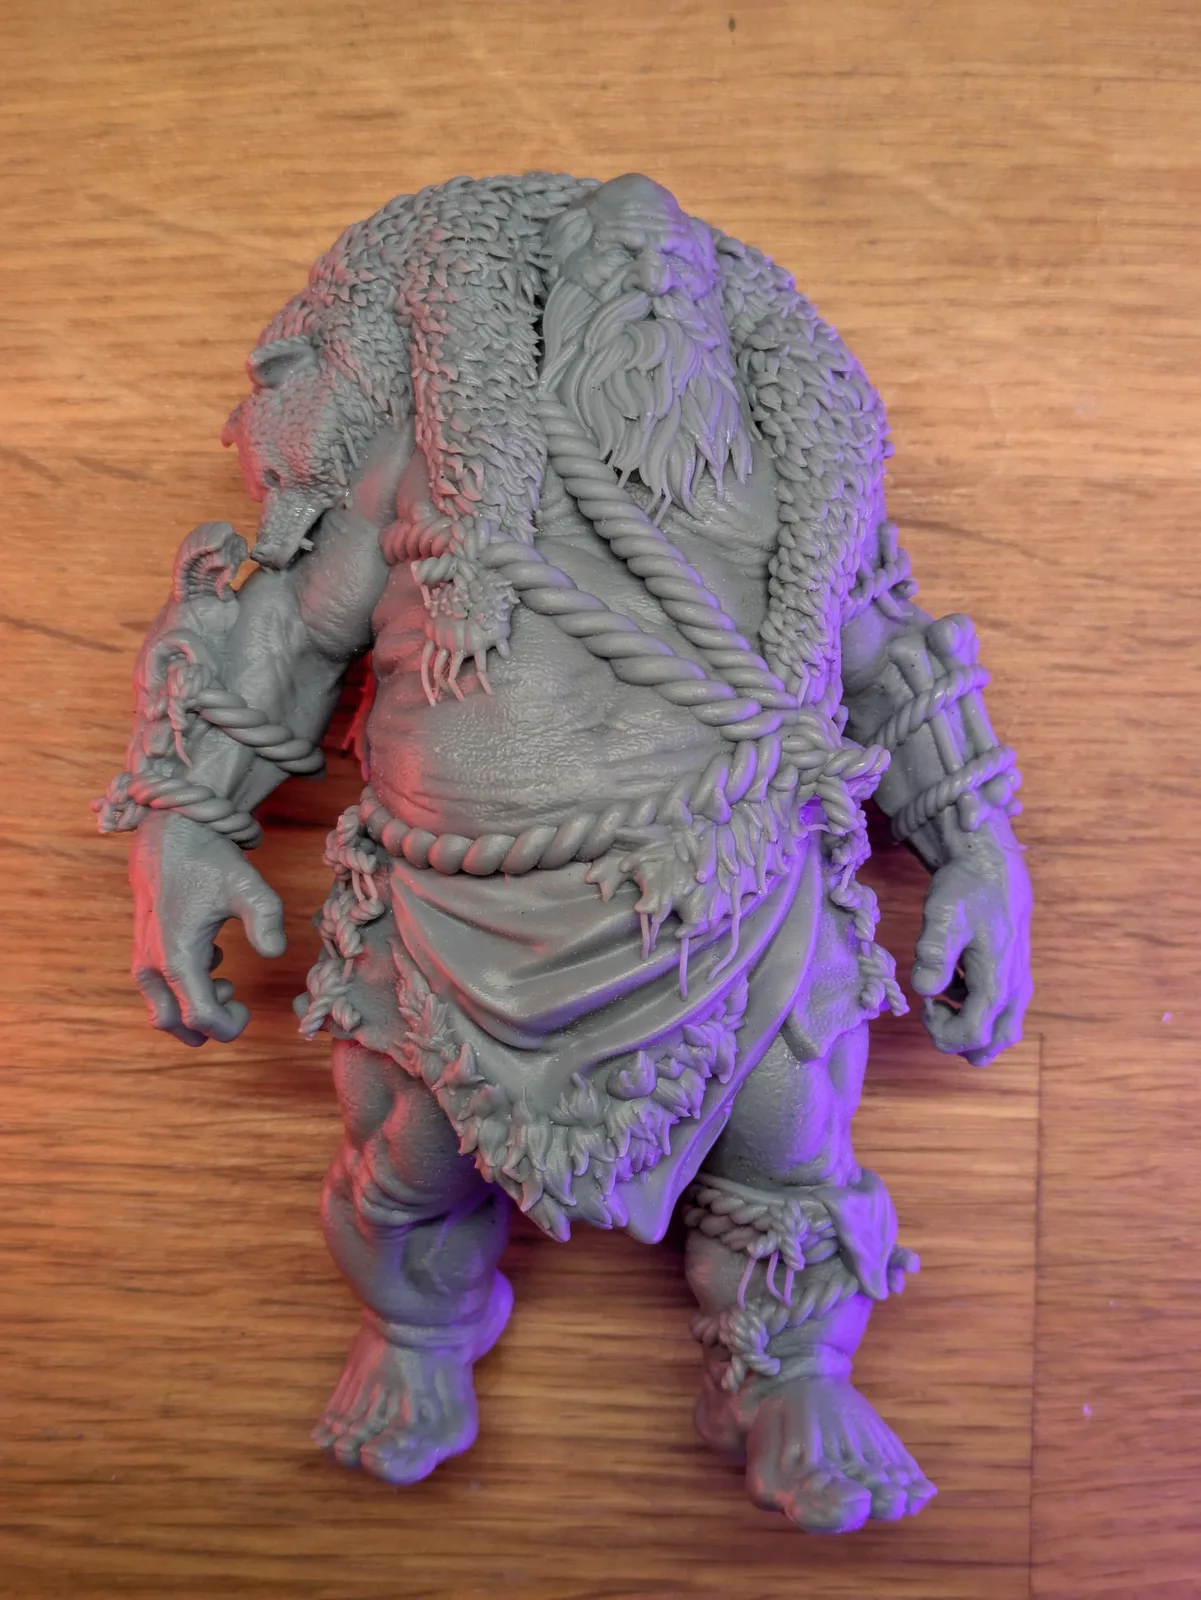
For a large model, the cross-sectional area of each layer is much greater. More surface area means much more suction force. The build plate has to work harder to peel the model away, and the model itself has to hold together under that stress. Settings that work reliably for a 28mm figure may not be sufficient for a large monster, a character on a scenic base, or a terrain piece.
Settings adjustments for larger models
The core settings that need adjusting for bigger models are:
Burn-in (bottom layer) exposure time. Increase this beyond what you use for standard miniatures as a starting point, then adjust based on how the first few layers come out. Roughly ten seconds extra has worked for me on most large prints. Large models need stronger adhesion to the build plate because the peel forces trying to pull them off are much greater with each layer.
Lift and retract speed. Slow both down meaningfully from your standard miniature settings. As a starting point, around a quarter slower has been a reliable adjustment for me, with the exact figure depending on resin and model size. Slower movement reduces the peel stress on the model and the FEP. This is the single most effective setting change for reducing failures on large prints.
Lift height and wait time. You may need to increase both slightly. A larger cross-section means more resin needs to flow back under the model between layers. Give it more lift and more time to settle before the UV fires.
Normal layer exposure time. This stays the same. You have already calibrated it for your resin. Larger models do not need longer normal exposure; they need better adhesion and slower movement.
Layer height. For very large models, 50 microns is acceptable. The reduced detail relative to 30 microns is less noticeable at large scale, and the print time is significantly shorter. For models where detail matters at large scale, stay at 30 microns.
Practical limits on model size
Most models under 75mm can be printed without significant modification to the standard workflow, apart from the settings adjustments above. Beyond 75mm, models become difficult to transport without damage even if the print succeeds. At that scale, the model is a display piece rather than a gaming piece, and the resin choice matters more. ABS-like resin handles some handling stress; basic standard resin does not.
Aim to keep large print runs under about 20 hours. A longer print than that means more exposure to FEP wear, more chance of a power interruption ruining the print, and a longer window for temperature fluctuations to affect the result.
FEP condition matters more for large models
A small scratch or cloudy patch on the FEP may have no visible effect on a 28mm miniature. The same defect on a large model with a bigger layer footprint may cause visible layer artifacts or local adhesion failures. Before starting a large print, check the FEP carefully. If it is approaching the end of its useful life, replace it. A failed 20-hour print costs more in wasted resin and time than a new FEP sheet. The replacement procedure is covered in When and How to Change the FEP on a Resin Printer.
Do not scale pre-supported models
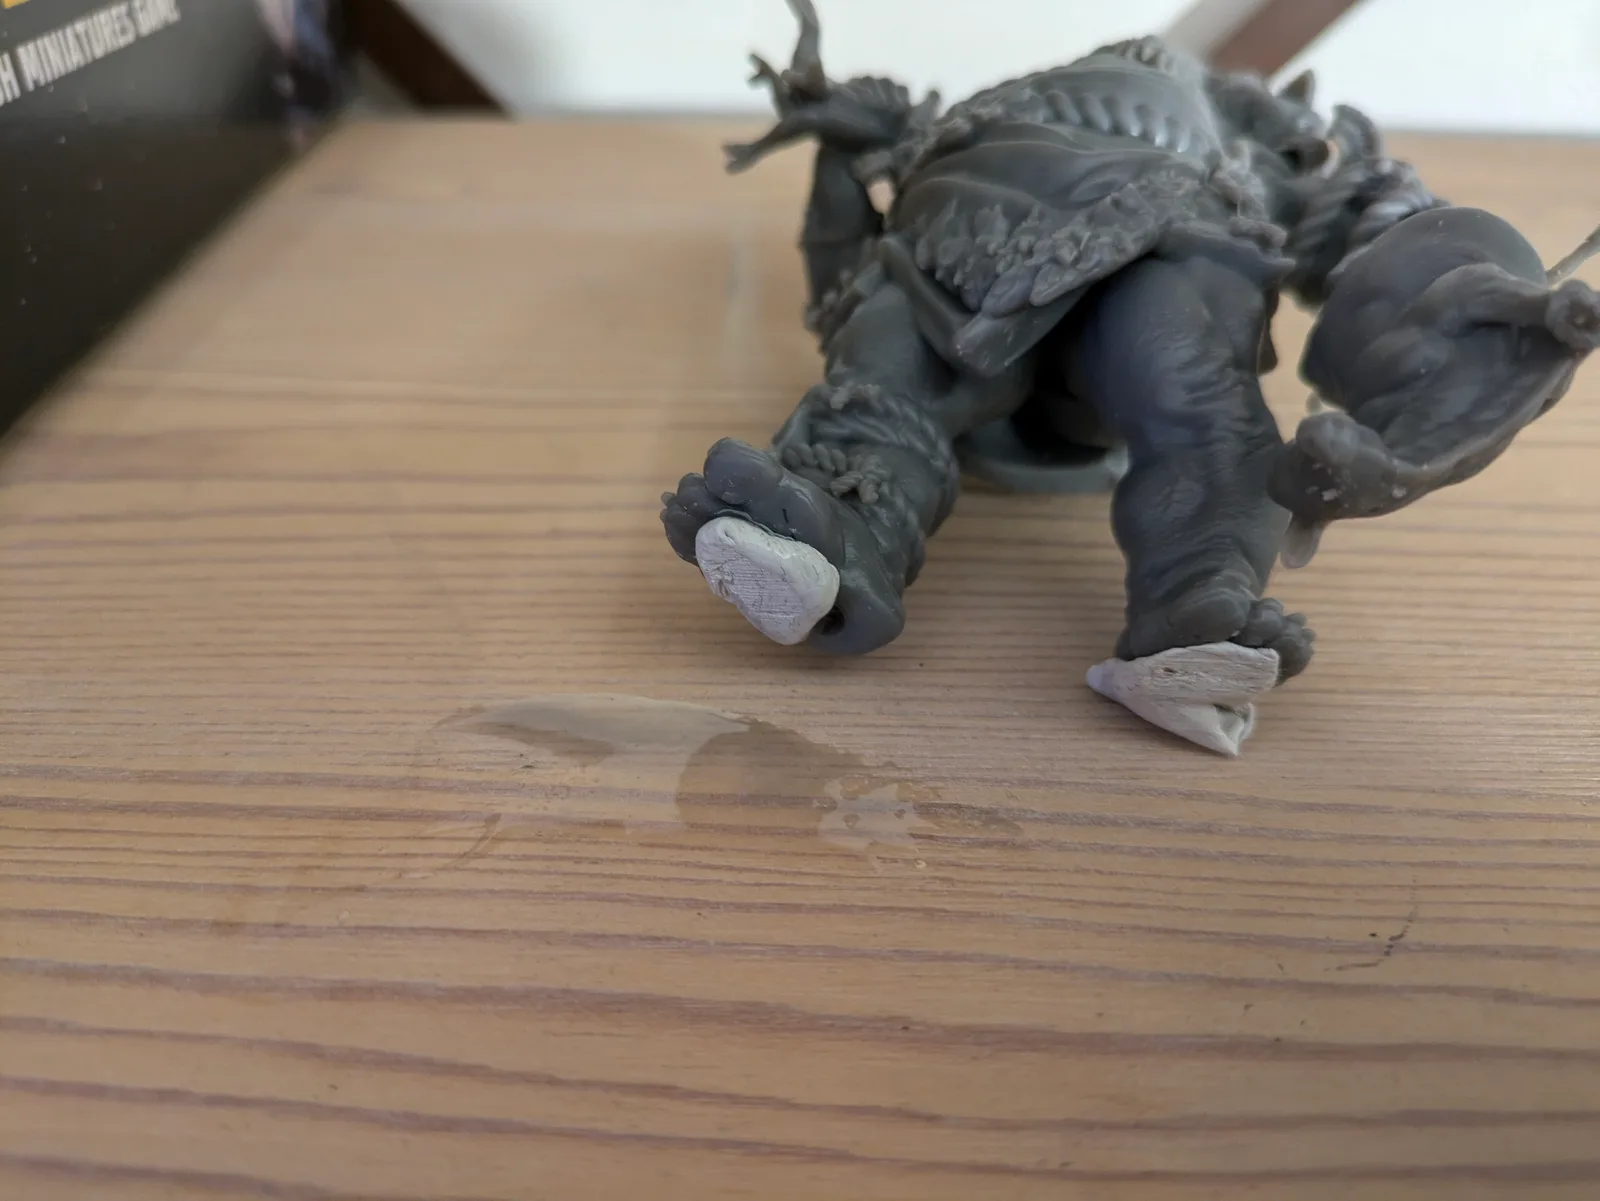
Pre-supported files have been prepared with supports sized for a specific scale. If you scale the model up or down in the slicer, the supports scale with it. A support that was just large enough at the original scale becomes undersized at a larger scale, and a support that was appropriately placed at the original scale may end up in the wrong position at a reduced scale.
If you want a model at a different scale than the designer intended, find a pre-supported version at that scale or learn to add your own supports. Scaling a pre-supported file is a common reason large prints fail at the support connection points.
Hollow models: the basics
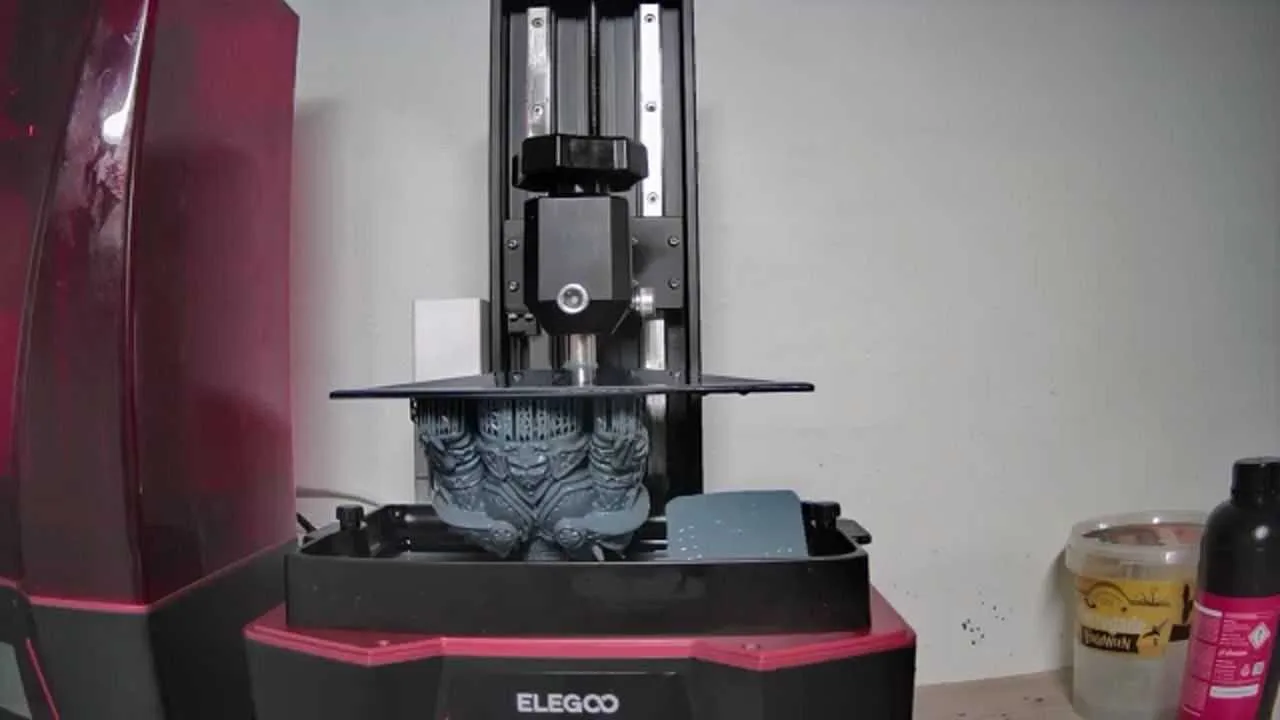
Hollow models have the interior removed to reduce resin consumption and weight. Many files from professional designers are available as both solid and hollow versions. Using the hollow version can reduce resin use significantly on large pieces.
Two rules apply to every hollow model:
Drainage holes. Liquid resin must be able to drain out of the hollow interior during and after printing. Without drainage holes, liquid resin is trapped inside, and there is no way to wash or cure the interior. That trapped liquid resin will eventually cause the model to crack or deform. The drainage holes must be placed at the lowest point of the model in its print orientation so resin flows out by gravity. After printing, flush the interior with wash medium to remove all remaining liquid resin.
Internal supports. Large hollow cavities can collapse during printing. Pre-hollowed files from professional designers include internal supports. If you are hollowing a model yourself, you must add internal supports before printing. This is an advanced skill. If you are new to resin printing, use pre-hollowed files from designers who have already done this work correctly.
Hollow models and water washable resin: do not mix
Water washable resin and hollow models are a problematic combination. Water gets inside the model during washing. Water takes a very long time to evaporate out through small drainage holes, and the interior is difficult to cure while wet. The result is that hollow models printed in water washable resin tend to crack from the inside out as the moisture works its way through the cured shell.
If you are printing hollow models, use alcohol-washable resin. Alcohol evaporates much faster than water and is easier to flush through drainage holes. The interior dries quickly and cures without moisture interfering.
If you are committed to water washable resin for the rest of your workflow, print hollow models as solid instead. The resin cost is higher but the failure rate is much lower.
After printing a hollow model
When the print finishes, hold the model at the drainage hole and let any pooled liquid resin drip back into the vat. Give it a minute. Then take it to the wash station and spray or submerge it to flush the interior. Ensure the wash medium reaches inside through the drainage holes. After washing, shake out any remaining liquid, then dry and cure as normal.
Should you hollow your own models?
The short answer for new printers is no. Hollowing a model correctly requires knowing how to place drainage holes, add internal supports, check for resin traps, and adjust wall thickness for the resin you are using. Each of those decisions affects the print outcome, and making several new decisions at once while you are still learning the basic workflow is the right way to produce expensive failures.
Pre-hollowed and pre-supported files from professional designers give you the benefit of hollow printing without the risk of learning hollowing technique at the same time as everything else. Once the basics are solid, hollowing is a useful skill to develop.