After any sort of print failure, it is very likely that you need to clean your vat. How much cleaning is needed depends on what failed and how badly, but the process always starts the same way: feel the FEP, figure out what you are dealing with, and respond in the right order.
Two scenarios follow. The first is the routine vat clean after a minor failure, using the Tank Clean feature. The second is the more serious failure: a vat hanging in midair, a suspected FEP tear, or resin on the screen. Both require different responses, and the difference between doing it calmly and doing it in a panic is usually whether you already know what to do.
Part one: the tank clean after a minor failure
Feel the FEP before every post-failure print
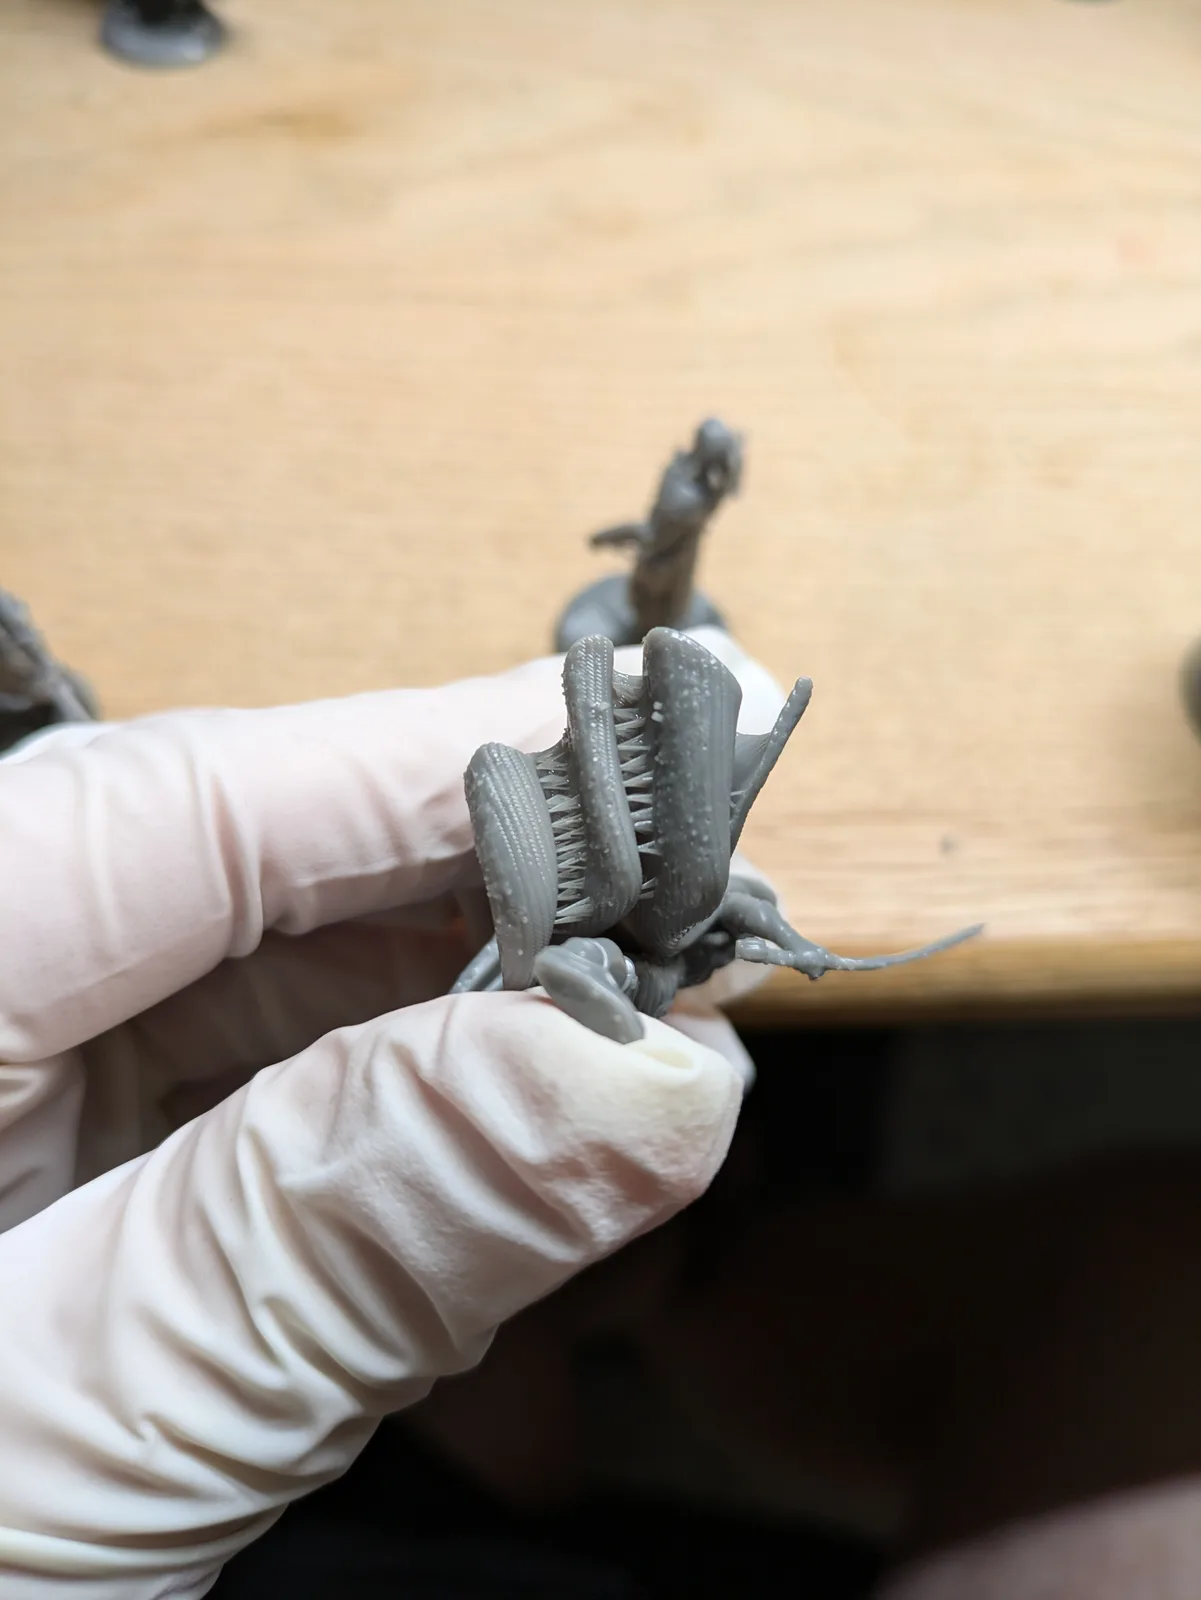
Before running another print after any failure, run a silicone spatula gently across the inside of the FEP. You are feeling for anything hard. A piece of cured resin on the FEP will feel like a bump or a drag point under the spatula. Printing over cured debris on the FEP is the cause of a cascade of more serious problems: damaged FEP, spilled resin, fouled screen.
This takes about 30 seconds and should be automatic after every failed print. If you feel something hard, stop. Do not run another print until the debris is cleared.
Using the Tank Clean feature
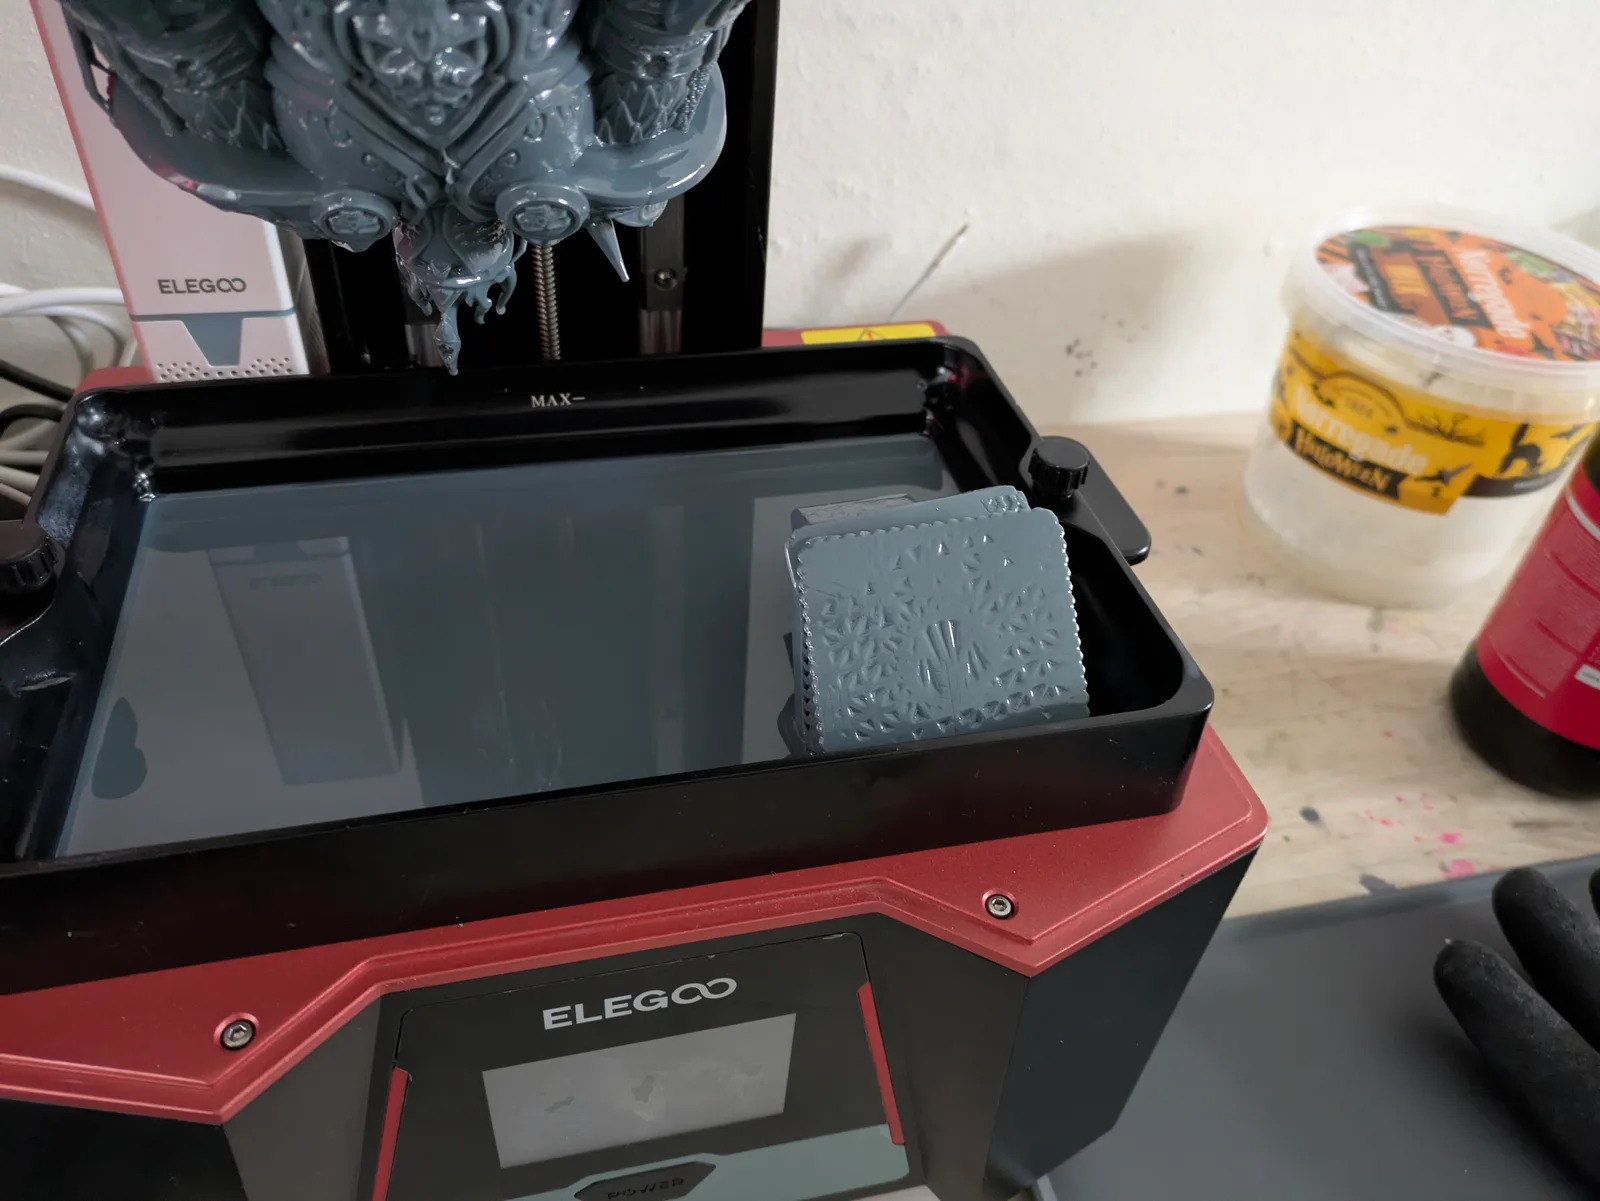
The Tank Clean feature is available on most modern resin printers via the settings menu. It illuminates the entire screen at full exposure for 15 to 20 seconds or longer, depending on the printer. This cures a solid thin sheet of resin across the full area of the vat. When you lift the sheet out, it pulls any floating debris with it.
The cured sheet is thin and slippery and hard to grip. There is a better way to do it.
Before running Tank Clean, place a piece of plain paper flat in the bottom of the vat so it sits on the FEP. Pour a small amount of resin over the paper so it is fully coated. Then run the Tank Clean. The UV cures the resin through the paper, bonding the paper into the cured sheet. The paper gives you a solid grip point to pull the sheet out cleanly.
After removing the sheet, run the silicone spatula over the FEP again. If the feel is now smooth and uniform, the vat is clean and you can continue. If there is still something hard, the debris may not have bonded to the sheet. You may need to run Tank Clean again, or proceed to a full vat empty.
When to empty the vat for a visual inspection
Sometimes the FEP still feels wrong after Tank Clean, or you suspect debris that did not lift out. To inspect the FEP visually, you need to empty the vat.
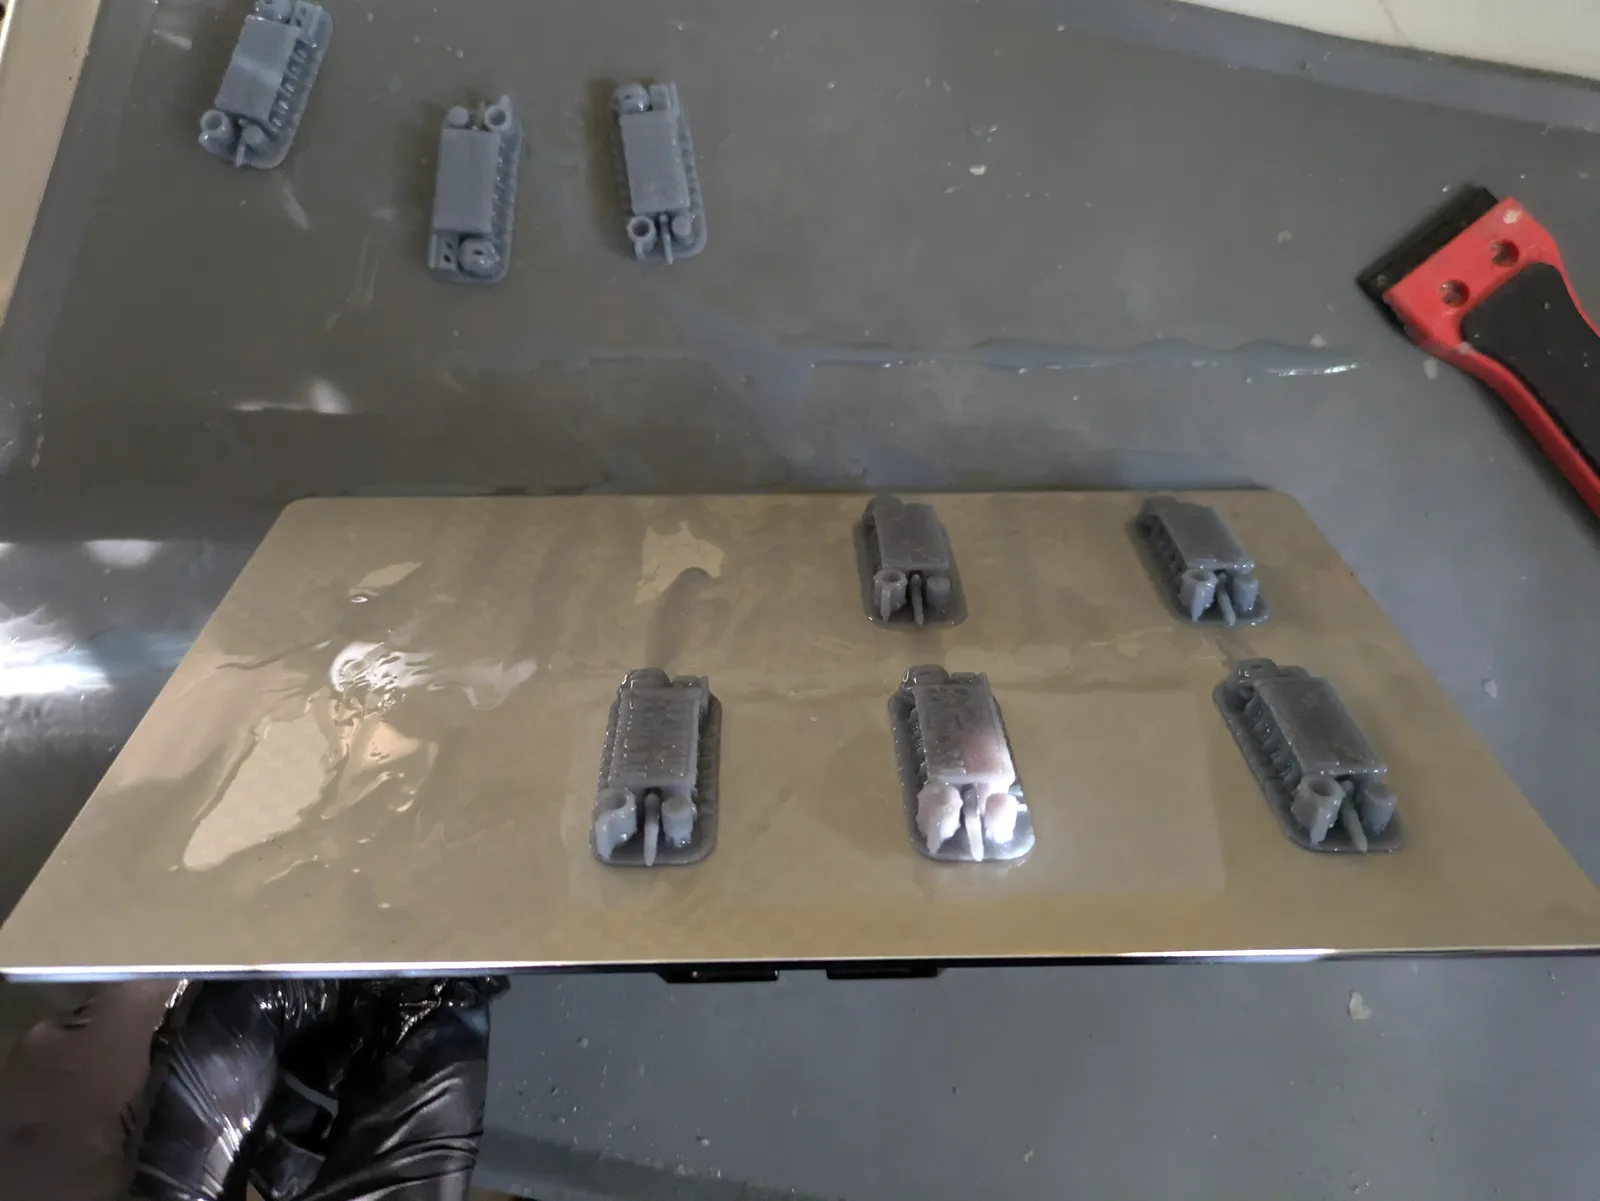
Get your PPE on before starting. Place the resin bottle nearby with its funnel and filter already fitted. Remove the build plate or position it so resin from the vat cannot drip onto it or the screen during the pour.
Tip the vat slowly and pour the resin through the filter and funnel back into the bottle. Go slowly. Pouring too fast causes spills. Use a silicone spatula to scrape the last resin out of the corners. Clean the inside of the vat with a wet wipe or a microfibre cloth. Do not use paper towels inside the vat because they leave fibres on the FEP.
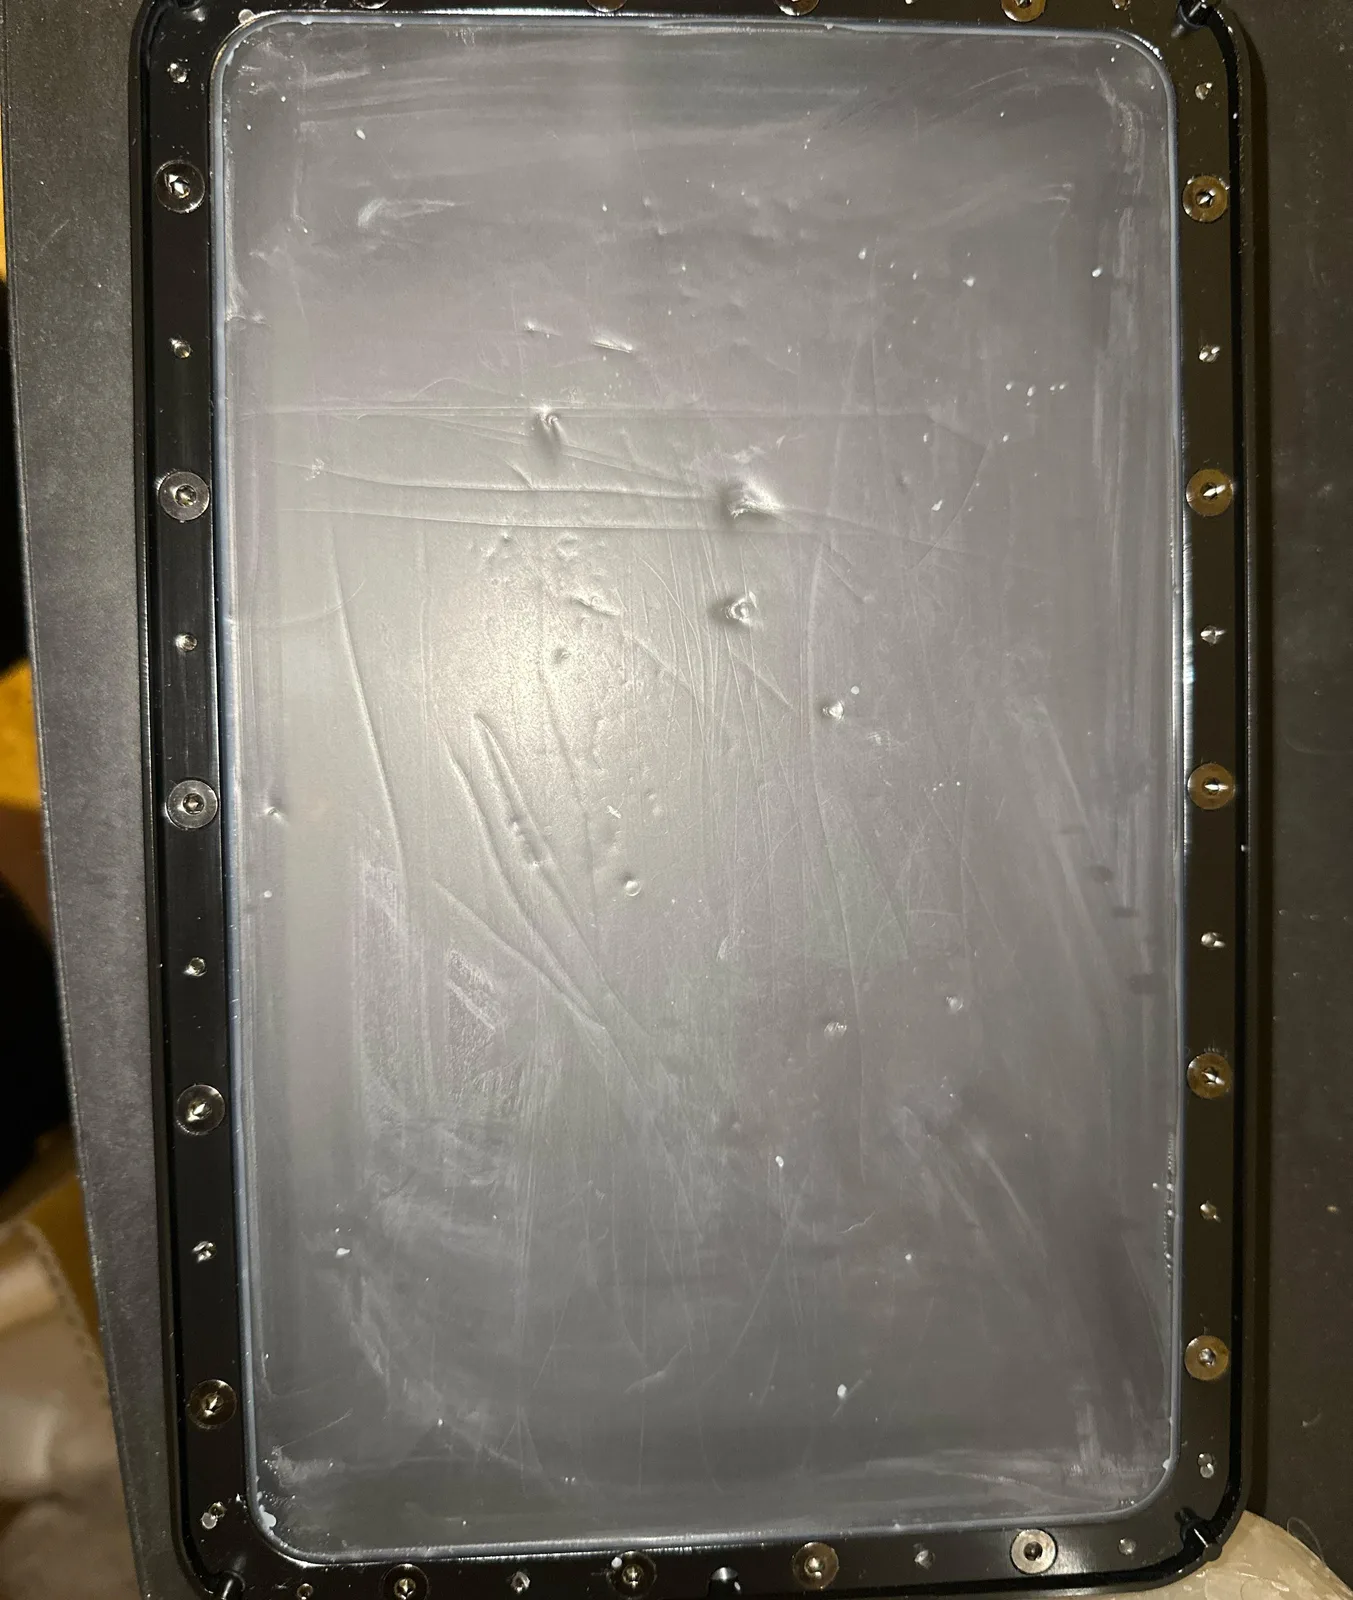
Now inspect the FEP with good light from above. A FEP that has been used for a while will look slightly cloudy rather than perfectly clear. This is normal and does not mean it needs replacing. Look for:
- Micro tears: small splits or punctures in the film, often visible as irregular dark spots or fine lines
- Raised bumps or dents: areas where the FEP has deformed under print stress
- Cloudiness that is localised to a specific area rather than general: this can indicate damage from cured debris
If the FEP looks clean, reassemble the vat. Make sure the bottom of the vat frame is completely clean before screwing it back into place. Resin on the screw-in ring can transfer to the electrical tape around the screen or to the screen itself, causing problems that are much worse than a dirty FEP.
If the FEP is damaged, replace it. FEP sheet is inexpensive and the replacement process is straightforward. Printing on a damaged FEP risks the most expensive failure scenario in resin printing: a FEP tear that puts liquid resin directly on the screen.
For the full FEP replacement procedure, see When and How to Change the FEP on a Resin Printer.
Part two: serious failures
Stop and think for 30 seconds
When something has gone seriously wrong, the instinct is to act immediately. This is usually wrong. Grabbing the vat and pulling it out when it is hanging in midair is how resin ends up on the screen. Taking 30 seconds to look at what you have and decide on a plan costs nothing and prevents the kind of mistake that makes a bad situation much worse.
Look at what is happening before you touch anything.
Scenario: the vat is hanging in midair from the build plate
This happens when the print sticks to the build plate so well that the entire vat lifts with it during a retract movement. The vat frame is no longer attached to the printer.
The first thing to do is nothing, except raise the build plate slightly to give yourself room to reach the vat. Then, gently lower the vat back down to the printer bed. Screw the vat back into its mount. Then raise the build plate carefully.
Do not yank the vat downward. The FEP is under the resin, and the print is likely attached to both the build plate and the FEP surface. Yanking causes tears and spills.
Scenario: you suspect the FEP has torn
A FEP tear may announce itself with a sudden change in the sound of the printer, or it may be noticed when the vat looks wrong. If you suspect a tear, lift the vat straight upward rather than tipping it. Tipping a vat with a tear sends liquid resin directly out of the bottom. Lifting it straight up contains the resin until you can slide a container underneath to catch it.
Once the vat is out and a container is under it, you can assess and drain safely.
Scenario: resin on the screen
Resin on the screen is the failure most worth preventing, which is why good FEP maintenance and careful vat removal matter. If it happens anyway, the cleaning method depends on what screen protection you have.
Screen protector (peel-off plastic). If you have a disposable screen protector over the screen, peel it off. The screen underneath will be clean.
Tempered glass screen protector. Use a plastic scraper to remove as much resin as possible first. Then use warm water and a cloth to soften and remove the remainder. Do not use solvents on tempered glass.
Bare screen with no protector. Apply a wet sponge to the affected area and leave it for about 10 minutes to soften the resin. Then use a plastic scraper carefully. Never use metal tools on a bare screen. Take as much time as needed. Rushing this step risks scratching the screen, which is expensive.
After cleaning resin from the screen, check the black foam or electrical tape around the screen edge for bubbling or lifting. If the tape is compromised, resin can reach the electronics underneath. Address it before printing again.
Test the screen after any incident
After any cleanup that involved the screen, run the exposure test before reassembling and printing. Look for any new dark patches or dead areas. A screen that took resin contact may have survived intact, or it may have suffered damage that will only get worse. Finding out before the next print run is better than finding out after another failure.
Resin inside the printer body
If resin has reached inside the printer beyond the screen area, stop and disassemble. Find the teardown video for your specific printer model. Resin inside the printer housing can damage electronics, motors, or the light source. This is a time-consuming cleanup but a necessary one.
Check the rail and the screw holes in the vat mount for any resin residue. Clean all of it before reassembling.
After cleanup: confirm before printing
Once everything is cleaned up, go through this checklist before the next print:
- FEP inspected and confirmed clean or replaced
- Vat correctly mounted and screwed in
- Build plate clean and level (re-level the build plate if anything was disturbed)
- Screen tested and confirmed working
- Rail checked for contamination
A systematic check takes five minutes and means the next print starts on a solid foundation rather than on a printer that may have an unresolved problem.
If you are not yet sure what failed, the print fail diagnostic walks you through the most common patterns and points at the right fix.