Some links on this page are affiliate links — marked with aff — and if you buy through them I may earn a small commission at no extra cost to you. Read the full disclosure.
Changing the FEP on your vat is a job that sounds more complicated than it is, and there is a lot of advice online that makes it more complicated than it needs to be.
The tension theory problem
Search for FEP replacement guides and you will quickly find references to measuring the tension of the new FEP film using the hertz reading from a phone app. The theory is that the film needs to hit a specific vibration frequency when plucked, and that prints will fail if the tension is too high or too low.
This is not worth your time. The tension of the FEP matters much less than getting the film flat, getting the frame screws done correctly, and seating the vat properly in the printer. Beginners who go down the hertz measurement path spend hours on a variable that has minimal effect and miss the things that actually matter.
The method below works. It is what is used here. The result is a properly replaced FEP without a phone held over the vat plucking it like a guitar string.
When to change the FEP
The FEP needs changing when:
- The film is visibly scratched, torn, or has micro-punctures visible in good light
- Raised bumps or dents are visible on the film surface
- The film feels uneven under a spatula even after a thorough clean
- Print quality has been declining without any other explanation
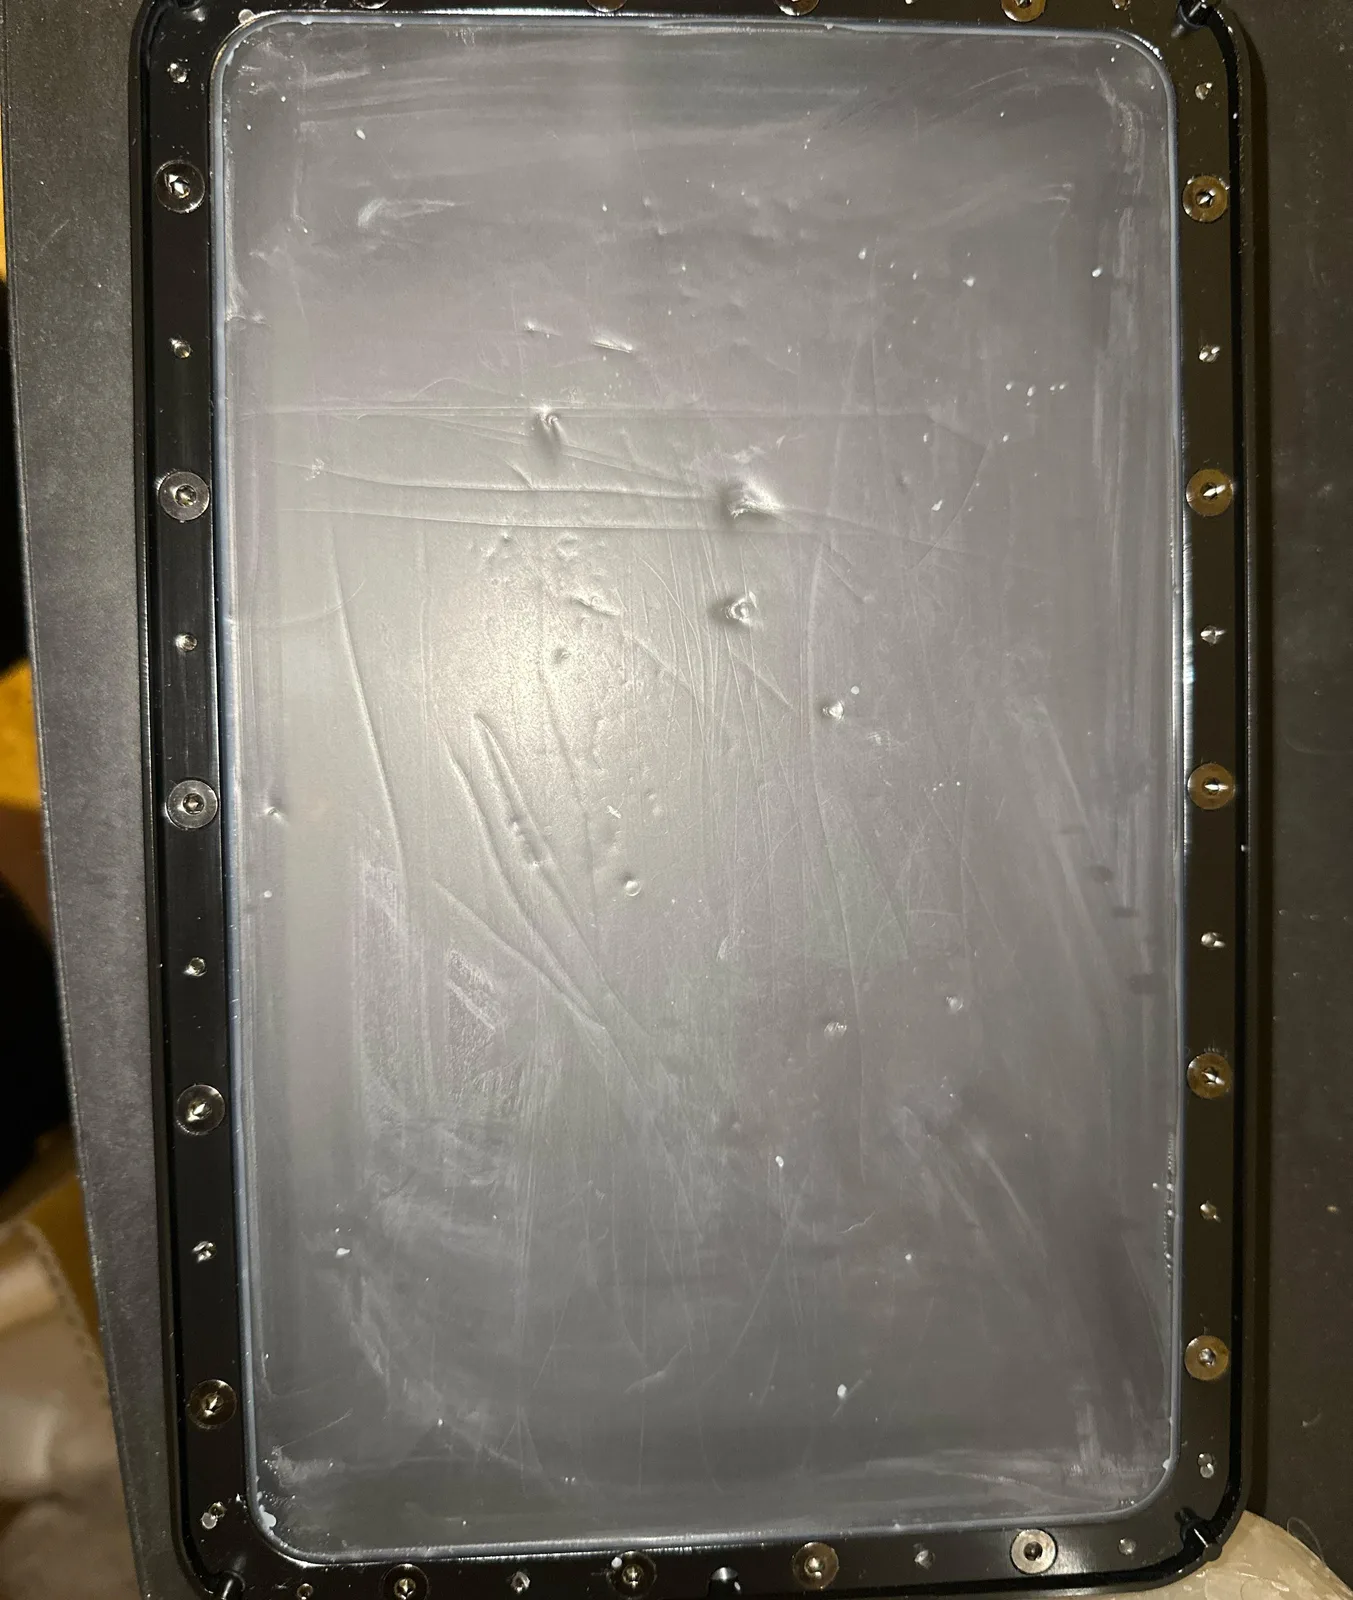
A FEP that looks slightly cloudy compared to a new one does not need replacing. Cloudiness is normal wear and does not significantly affect printing until it becomes severe. Scratches and physical damage are the signals that matter.
The FEP is a consumable. Replacing it a few times a year is normal with regular printing. The material is cheap and replacement takes less than half an hour once you have done it a couple of times.
What you need
- A new FEP sheet cut to size, or a pre-cut sheet for your specific vat (most manufacturers sell these)
- Allen keys (the size depends on your printer)
- Gloves
- A clean, well-lit workspace
- Scissors
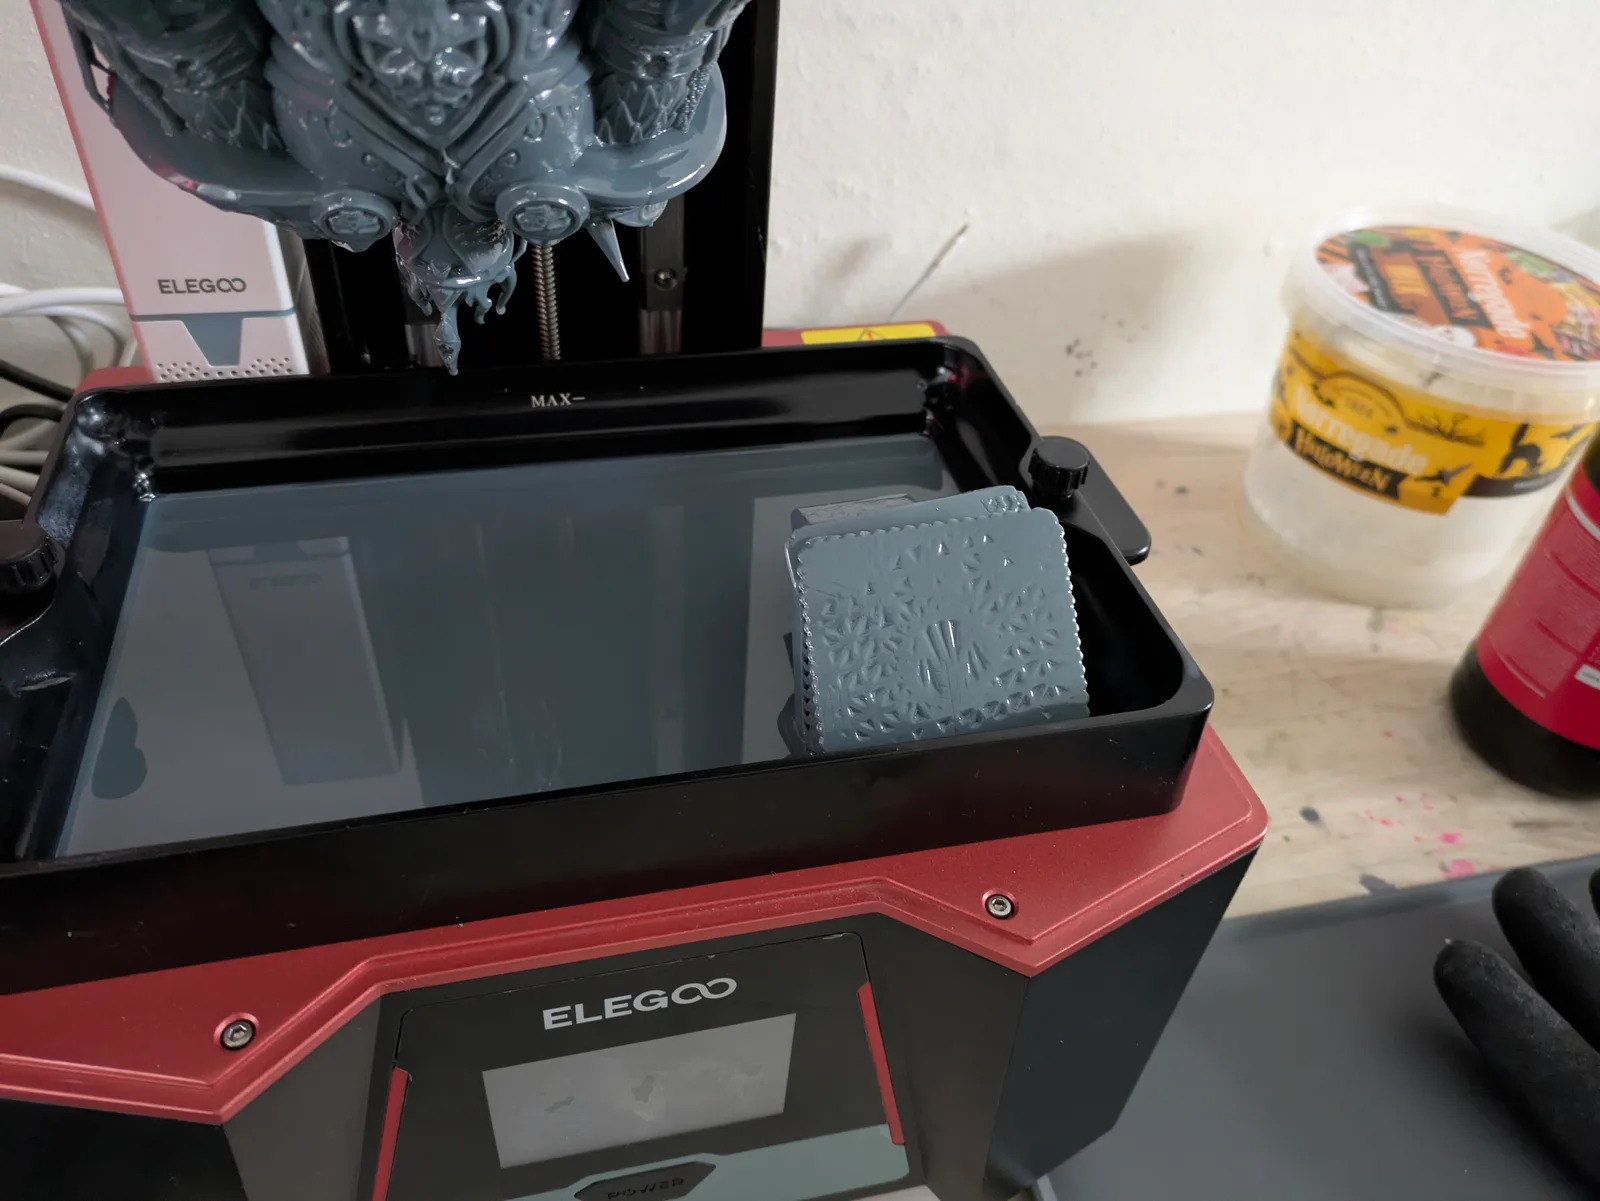
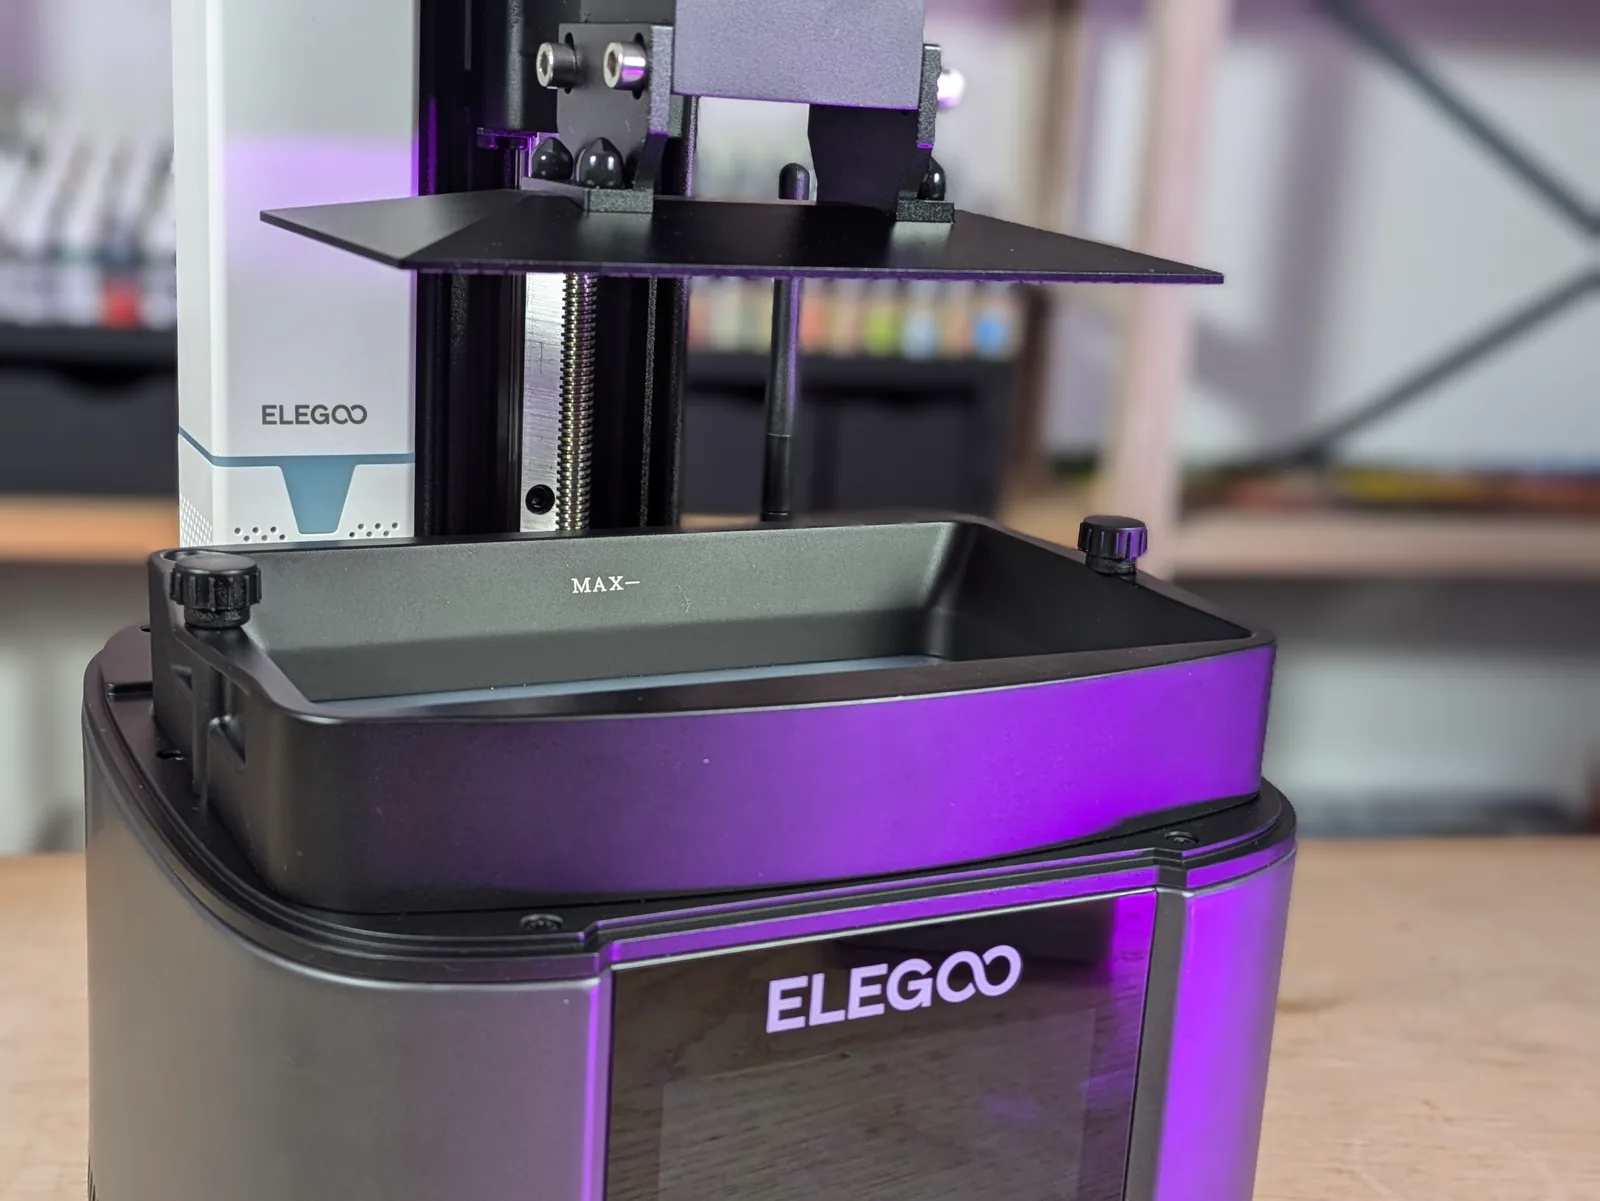
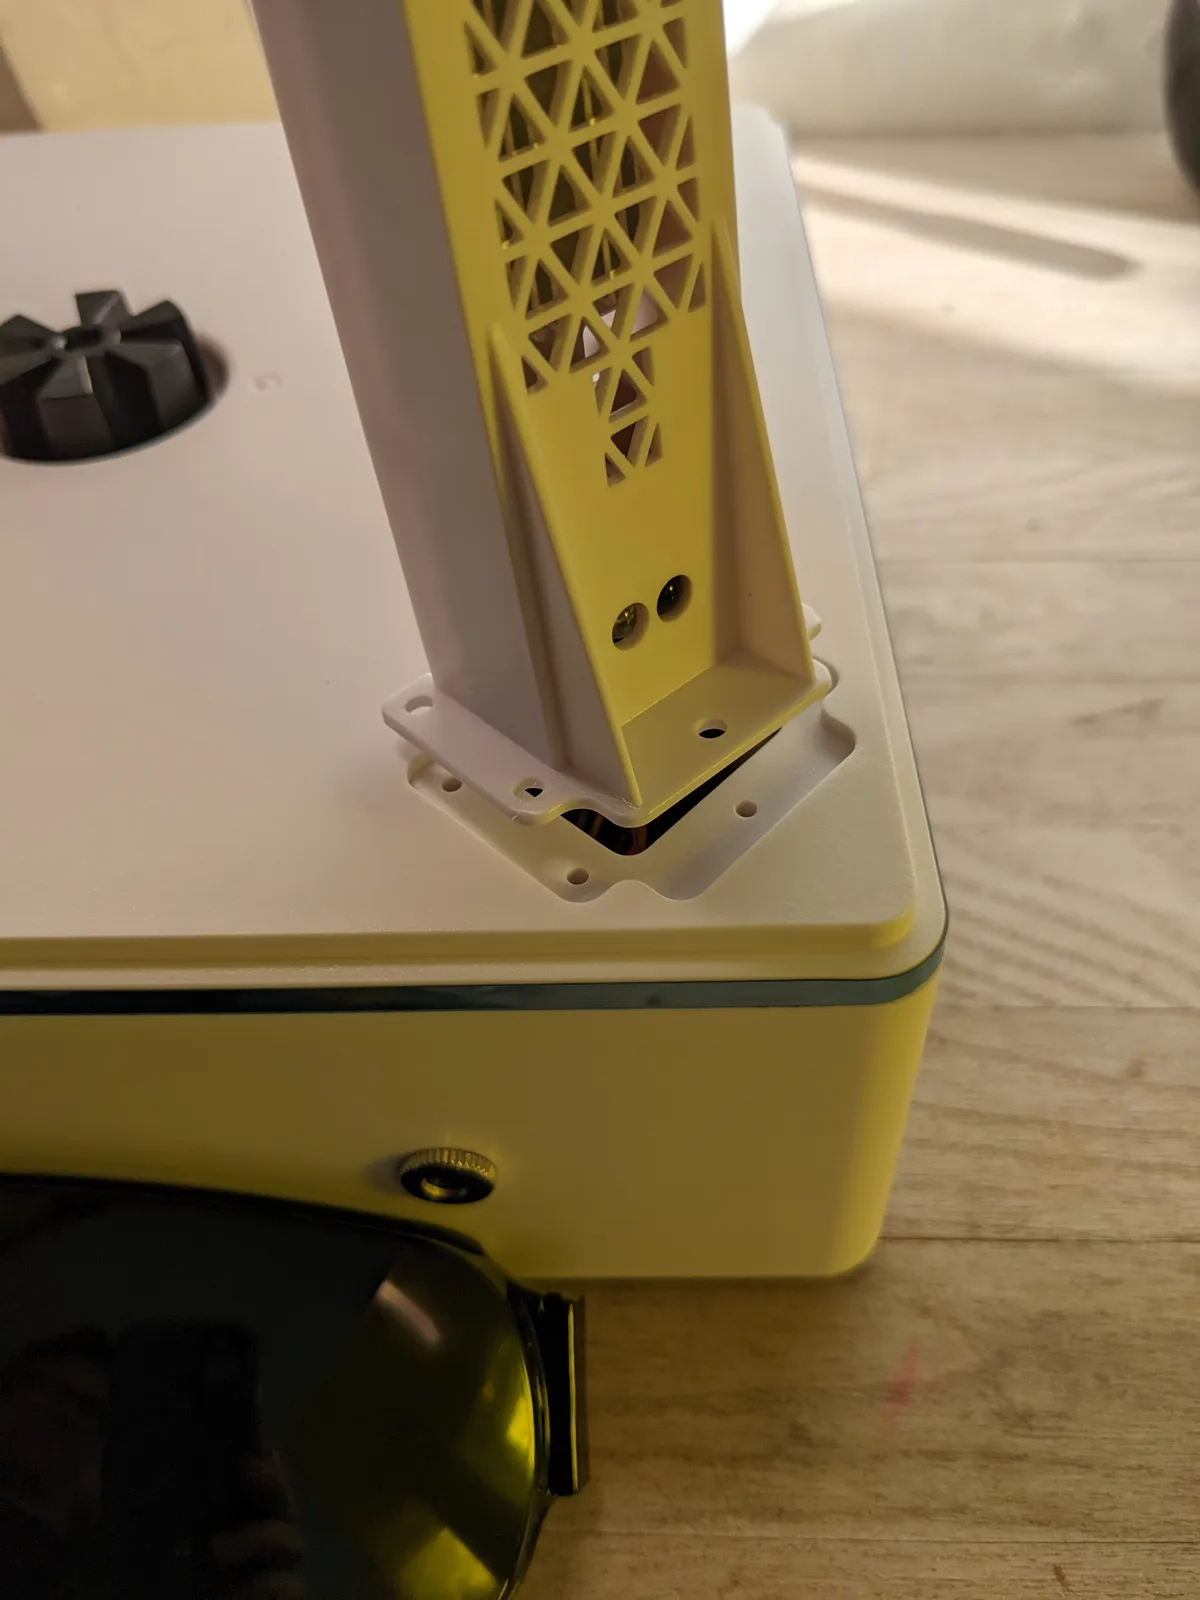
The Elegoo Saturn 3aff vat is used as the example throughout. The frame design varies between manufacturers and models, but the principle is the same: the FEP is sandwiched between two halves of a frame that is then screwed onto the vat base. The procedure applies to any consumer resin printer of this class; only the specific screw count, frame dimensions, and Allen key size differ by model.
The replacement process
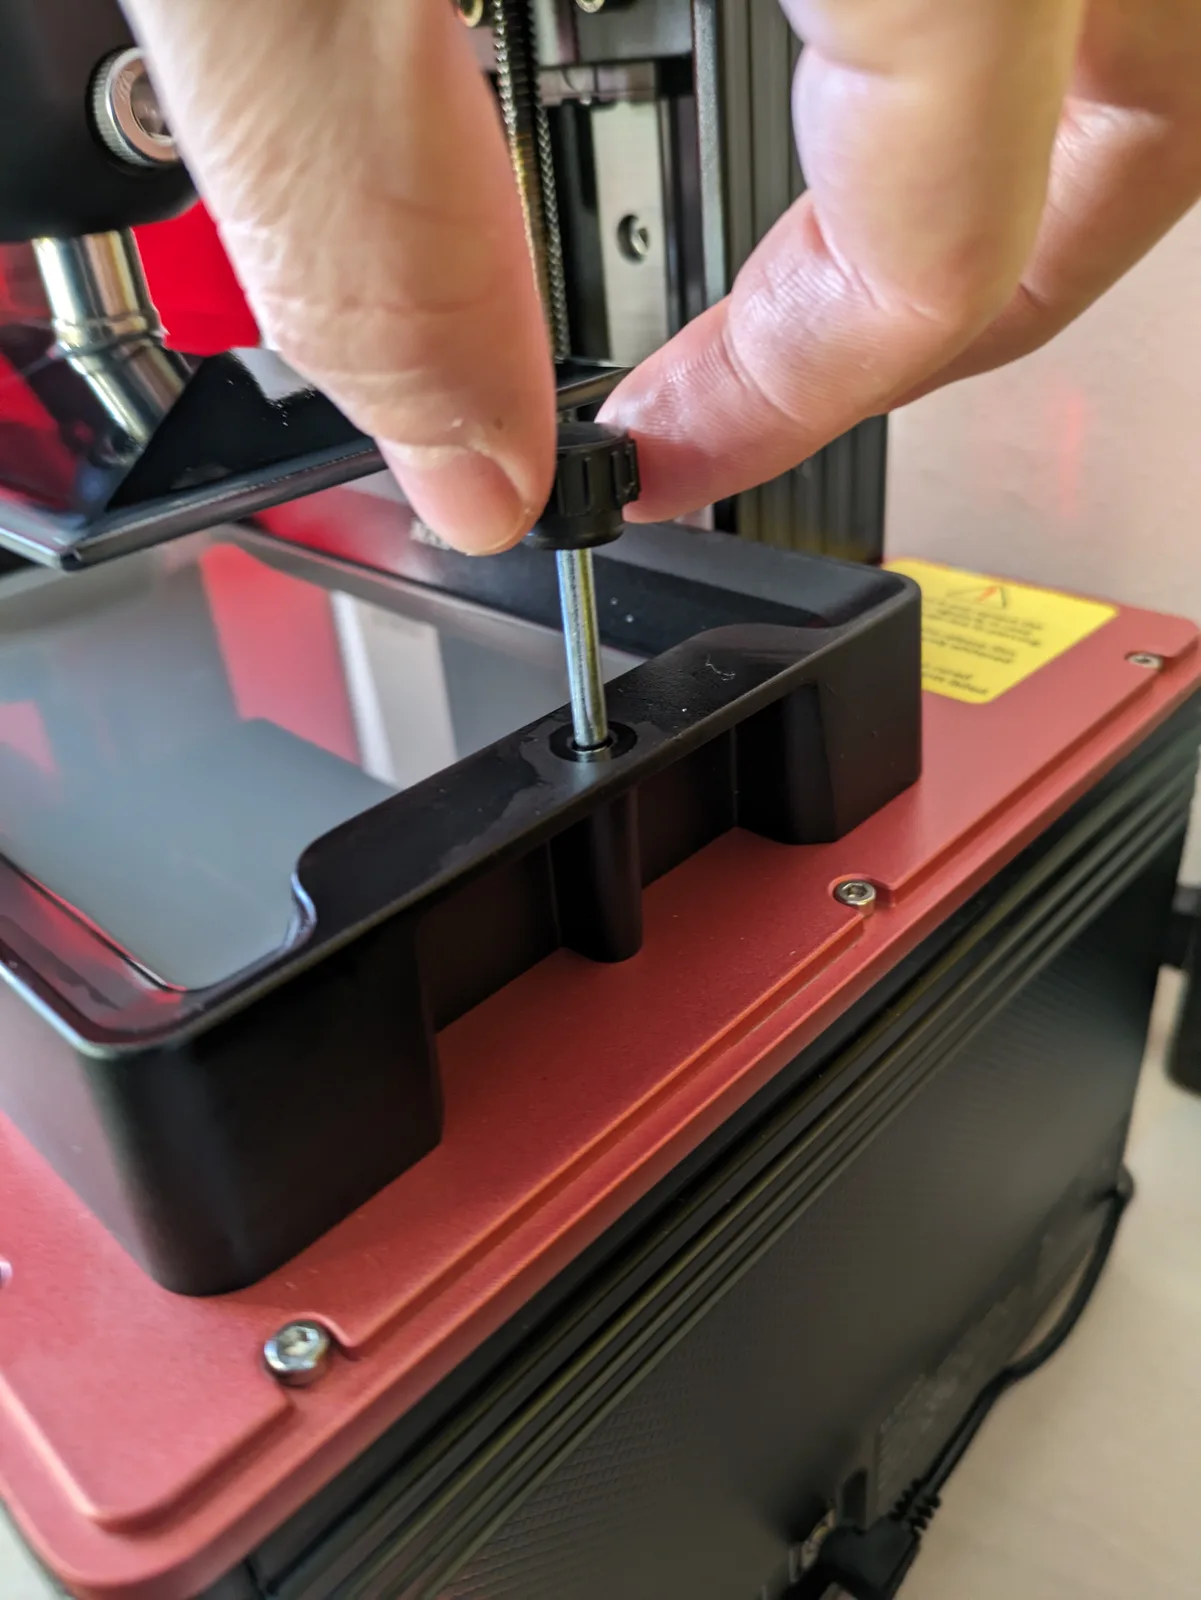
Step one: photograph the vat before you start.
Place the vat face down on a clean surface. Before removing any screws, take a photograph of the screw positions and how the frame sits. This is your reference for reassembly. A photograph takes five seconds and prevents the confusion that happens when you have four different screw lengths and cannot remember which hole each one came from.
Step two: remove the frame from the vat.
Using the appropriate Allen key, remove the larger screws that attach the frame to the vat body. These are the screws around the outside perimeter of the frame. Work in a cross-pattern rather than going around in order. This keeps the frame coming off evenly and reduces the chance of warping the frame as it releases.
Once the large screws are out, remove the frame from the vat. Set the vat aside.
Step three: separate the frame halves.
Flip the frame over and take another photograph. The frame has two halves sandwiched together. Smaller screws hold them together. Remove these smaller screws, again working in a cross-pattern.
Separate the two frame halves. The old FEP sheet will be between them. Remove the old sheet.
Step four: prepare the new FEP sheet.
New FEP sheets have a protective film on both sides. Remove both protective films before fitting the sheet. A sheet installed with the protective film still on will be milky and will affect print quality.
Lay the new sheet on the lower half of the frame, centred evenly with enough overlap on all sides. The sheet does not need to be perfectly tensioned at this stage. Do not touch the surface of the sheet with anything metal.
Step five: reassemble the frame.
Place the upper half of the frame on top of the new FEP, sandwiching it. Align the screw holes and put the smaller screws back in hand-tight first. Then tighten in a cross-pattern, a little at a time on each screw, working around and around until all screws are firm.
Do not overtighten. The screws in FEP frames are small and the frame material can crack or strip. Firm is enough. If you feel significant resistance, stop. You have the tension from the frame being screwed onto the vat body, not from how tightly the frame halves are screwed together.
Step six: trim the excess FEP.
Before attaching the frame back to the vat, trim the excess FEP sheet that is hanging over the edges. Scissors work well. Leave a small margin rather than trimming right to the edge of the frame.
Step seven: attach the frame to the vat.
Place the frame onto the vat body and put the larger screws back in. Again, cross-pattern, even pressure, working around gradually. The tension in the FEP comes from the frame being drawn down onto the vat by these screws, not from how the frame halves were assembled in step five.
When the frame is fully screwed in, run a finger or spatula across the FEP surface from above. It should feel taut, like a drum skin. If it feels loose or baggy, check that all screws are properly seated and that the frame is sitting flat on the vat base.
A note on ACF film
Some vats use an ACF (Anti-Coating Film) rather than standard FEP. ACF has a cloudy side and a clear side. The cloudy side faces toward the screen; the clear side faces up into the resin. Check the documentation for your specific vat if you are unsure which material you have and which orientation it requires.
After replacing the FEP
Two things to do before printing again.
Re-level the build plate. The FEP surface is the reference point for levelling. A new FEP sheet, even a thin one, changes the distance between the build plate and the screen slightly. Always re-level after a FEP replacement. The full levelling procedure is in the article Unboxing and Levelling a New Resin Printer.
Run a small test print. The first print after a FEP replacement confirms that everything is seated correctly, the vat is not leaking, and the levelling is accurate. Use a small, fast-printing test file rather than committing a large print on an unverified replacement.
What to do with the old FEP
Old FEP sheet that is scratched but not torn can be reused as a levelling card. It is exactly the right thickness and rigidity for the paper levelling method. Cut a piece to the same size as the levelling card that came with your printer. It serves the same purpose and stops you throwing away something still useful.