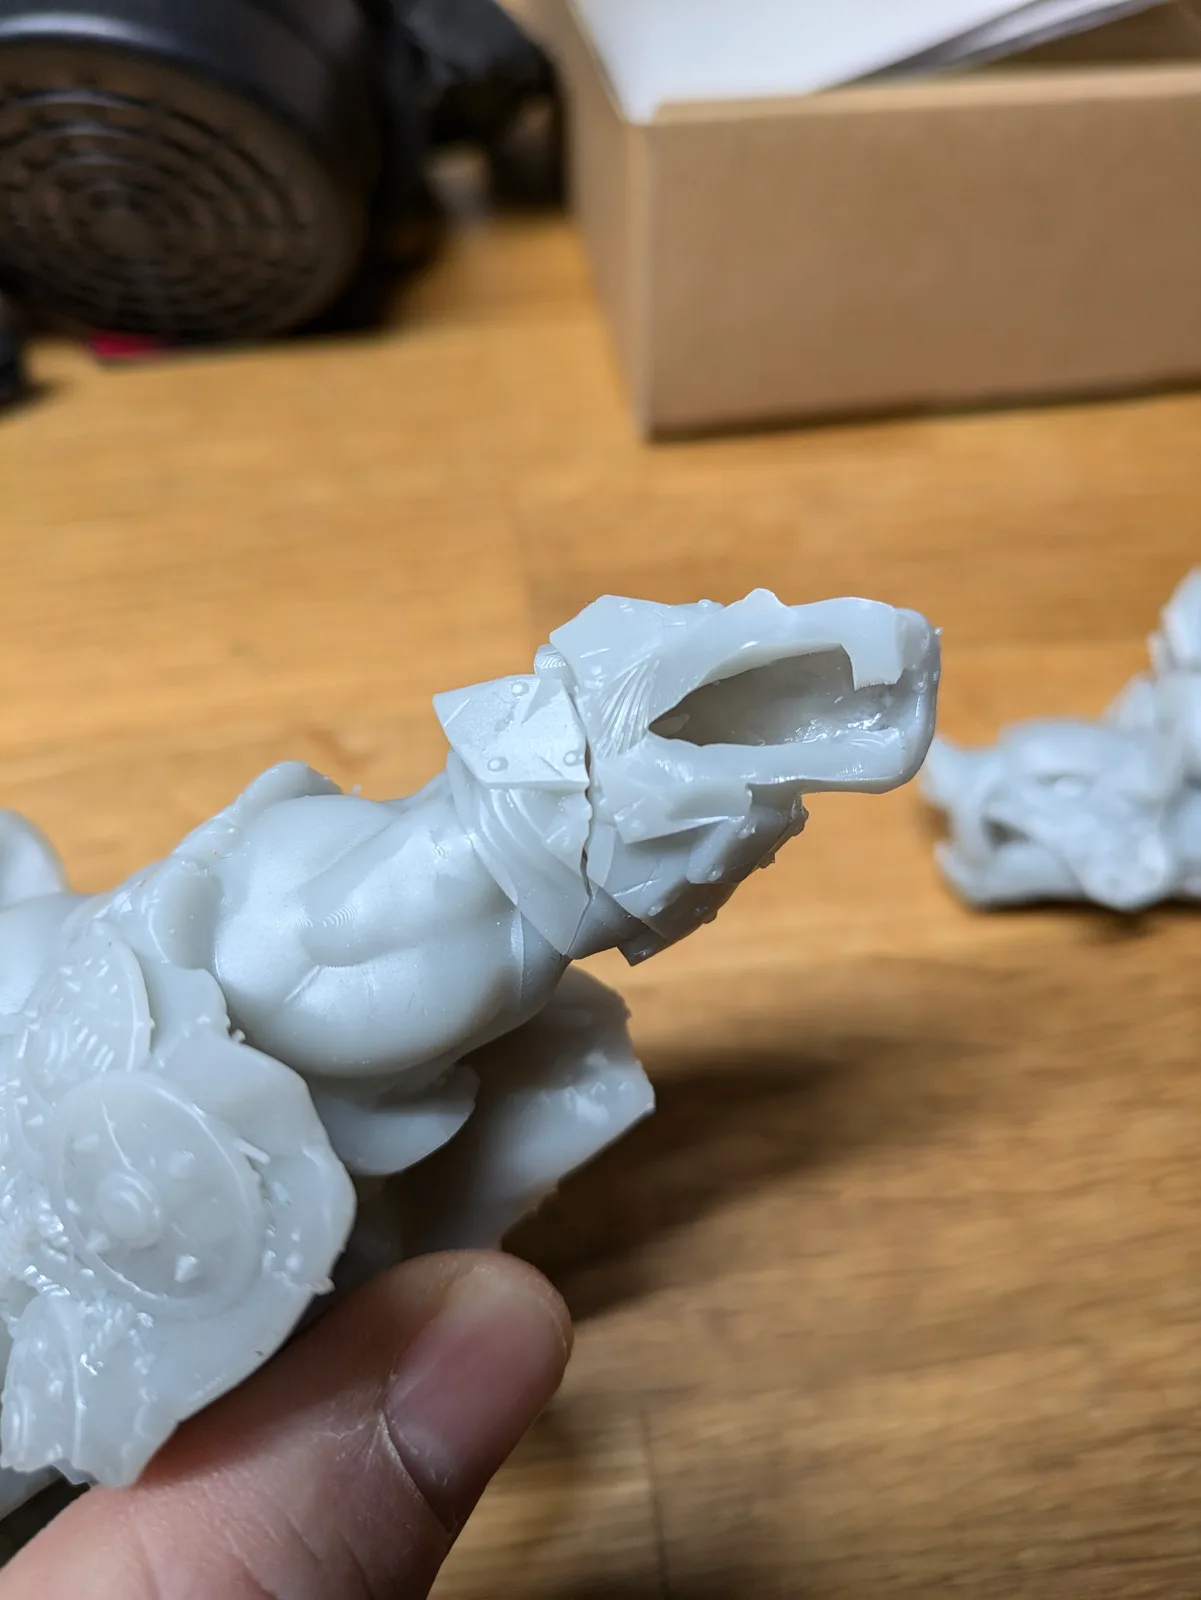
You have cleaned up your failed print and now it is time to figure out what exactly went wrong. This is not guesswork. It is deduction. Every failed resin print has a cause, and almost every cause leaves a pattern that points you toward it.
Start with the right question
The single most useful question when diagnosing a failed print is: what changed since the last successful print?
If the answer is nothing, the diagnosis starts there. Did you actually change nothing, or did something change that you did not notice? Temperature drops overnight. Resin separates if it sat unused for a few days. A USB drive that worked fine for a week develops a corrupt file. The build plate loses its level when the printer is moved, even slightly.
If you genuinely cannot identify what changed, the full checklist below covers every variable worth checking. Start at the top and work down.
What is unlikely to be the problem
If you have a calibrated baseline, a few things are probably not the cause:
- Calibrated exposure time. You have run the Cones of Calibration. Your exposure time is known good for your printer and resin.
- Burn-in time. You set this correctly during the initial calibration.
- Pre-supported files. If you are using pre-supported files from professional designers, the support placement is not the problem unless you changed something about how you positioned the model in the slicer.
This narrows the field considerably. Most failures after a working baseline has been established come from a change in materials, environment, or hardware condition.
A note on community advice
Resin printing forums and Facebook groups contain a great deal of conflicting advice. Some of it is good. A significant amount of it is people who fixed one specific problem on one specific printer applying that fix universally. When someone in a Facebook group tells you to double your exposure time without knowing anything about your setup, that is not diagnosis. It is guesswork.
The TableFlip Foundry community and the Micron Monster community are better resources because the approach to troubleshooting is systematic rather than “try this and see.” If you are stuck after working through this checklist, those are the right places to ask.
The failure scenarios
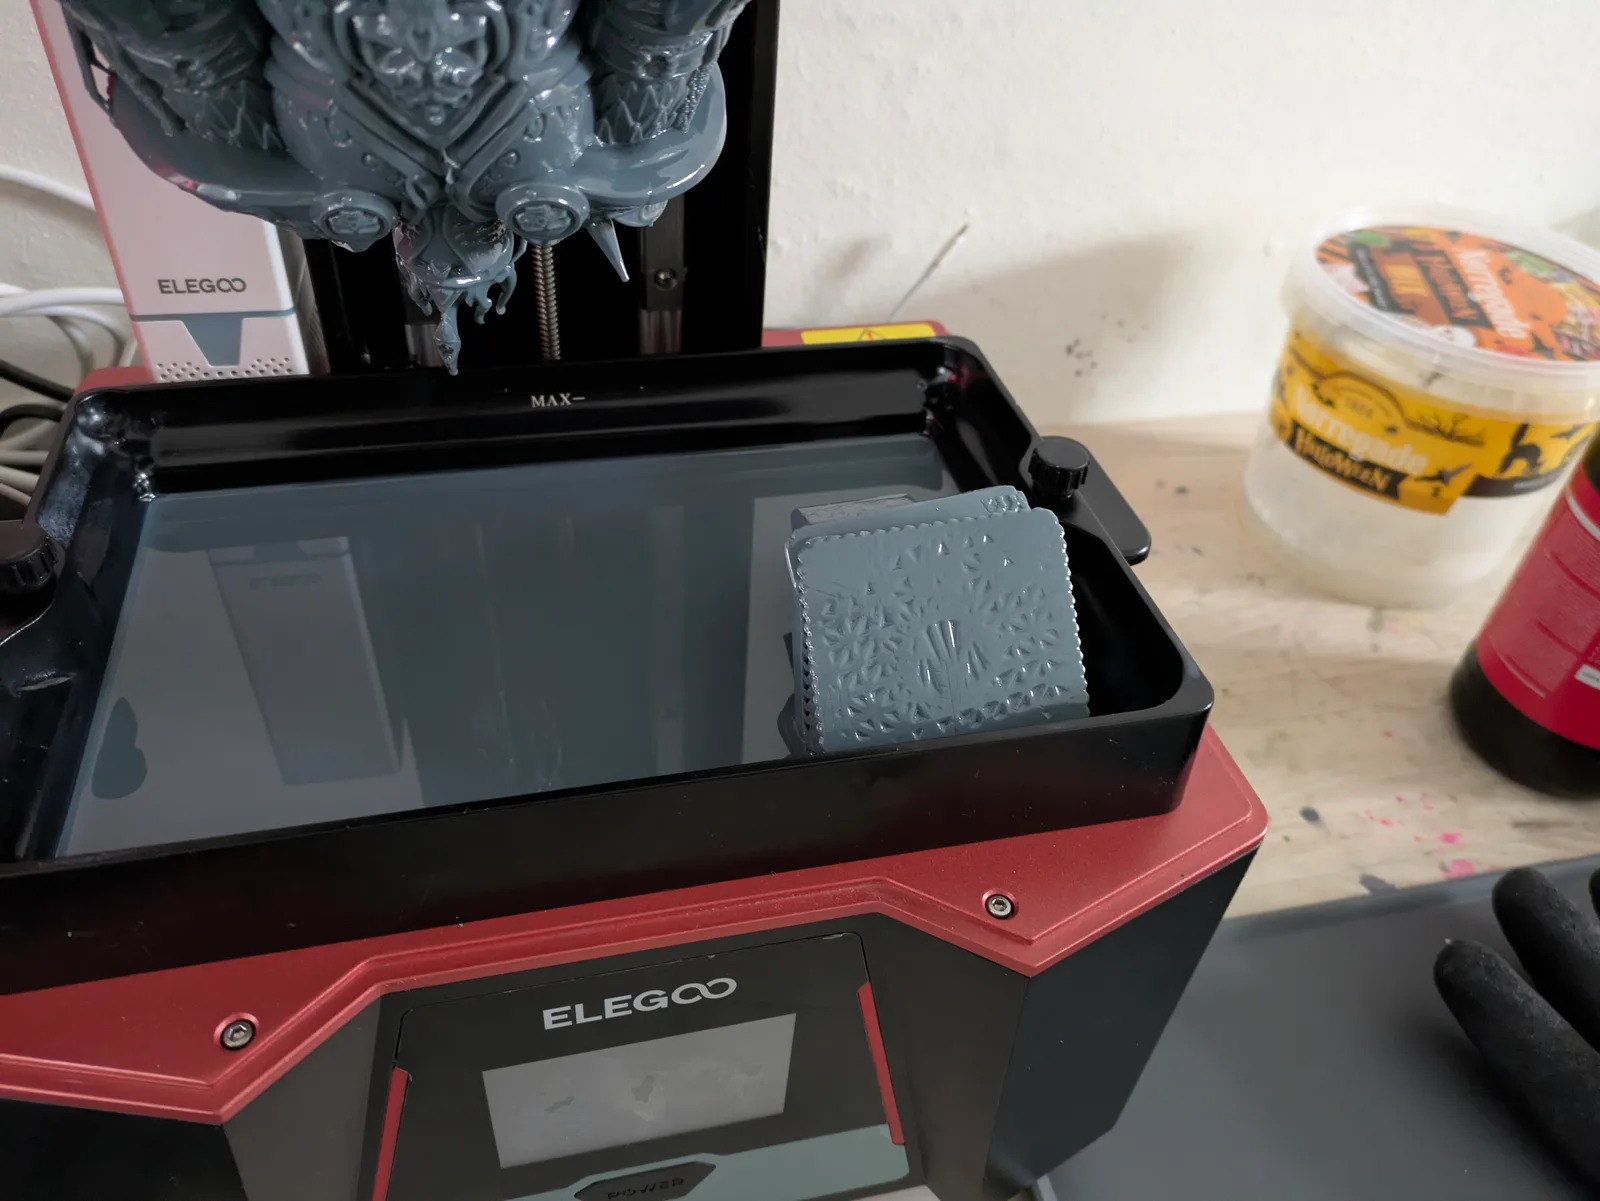
Nothing on the build plate
The print ran, the build plate lifted, and there is nothing attached to it. The print may have cured to the FEP instead, or it may not have cured at all.
The most common causes, in rough order of likelihood:
Resin not mixed. Resin settles during storage. If it was not thoroughly stirred before pouring, the pigment and photopolymer components may be uneven. Stir resin for at least a minute before every session. If the resin has been sitting for weeks, stir longer.
Build plate levelling. If the build plate is not level, the burn-in layers do not make full contact with the screen through the FEP. Parts of the first layers may adhere; other parts do not. Eventually the partial adhesion fails and nothing is on the build plate.
Resin temperature. Cold resin does not cure as efficiently. If the room is cold, the resin is cold. Even a few degrees below the resin’s working temperature changes the exposure needed. A bottle of resin that was stored somewhere cold overnight may need time to reach room temperature before use.
Screen not working correctly. A section of the screen that has lost output will not cure resin in that area. This is less common but worth checking if other causes have been ruled out.
Corrupt file. A corrupt file on a cheap USB drive can cause the printer to run a “print” that produces nothing. If nothing else explains the failure, copy the file to a different drive and try again.
Resin separation (pigment settling). Visible as a layer of clear liquid on top of the resin in the vat. Not the same as unmixed resin. Stir the vat resin thoroughly before printing.
Partial plate failure along a geometric line
Part of the build plate has prints on it; the other part does not, with a reasonably straight boundary between them.
The most likely cause is levelling. The build plate is not flat against the FEP across its full surface, so adhesion fails on one side while succeeding on the other.
Less commonly, a screen that is losing output in one section can produce this pattern. If re-levelling does not fix it, run the screen test and look carefully for a dimmer section.
Worn FEP that has deformed in one area, or resin that was not fully mixed, can also produce partial failures.
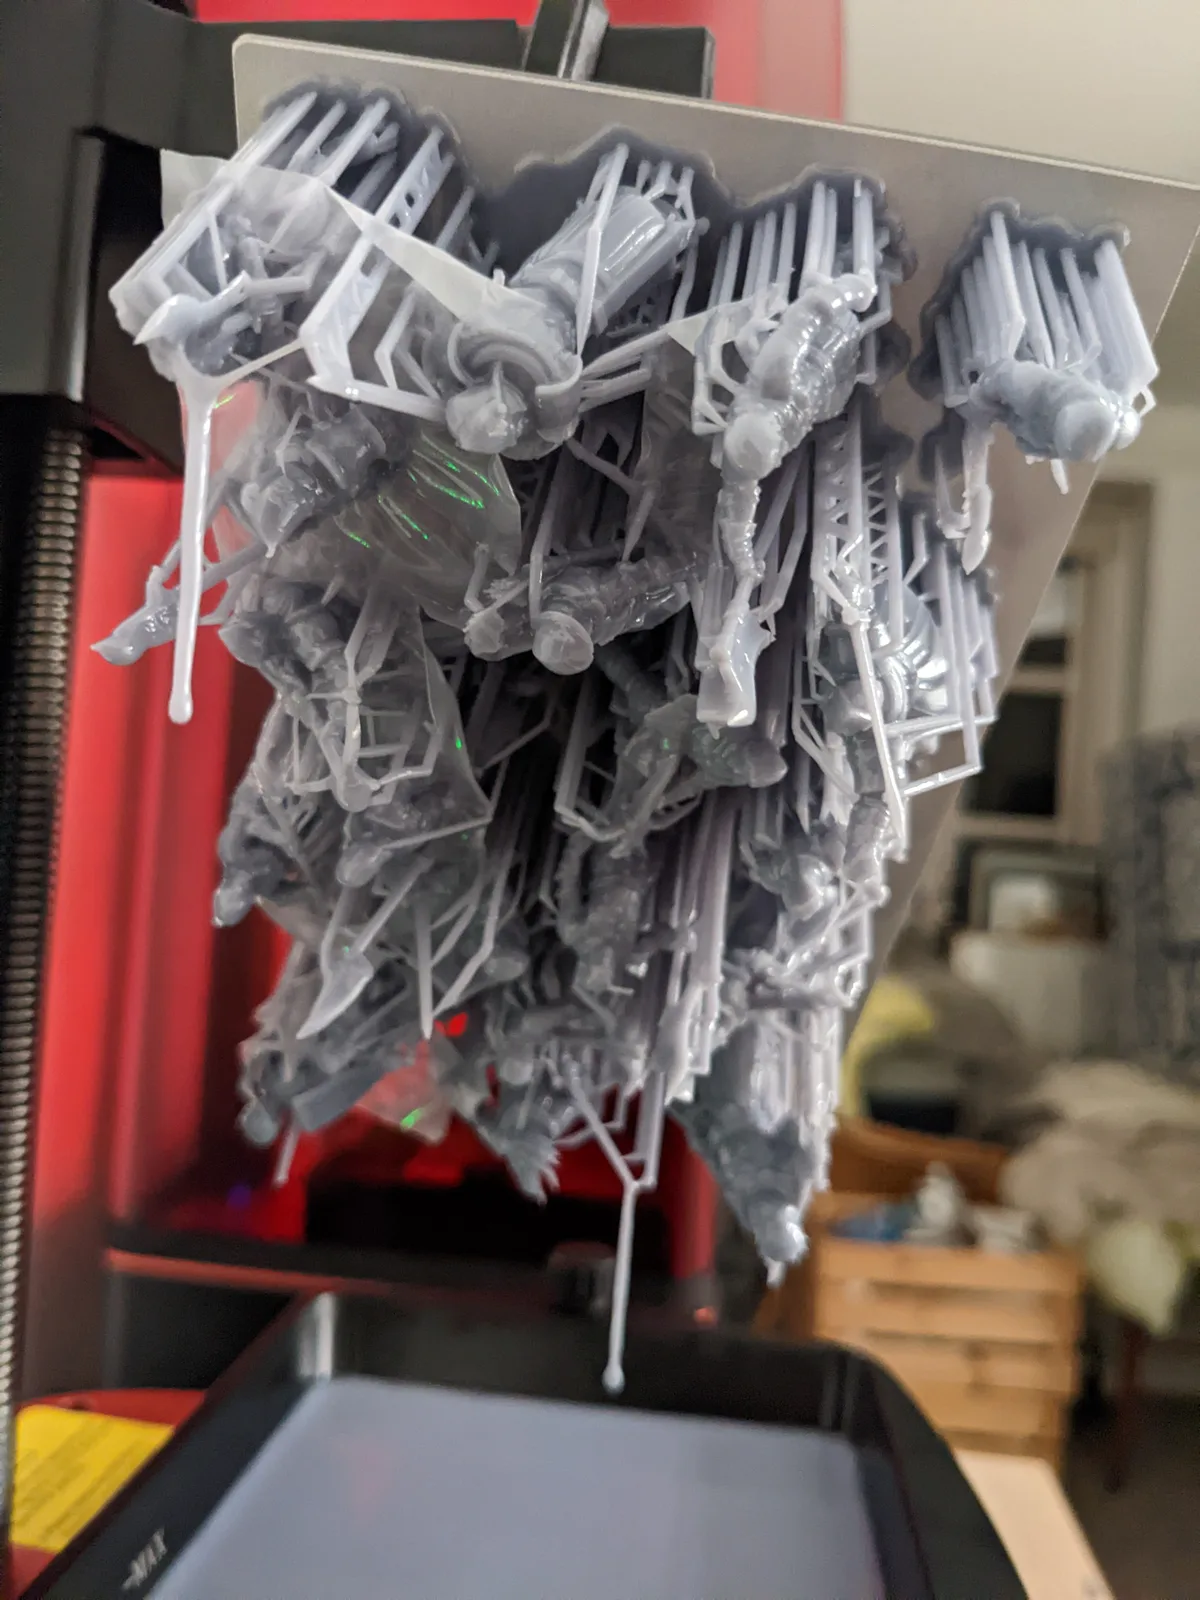
Models fell off mid-print
Something was on the build plate, but when the print finished the models were not there. They fell into the vat during printing.
The build plate lost the tug-of-war with the FEP on a retract movement. This is more likely with larger models because the suction force on the FEP scales with cross-sectional area.
Check:
- Exposure time. If exposure is slightly low, the layers may cure but not have enough structural strength to survive the peel forces.
- Lift and retract speed. Too fast means more violent peel stress on the model. Slower is better for larger or heavier models.
- Lift height. Insufficient lift means liquid resin has not fully flowed back under the model before the next layer cures.
- Build plate condition. A build plate that has become too smooth from cleaning may need a light scuff with fine sandpaper to restore grip.
Only the supports printed
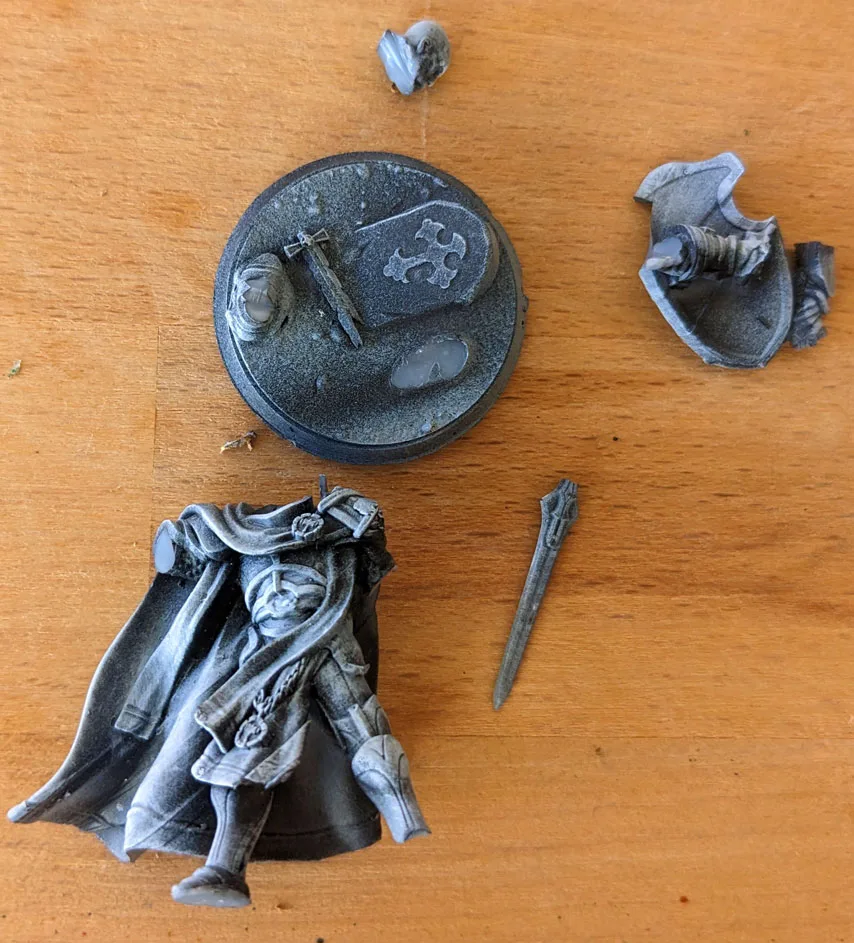
The supports are on the build plate. The model is not. The model fell off its own supports during printing.
This is a support quality or orientation issue. The model may not have enough supports, they may be placed at angles that do not hold the geometry under peel stress, or the speed was too high for the model’s mass to stay attached as each layer peeled.
If you are using pre-supported files and this happens, the slicer settings may be the issue rather than the support placement. If you moved the model from its intended orientation, move it back.
Mixed results across the build plate
Some models succeeded; others failed in various ways. No clear geometric pattern to the failures.
This points toward peel force being too high. Slow down the lift and retract speed. Reduce the pulling forces overall. Check whether a temperature change could have affected the resin. Check whether any models that failed were larger or had a different geometry than those that succeeded.
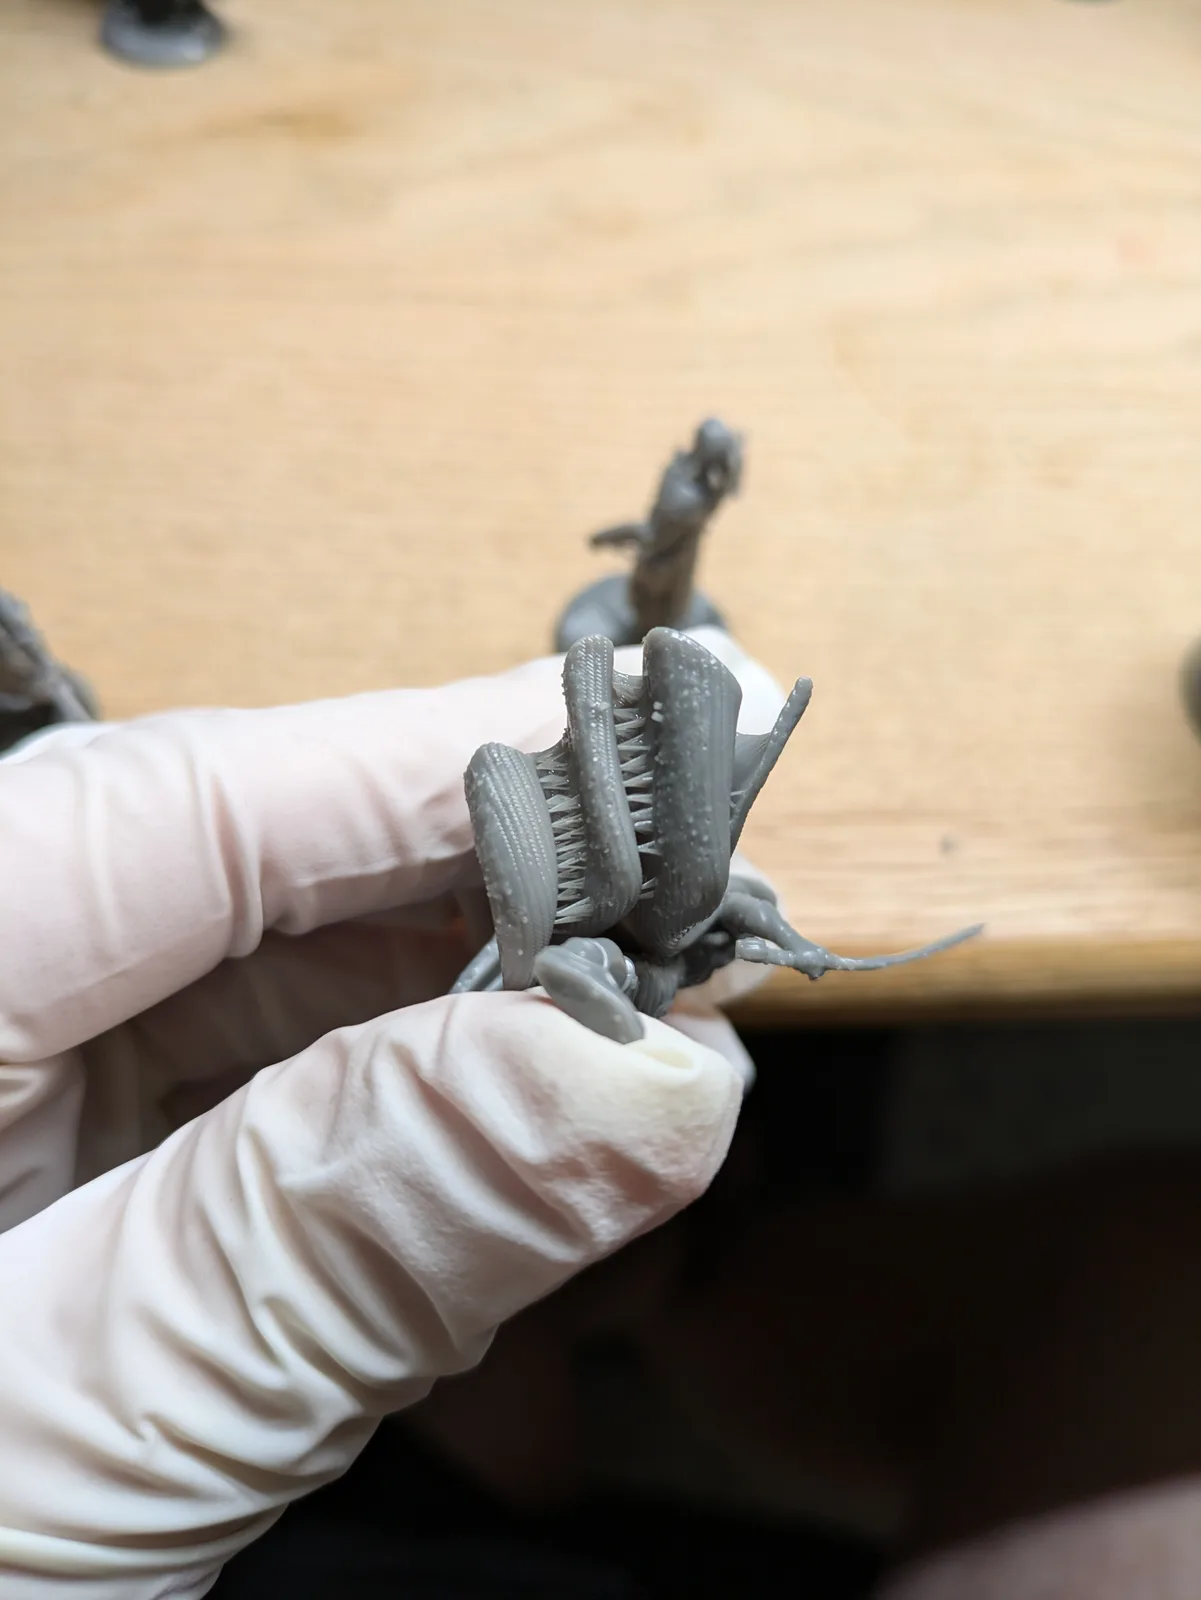
Visible layer lines in the finished print
The print succeeded but the layer lines are much more visible than expected.
The most common causes:
- Print speed too high. Fast retract causes the model to vibrate slightly on its supports, and each vibration leaves a line. Slow down.
- Wobbling supports. Thin supports on a heavy model vibrate during retract. Add more supports or thicker ones.
- Temperature fluctuation. If the room temperature changed significantly during the print, the resin viscosity changed mid-print. This affects how cleanly each layer cures and peels.
- Contamination in the rail. Resin or debris in the linear rail causes jerky movement. Clean the rail.
The full checklist
When the failure pattern does not point clearly to a single cause, work through these in order:
- Lift height (sufficient for resin to flow back under the model)
- Lift and retract speed (slow enough for the model size)
- Wait time (resin fully settled before UV fires)
- Normal layer exposure time (calibrated correctly for this resin)
- Burn-in exposure time (correct for this resin and build plate condition)
- Support issues (pre-supported file used without modification)
- Model orientation (not changed from the original supported file)
- Hollow model drainage (drainage holes present and correctly placed)
- Peel forces (particularly for large cross-section models)
- Resin temperature (at or above working temperature)
- Resin mixed thoroughly (stirred for at least a minute before pouring)
- Mixing resins (if combining brands or formulations, they may not be compatible)
- Build plate level (not disturbed since last successful print)
- Printer stability (not on a surface that vibrates)
- Screen condition (no failed sections)
- Rail condition (no resin or debris causing jerky movement)
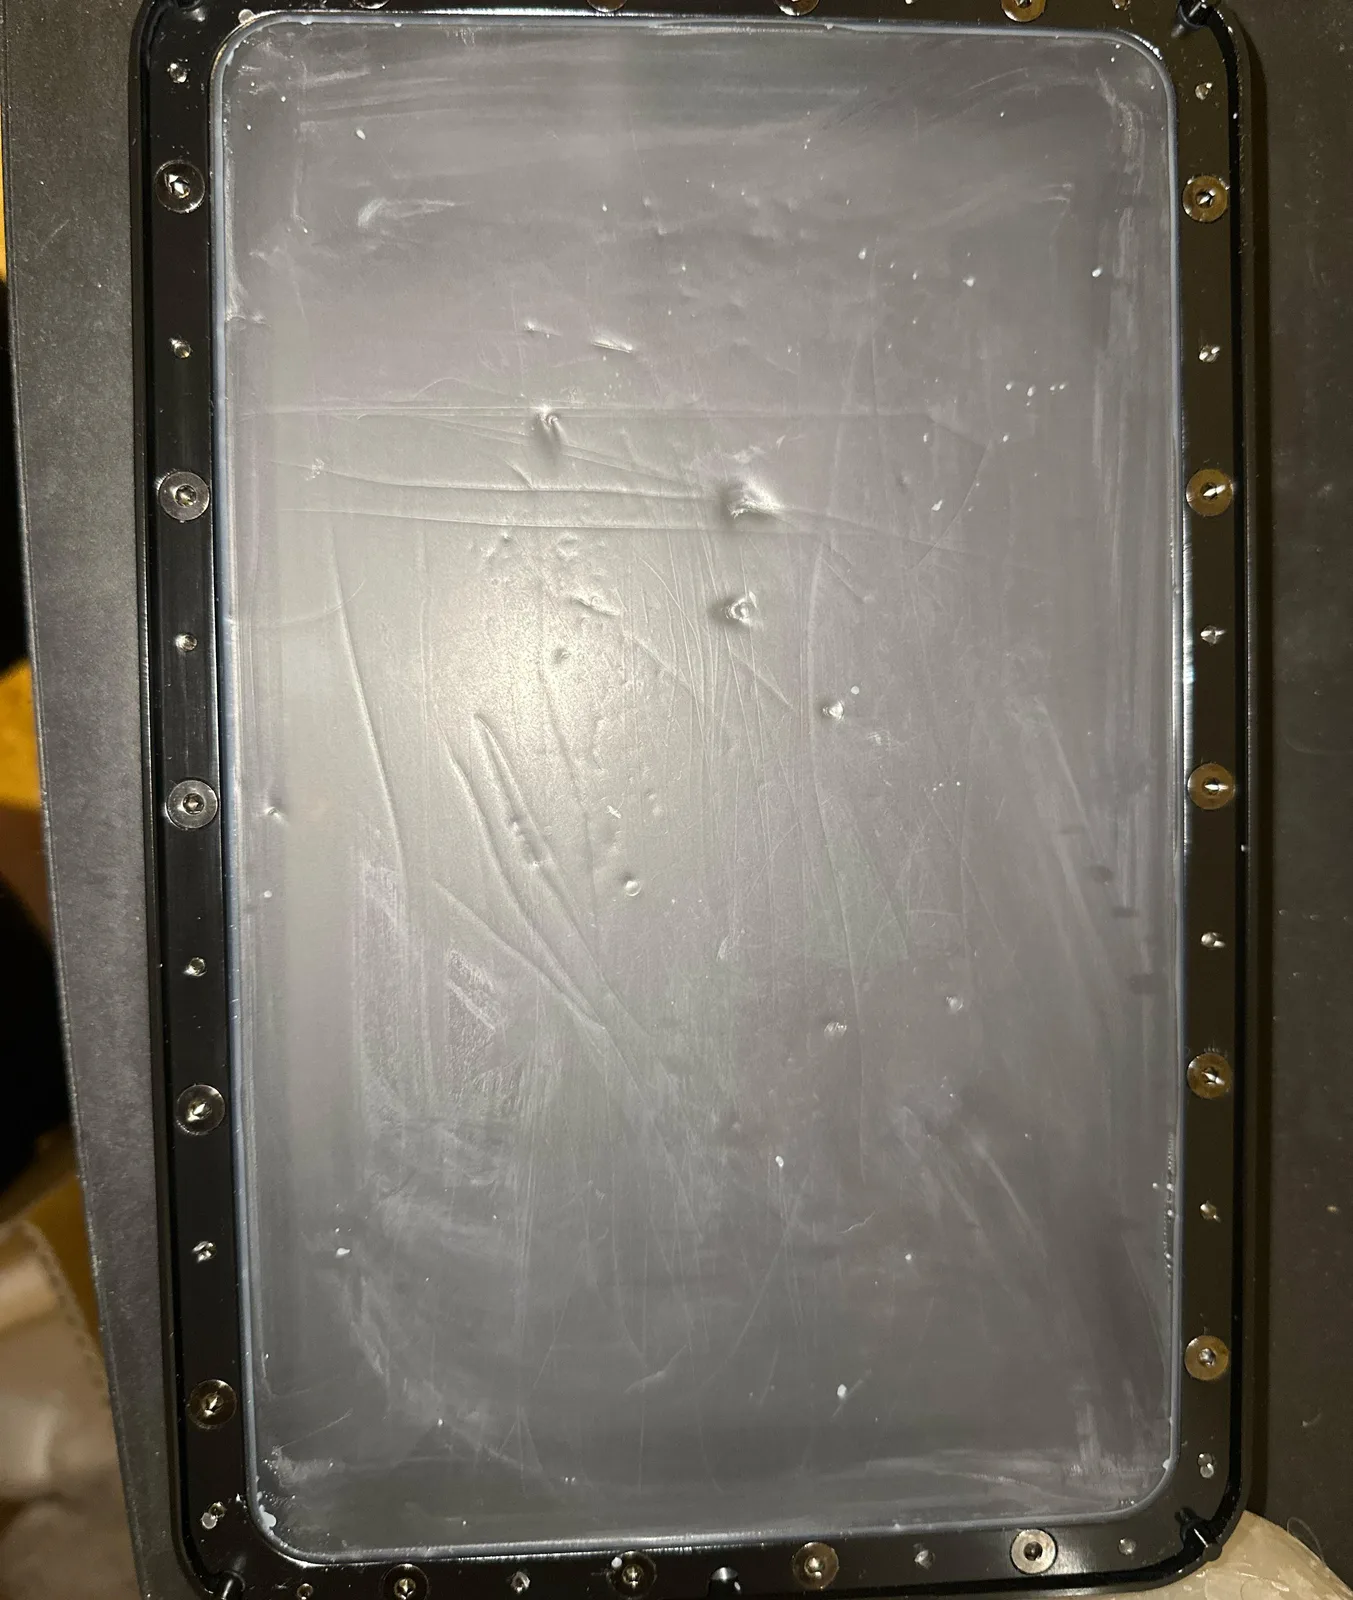
- FEP condition (not scratched, torn, or excessively worn)
- Corrupt file (try a fresh copy on a known-good drive)
- Vat correctly attached (screwed in fully)
Most failures resolve within the first five items on that list. Working from the top catches the common causes before spending time on the rare ones.
For the common mistakes that show up before a baseline is established, the article 10 Resin Printing Mistakes Beginners Make covers the patterns that appear most often in the first month of printing.
If you would rather walk through your failure interactively, the print fail diagnostic does the same triage as a short wizard.