Some links on this page are affiliate links — marked with aff — and if you buy through them I may earn a small commission at no extra cost to you. Read the full disclosure.
I remember unboxing my first resin printer, the original Elegoo Mars 1, and being terrified of breaking it. Some of those concerns were valid. Most of the mistakes I went on to make in the first year were not the dramatic ones. They were small tactical errors that wasted resin, time, and FEP film, and almost every one of them was avoidable if someone had pointed it out before I made it.
This is the diagnostic reference I wish I had when I started. Ten specific mistakes, what each one looks like, why it happens, and the actual fix. Tactical, not philosophical.
1. Burn in exposure cranked far too high
Are your prints stuck to the build plate like they are holding on for dear life? You are not alone. The most common piece of advice handed to new hobbyists is to crank up the burn in exposure time so the first layers stick. It works, in the sense that the print sticks. It works too well.
The problem comes when you try to get the print off again. You end up reaching for a metal scraper, applying too much force, and breaking the model, scratching the build plate, slicing your own fingers, or knocking the build plate out of level. Some people try to fix this by adding a flex plate to the build plate. That introduces a new set of problems.
The fix is to lower the burn in exposure step by step until the prints come off easily but still stick reliably during the print. You want enough adhesion to win the tug of war with the FEP every layer, and not a microsecond more. Different prints want slightly different burn in exposures, so it is worth keeping separate profiles for small, medium, and large prints if you regularly print across that range.
2. Using the plastic and metal scrapers that came with the printer
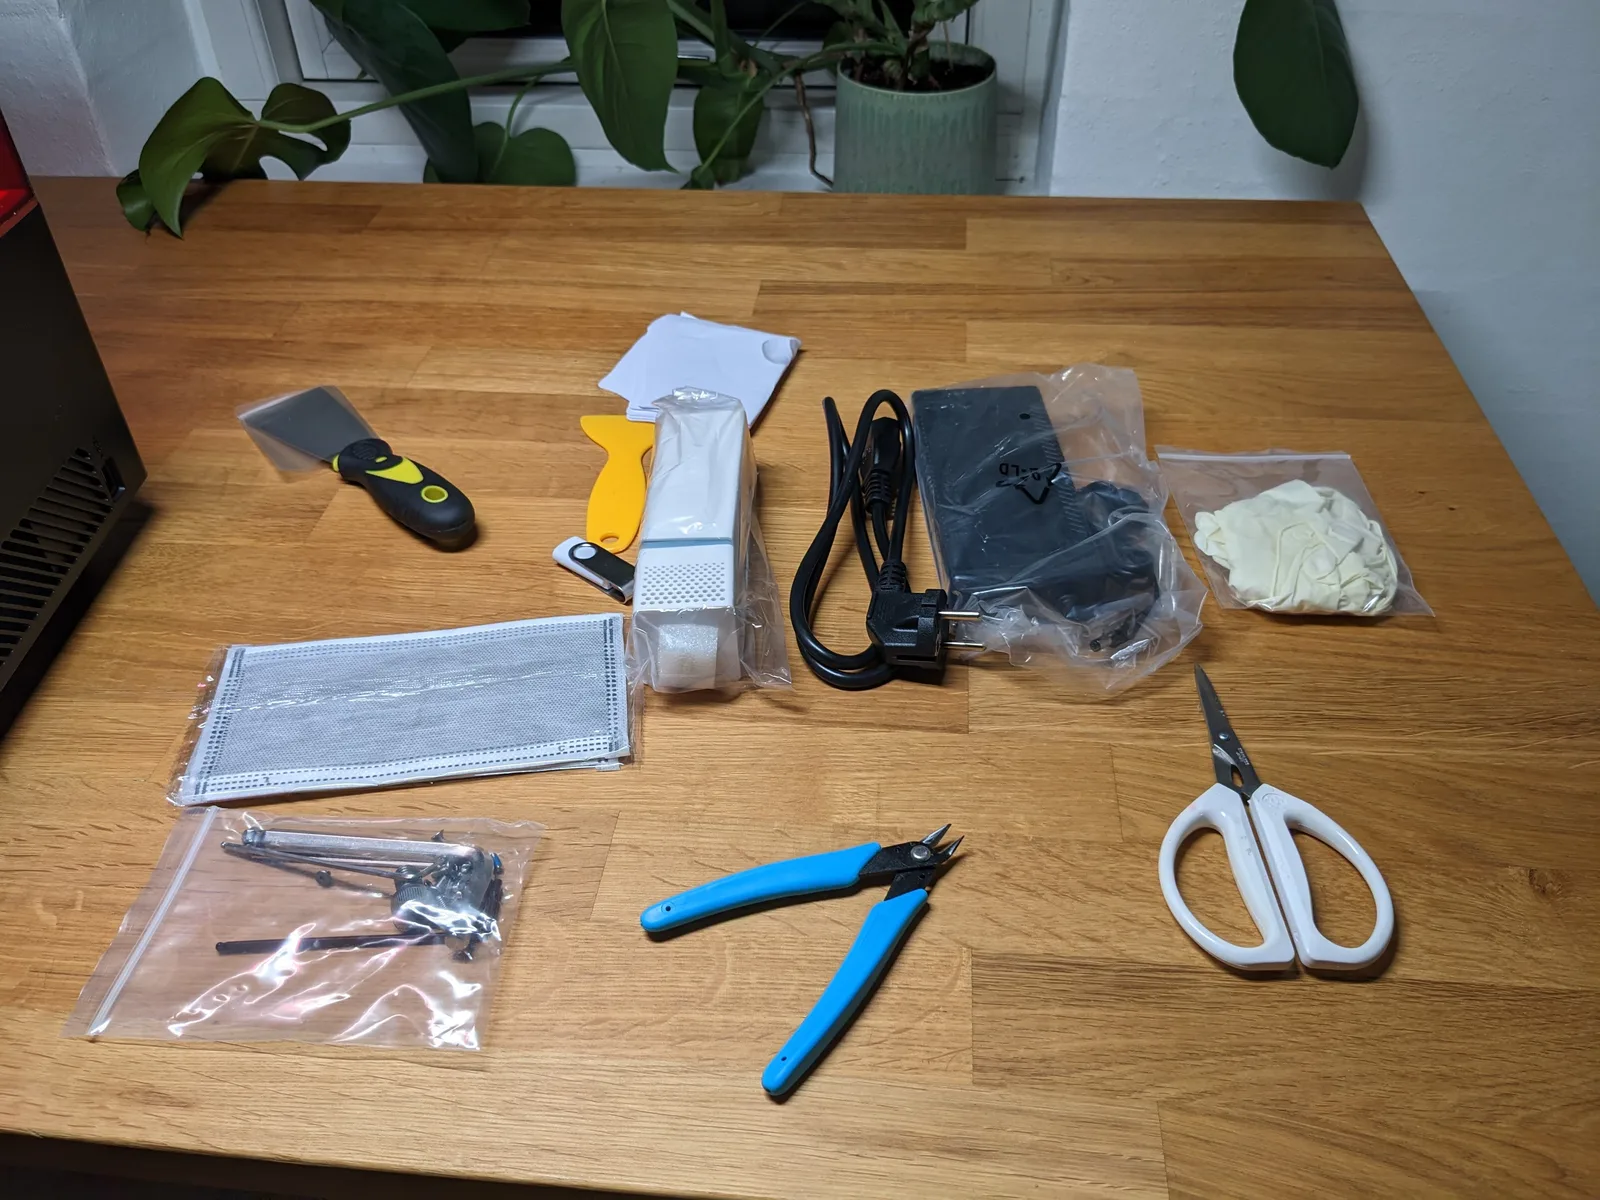
A lot of the gear in the printer box is not worth keeping. The cheap USB stick is prone to data corruption that produces mystery print failures. The thin paper mask included with some kits will not protect you from VOCs.
The worst is the plastic scraper. It is not sharp enough to slide cleanly under a print and ends up either damaging the model or scratching the build plate or both.
The fix is a small plastic scraper with replaceable razor blades. It slides under a print, applies a tiny amount of leverage, and the model pops off with no force, no damage, no fingertip injuries. When the blade dulls or gunks up, you swap it out. If something is genuinely stuck, gently warm the build plate with a hairdryer and use a sharp metal scraper as a last resort. With properly tuned burn in settings (see mistake one), you will rarely need the metal scraper.
3. Trusting stock or community settings without calibrating
You found a settings profile on a forum or in Lychee that has lots of users. You loaded it. Your prints fail. You assume the settings are wrong, find a different profile, load that, and the failures continue.
Stock and public settings are usually overexposed, often too fast, and rarely include the wait before print time the resin needs to settle between layers. They are also tuned to someone else’s printer in someone else’s room with someone else’s bottle of resin. The light intensity varies between units, the temperature varies between rooms, and the chemistry varies between batches. There is no settings file you can copy that will be exactly right for your specific setup.
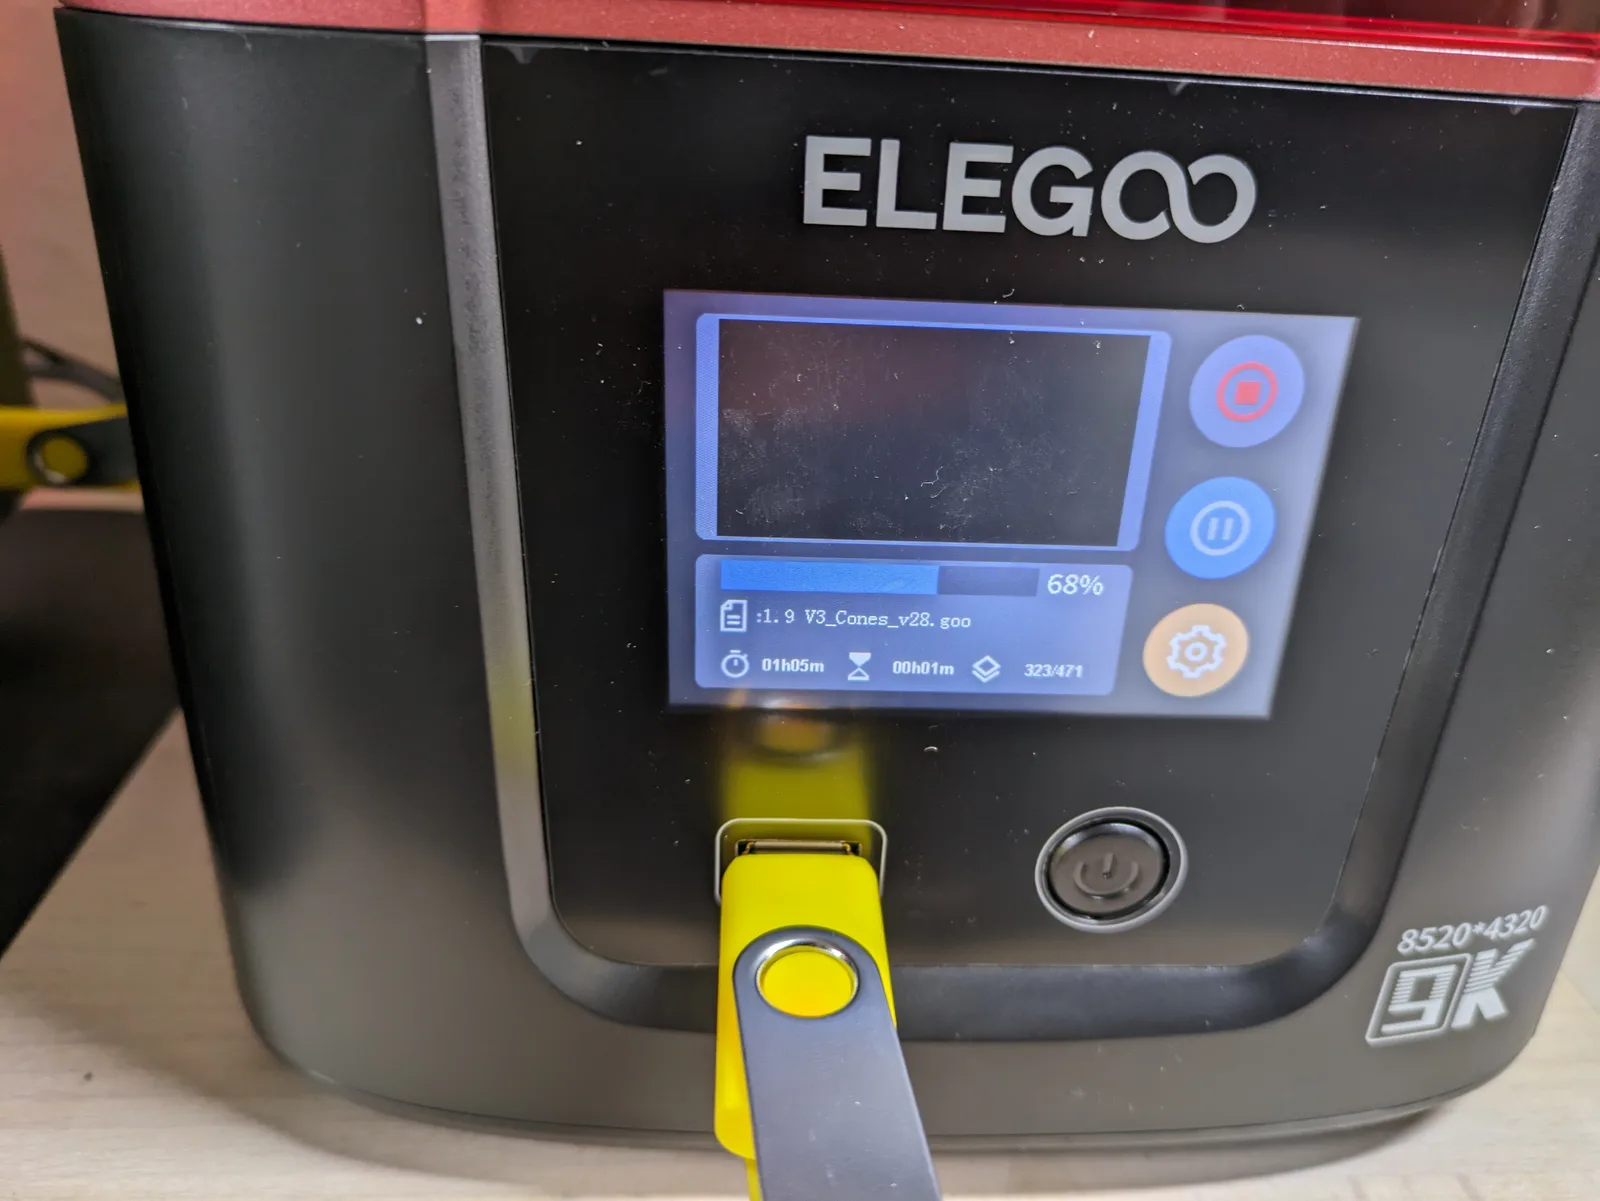
The fix is to calibrate yourself. The Cones of Calibration from TableFlip Foundry is the test print I recommend for beginners. It has the exact features needed to read exposure cleanly without callipers, without guesswork, and without the confusion that other tests can cause. Run it once with each new resin or after a meaningful temperature change. The whole process takes one print cycle. Once you have your number, every print you run after that is more reliable.
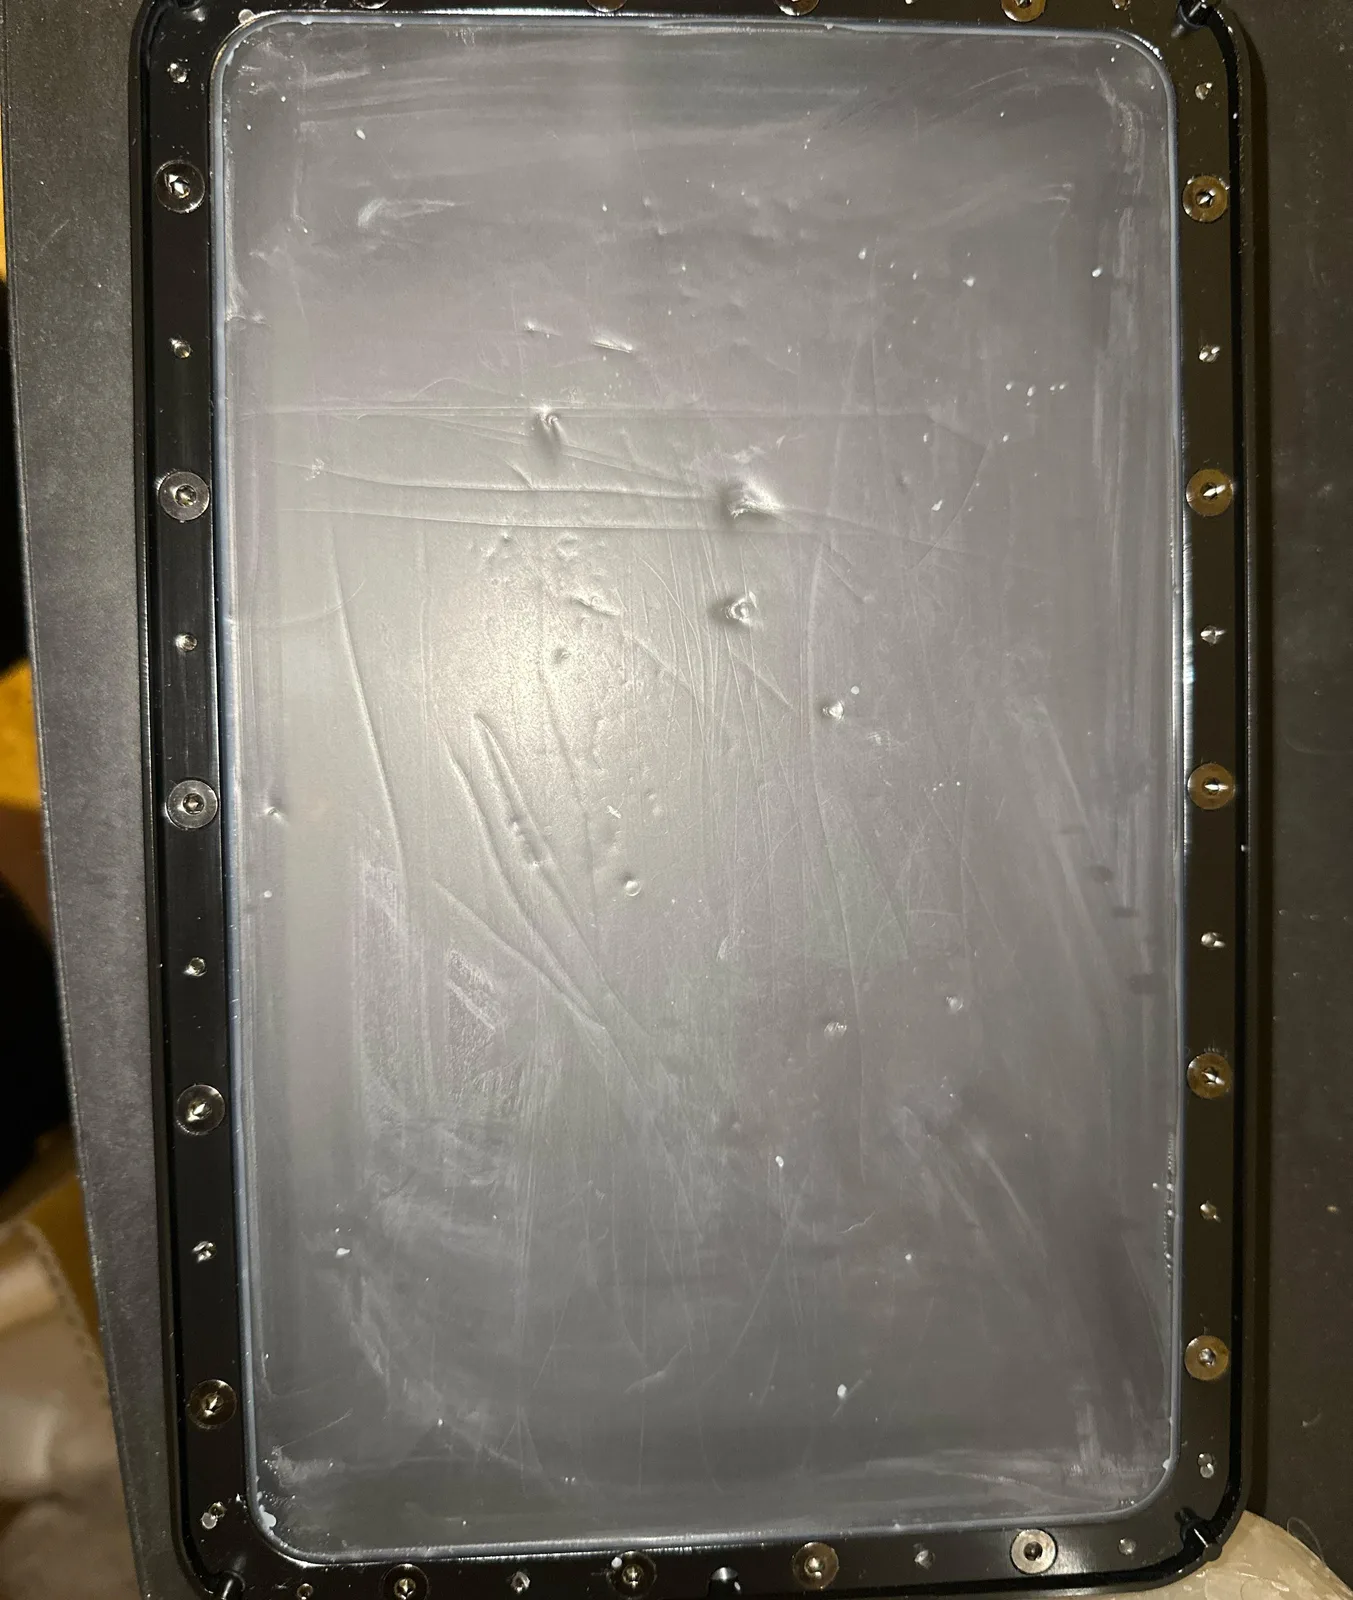
4. Not checking the VAT before and after every print
A small chunk of cured resin sits at the bottom of the VAT after the previous print. You start a new print without noticing. The cured chunk is pressed up against the FEP. Within a few layers a tiny dent in the FEP becomes a tear, resin leaks down onto the screen, and now you are looking at an expensive screen replacement.
This is the single most common cause of dead screens, and it is entirely preventable.
The fix is a silicone spatula and a quick check before every print. You need to mix the resin anyway to make sure it has not separated, so use the silicone spatula to gently feel along the bottom of the VAT while you stir. If anything feels off, clean the VAT before you print. After the print finishes, do the same check. The few seconds it takes to feel along the FEP saves screens and prevents the kind of failure that ruins an evening.
5. Removing the VAT while the build plate is still attached
Before you remove or empty the VAT, always take the build plate off first. Think of the VAT as the shield that protects your printer’s screen. Every time you take the VAT out with the build plate still in place, you are exposing the screen to drips, knocks, and the small chance of dropping something on it. Some hobbyists deliberately level their build plate without removing or emptying the VAT for the same reason, just to keep the screen covered.
A related warning: if you do remove the VAT, screw it back in properly when you put it back. A loose VAT taking flight at the start of a print is a sight no beginner ever forgets.
6. Emptying the VAT every time when the tank clean feature would do
You had a failed print. You think you have to empty the VAT to remove the cured debris. You decant resin into jars, scrape the bottom of the VAT, fight with the FEP. Half an hour later you have a clean VAT and a small mess on your hands.
You did not have to do that. Almost every modern printer has a Tank Clean or VAT clean function that cures a thin sheet across the bottom of the vat, lifting debris out in one piece without decanting or scraping. The step-by-step procedure, including the paper-handle trick that makes the sheet easy to grip, is covered in Cleaning Up After a Failed Resin Print.
7. Scraping the FEP with the wrong tool
A specific subset of mistake six. You actually do need to empty the VAT, perhaps to inspect the FEP for damage, perhaps to change resin colour. The slow flowing resin needs help to drain.
Do not use the sharp plastic scraper. Do not use any metal tool. Both will damage the FEP, and the whole reason you have been gentle with the VAT in mistakes four and five was to avoid that exact damage.
Use the silicone spatula. It is the only tool soft enough to push resin around in the VAT without leaving marks on the FEP. Even with the silicone spatula, work carefully along the bottom rather than pressing down.
When you put the VAT back, check the underside for any leftover gunk on the way in. If you notice the black tape on the bottom of the VAT bubbling up over time, that is a mistake worth catching early. Replace the bubbled tape with a strip of electrical tape and the seal stays clean.
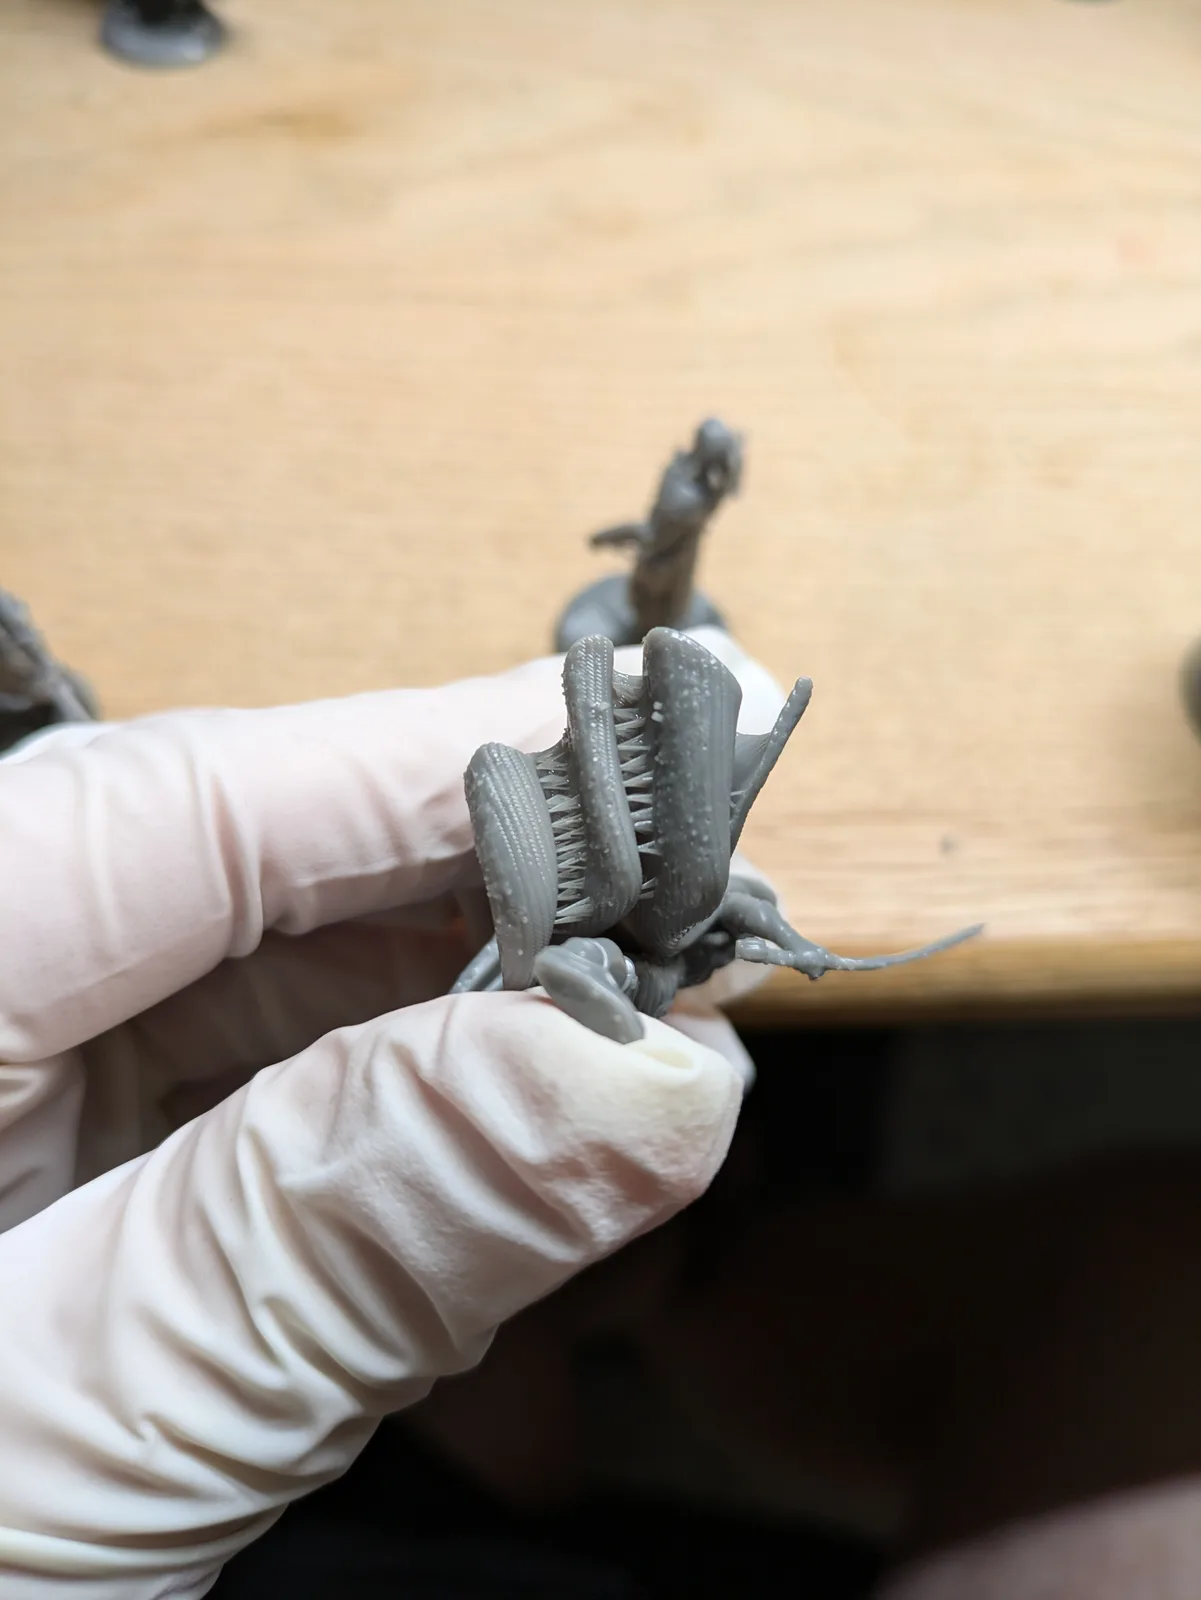
8. Cutting supports off like it is 2020
In the early days of resin printing, support removal involved nipper clippers and a lot of patience. That was correct then. It is not correct now.
If your printer is properly calibrated and your supports were generated sensibly, supports should pop off with finger pressure alone. No clippers. No tools. If you find yourself reaching for the side cutters by default, something is wrong further back in the workflow. Either the supports are too thick, the support contact tips are too large, or the print has been overexposed and the supports have fused to the model surface.
The fix in the moment is to warm the model gently. Hot water against a stuck support softens the resin enough that the support peels off cleanly. If you wash with water, the warm wash water already does most of this for you. Cold rooms make supports brittle and harder to remove cleanly, which is one of several reasons heated VATs and warm workshops produce better miniatures.
The fix in the longer term is to dial down the support thickness in your slicer settings, dial down your exposure time, and check that you are not over curing your prints (see mistake nine).
9. Pouring contaminated wash water down the drain
If you wash with water, the warm water you used to clean a print is now contaminated with uncured resin. Some bottles of water washable resin have packaging that suggests pouring the wash water down the kitchen sink. Do not do this. Liquid uncured resin in the public water system is not something anyone should be putting into the public water system.
The fix is straightforward and uses no special equipment. Pour the wash water into a large container with a lid. Leave the container outside in a safe spot where the sun can reach it. The UV in sunlight cures the dissolved resin out of solution, the cured resin sinks to the bottom, and the water above slowly evaporates. The process takes weeks rather than days, but it is entirely passive.
You can speed it up by using a wide shallow container so the surface area is larger, by leaving it somewhere warm as well as sunny, and by standing a fan on it to help the evaporation along. Make sure the container is covered or screened so birds do not drink from it and rain does not fill it back up.
When the water above the cured resin layer is clear, pour it off down the drain. The cured resin layer at the bottom can be scraped out and binned with the rest of your cured waste. Plan for two containers on rotation if you print regularly.
10. Hoarding files instead of printing them
This one is less tactical and more behavioural, but it is the mistake I see hobbyists fall into more than any other after the first three months.
Resin printing has produced an extraordinary indie sculptor scene. MyMiniFactory Tribes, Patreon releases, and free file drops appear constantly, and every one of them is a temptation to subscribe, download, and add to the digital pile. The FOMO is real. Subscribing now might genuinely be cheaper than buying the same files later.
But the digital pile of shame becomes a real problem. You already have a physical pile of unpainted miniatures. Do you really need a digital pile that mirrors it? At a certain point you are paying for files you will never print, storing terabytes of STLs you will never browse, and printing models you do not actually love just to keep the printer running.
The fix is to be honest about your throughput. How many models can you realistically print and paint in a month? Subscribe to one or two creators whose work you actually love. Print from those creators regularly. Ignore the rest. If a sale ends, the files come back next month or you find a different creator whose work hits the same note. The market is enormous and not going anywhere.
If you are going to subscribe to multiple Tribes, decide on a folder structure and a naming convention before you download a single file. I am sitting on over 1.5 terabytes of STLs across two decades of file collecting, and the genuine cost of not having a sortable structure is that I cannot find half of them when I want to print one.
A word on the workspace itself
Almost all of the mistakes above happen on top of one foundational mistake that does not always get its own number: trying to print resin in a space that is not suitable for it. A bedroom. A kitchen. A windowless cupboard. A room shared with children or pets. A space with no ventilation and no airflow.
If your space cannot meet the basic requirements (good airflow, stable warm temperature, no direct sunlight on the printer, no foot traffic, somewhere you can leave gear without it being disturbed), fix the space before you start blaming the printer for failed prints. The full version of that conversation lives in the clean beginner setup article.
Where to go from here
Most of the ten mistakes above will catch you at some point in the first six months. The point is not to avoid all of them, it is to recognise each one as it happens and apply the specific fix rather than guessing. Failed prints are diagnostic. They tell you exactly what went wrong if you know what to look for.
For the broader workflow that prevents most of these in the first place, the clean beginner setup article is the cornerstone hub. For the gear that makes the workflow easier, the start resin printing guide lists the kit I would actually buy. For the cleaning side of the workflow specifically, the post-processing article covers the wash and cure routine that makes a print paint ready.
If you want the video version of this list with the actual tools on screen, my free video course covers the same workflow end to end. Whichever route you take, the mistakes above are the ones to watch for. Recognise them, fix them, and you will lose far fewer bottles of resin to repeat failures.

