Some links on this page are affiliate links — marked with aff — and if you buy through them I may earn a small commission at no extra cost to you. Read the full disclosure.
If you are thinking about getting into resin 3D printing for miniatures, the internet makes it easy to believe you need a full workshop, thirty pieces of gear, and a perfectly optimised slicer profile before you even plug the machine in. You do not. Most of that advice is written by people who have forgotten what a first month actually looks like, or by people trying to sell you something.
After 27 years of painting miniatures and several years running a resin printer as part of my weekly workflow, I can tell you what works. A clean beginner setup is cheaper, simpler, and less precious than the forums suggest. It has to be, or you will never actually use it. This article is the piece I wish someone had handed me on day one. Everything else on the site links back to it.
Is resin printing actually right for you
I am going to start with the question nobody writing a beginner guide wants to start with, because getting this wrong is the single biggest reason new hobbyists quit within a month.
Resin is not filament. It is liquid, mildly toxic, mildly sensitising, and it smells. Uncured resin should not touch your skin, should not be breathed in a sealed room, and should not be rinsed down a kitchen sink. That does not make it dangerous in the way a badly wired plug is dangerous. Thousands of hobbyists print resin safely every week. It does mean that if you are planning to set a printer up on a desk in a bedroom with no window, the answer is no, this is not right for you yet. Sort the space first.
The checklist before you spend any money:
- Do you have a room with an opening window or a garage or a shed you can print in?
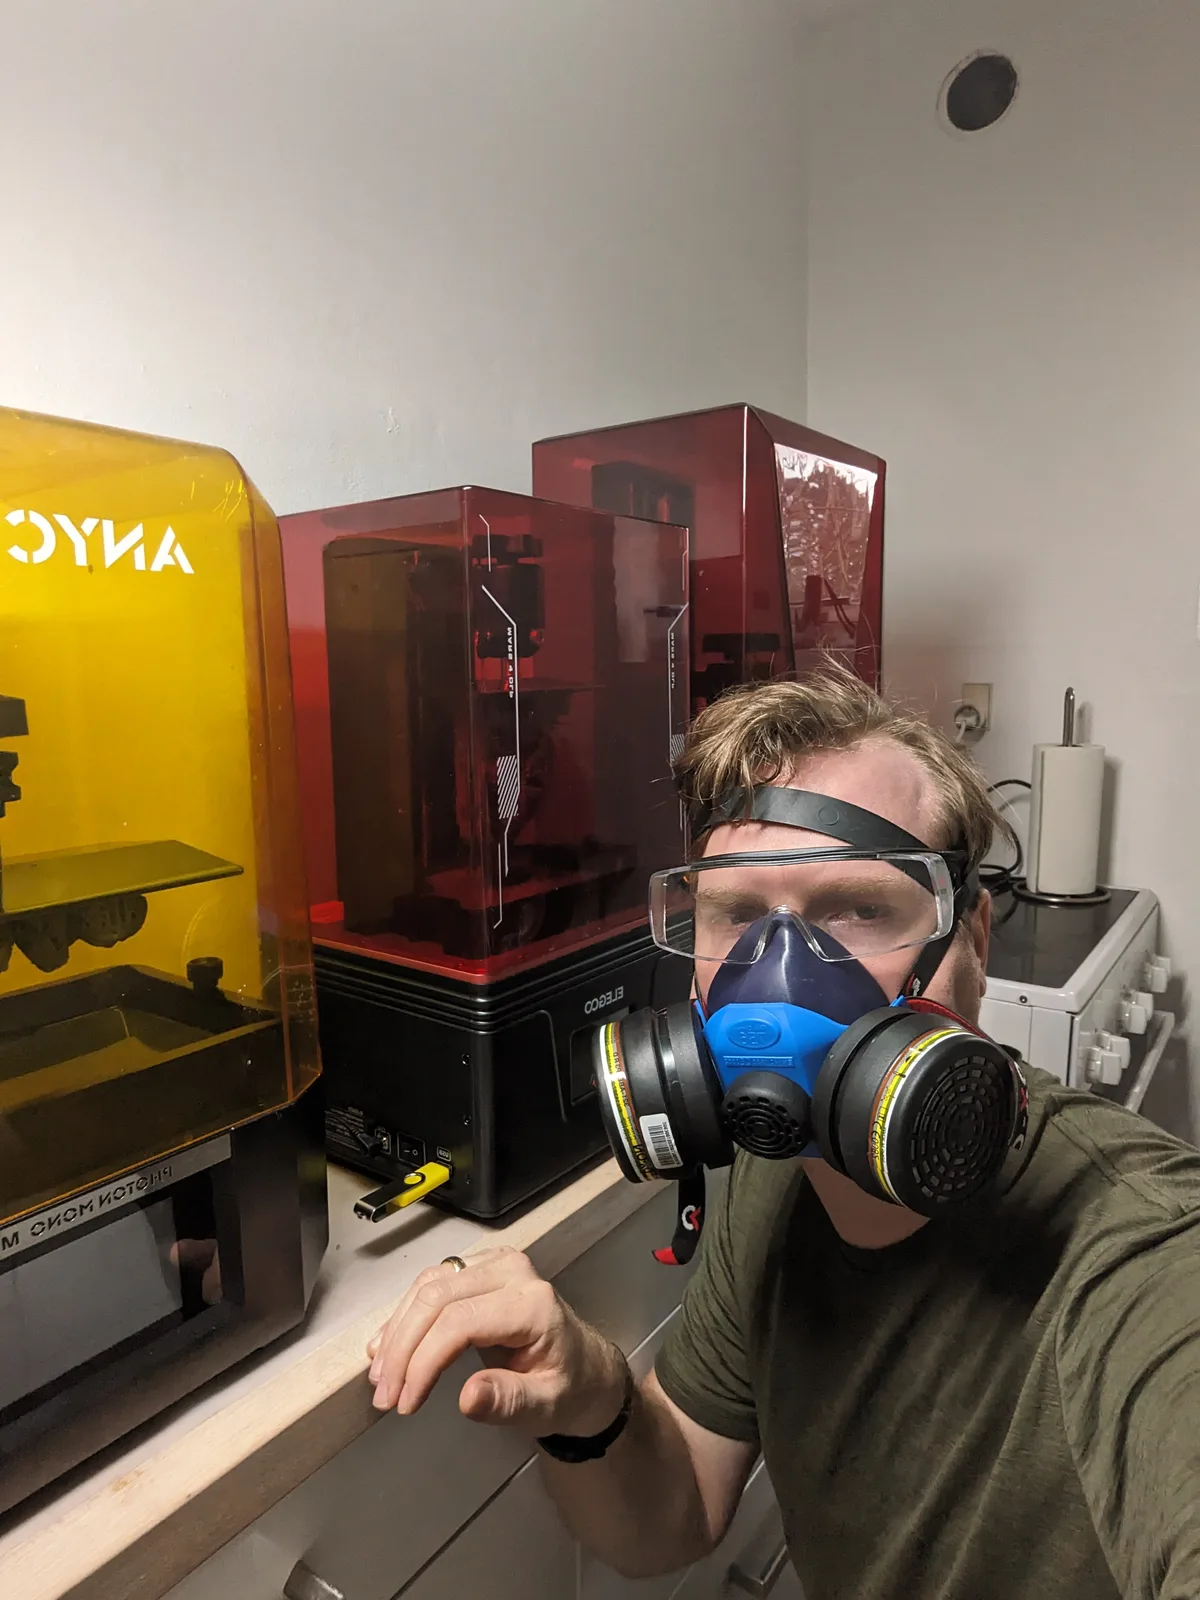
- Are you comfortable wearing nitrile gloves every time you touch the printer?
- Are you willing to put a respirator on during resin pours and cleanup?
- Do you have somewhere you can leave resin covered gear without it being touched by children or pets?
If you answered yes to all four, resin printing is a great fit for the miniature hobby. The results at 28mm and 32mm scale are genuinely a generation ahead of what you can buy from most commercial ranges, and the price per figure once you are set up is remarkable. If you answered no to any of them, fix that first and come back.
The workspace
Designing the workspace before you buy the printer is the single biggest thing I see beginners get wrong. They buy the machine, set it up on a nice clean desk, and then three weeks later the desk is ruined because resin has dripped onto it and cured hard under a lamp.
Dedicate a corner. A spare room is ideal. A garage workbench is ideal. A corner of a living room with an openable window is fine. A cupboard with no airflow is not fine, regardless of what anyone online tells you. Resin needs ventilation.
Put a silicone baking mat or a cheap plastic tray under the printer. Any resin that drips onto it peels off once cured. Without a mat, a drip becomes permanent. Keep a roll of kitchen paper and a small bottle of isopropyl alcohol within arm’s reach of the machine. You will reach for both constantly.
The painting side of the hobby needs good light. The printing side needs decent light and somewhere you do not mind getting mildly grubby. Pick accordingly.
The kit you actually need
A complete starter setup runs to seven categories. A printer, a bottle of resin, a wash and cure station, nitrile gloves, a respirator, some form of ventilation (covered in the ventilation and safety guide), and a silicone mat with basic cleanup tools. That is the whole list, and it runs to roughly $400 at 2026 prices.
Rather than repeat the line item detail here, the pieces each live where they fit best. The start resin printing guide walks through every item with prices and flags the gear you can safely skip on day one. The full printer buying guide covers the printer decision across every tier and price point. For the first bottle of resin, Wargamer Resinaff is the forgiving miniature pick; the resin buying guide lists the bottles worth knowing about and the contrarian case for skipping the most expensive ones.
Anything beyond the seven categories above is an optimisation, not a requirement. Resist the forum gear lists that push you toward a filter funnel system or a second build plate before you have made a print.
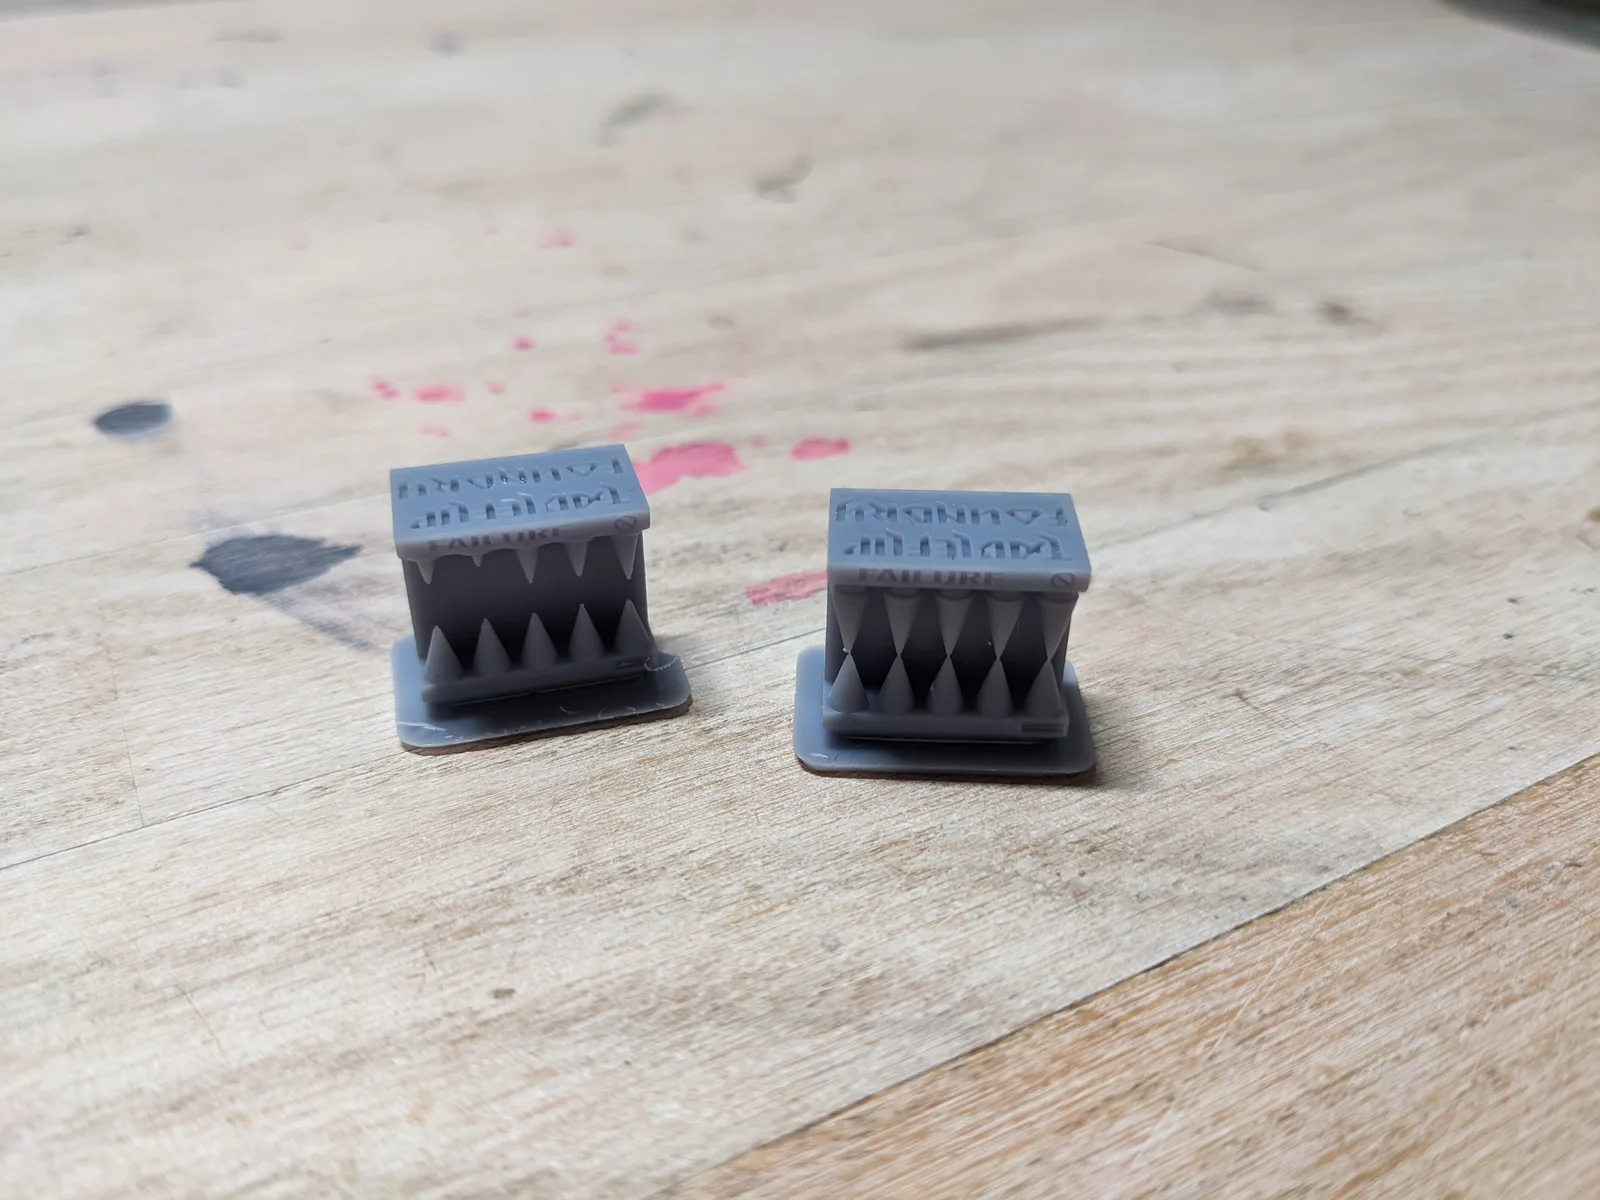
Your first print
The temptation on day one is to slice a giant centrepiece, a scenic dragon, a full army in one tray. Do not. The first print is a systems check, not a showcase. One small single figure, 28mm to 32mm, nothing with a cape that droops halfway off the base or a sword longer than the model is tall. When it comes off the build plate, walk the full wash, cure, and inspect cycle before starting another. Early wins keep you in the hobby. Early failures on a six hour print drain motivation faster than anything else.
Once the calibration print and the first single figure are behind you, the next question is what to actually print with the machine. My tour of what to print on a new resin printer covers the indie creator scene, the model categories worth knowing about, and the side projects (custom tokens, kitbashing, gifts) that quietly become the reason you keep the printer running.
The weekly workflow
Once the printer is working and you have three or four successful prints behind you, the hobby settles into a rhythm. Knowing that rhythm in advance is useful because it tells you what you are actually setting up for.
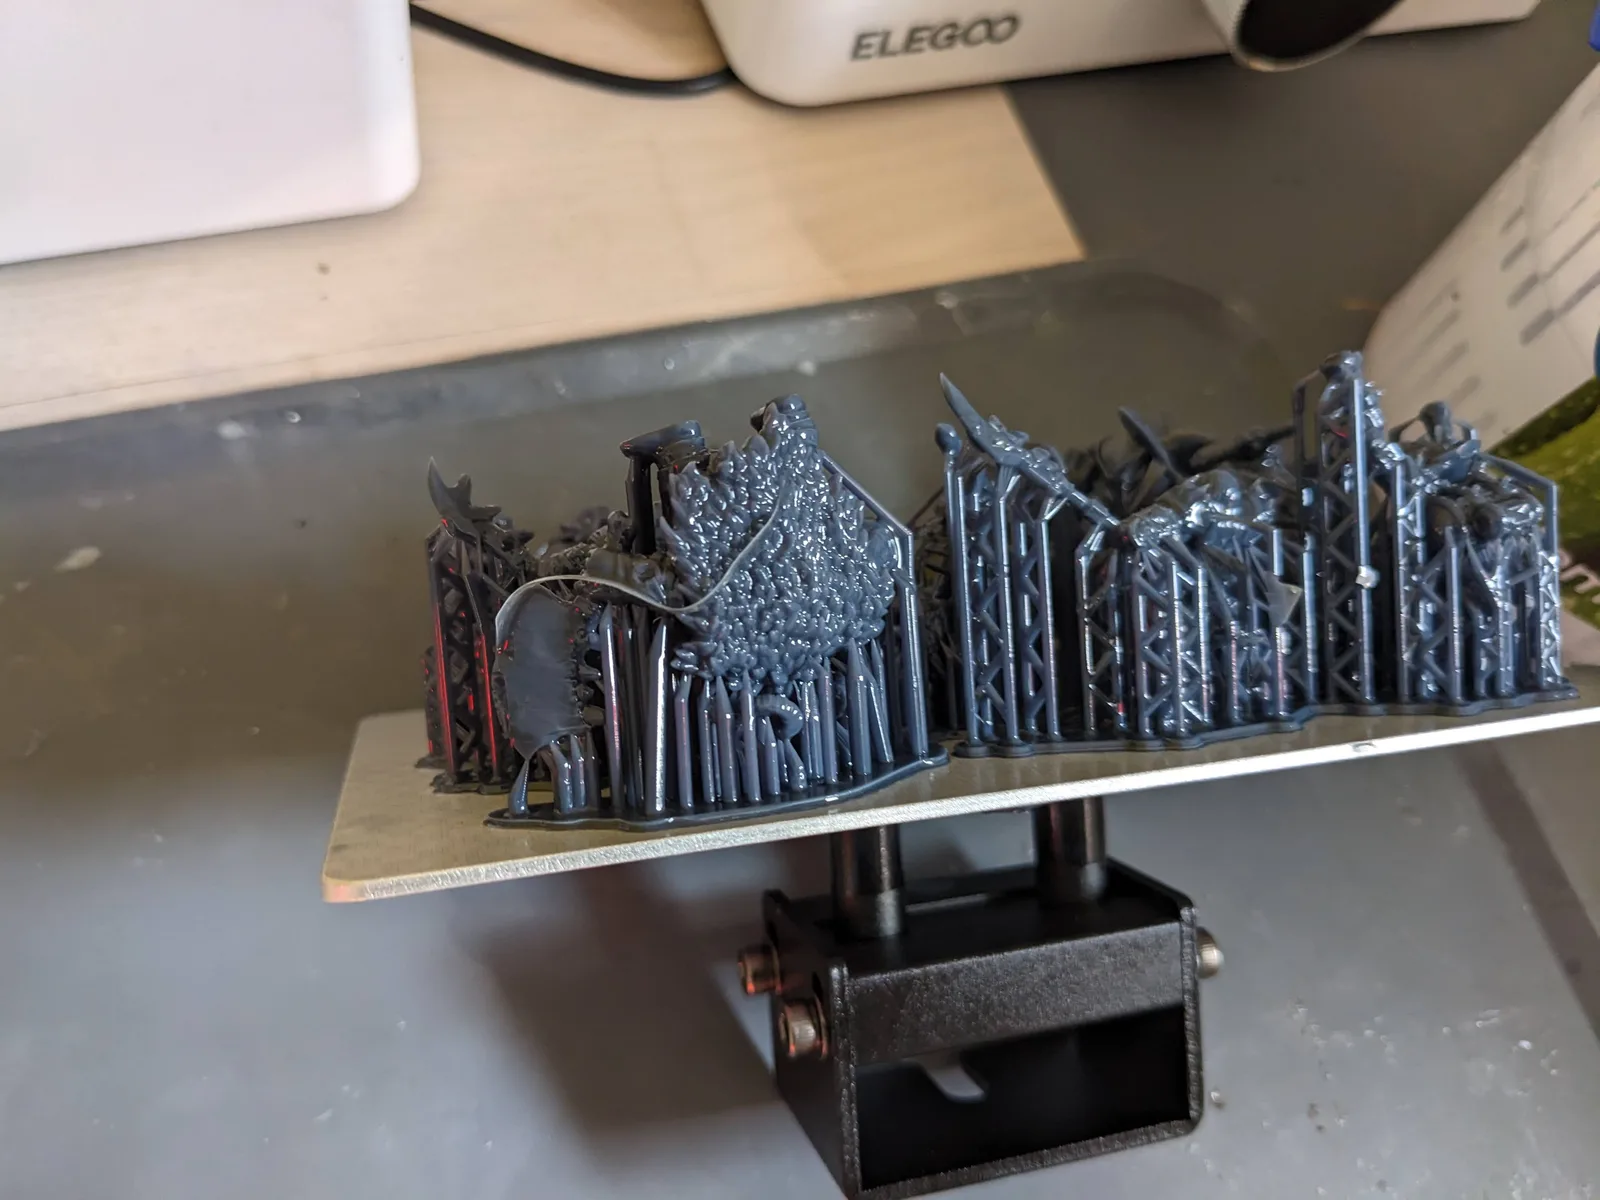
A typical week for me looks like this. I slice the next batch of models in the evening, usually a full plate rather than a single figure, because the setup cost of a print is the same whether one model or ten are on the plate. The current resin in my VAT is normally AmeraLabs TGM-7aff, because it is tough and flexible out of the box and just works. The printer runs overnight or while I am out. On the first few prints with a new resin, I deliberately stand at the printer for the first couple of layers and listen for the small click of the print separating from the FEP at each layer change. If I can hear it, the print is sticking and the lift mechanism is doing its job. Free reassurance, no extra gear.
When I get back to the finished print, the prints come off the plate, get washed, cleared, and cured in one uninterrupted session. The one detail worth knowing here is to keep the build plate at the same angle it sat in the printer while you carry it to the cleaning station. The moment you tilt the plate, liquid resin starts running off in directions you did not plan, and now the table looks like a crime scene. Carry it level, set it on the cleaning mat, then change angle once it is over a tray.
Supports come off the same evening or the next morning while the resin is still slightly flexible and releases cleanly. Then the miniatures go into the painting queue.
Shake the resin bottle before every pour. Wipe the build plate and the VAT with kitchen paper and isopropyl alcohol at the end of each session. Strain the VAT back into the bottle if you are leaving the printer unused for more than a week. None of that takes long if you make it routine. All of it becomes painful if you skip it for a month.
The mistakes worth knowing in advance
A short list of predictable mistakes causes most of the failed prints I see new hobbyists post in frustration. Printing before the cleanup workspace is ready, trusting auto supports blindly, changing three settings at once when a print fails, rushing the wash, over curing, and starting with a model too ambitious for a first month printer. Each one shows up in beginner posts week after week because each one is easy to make and painful to learn the hard way.
I wrote a longer piece on the common resin printing mistakes that ruin miniatures with the specific fix for each one. If you read nothing else alongside this article, read that one. Knowing the mistake in advance is the difference between a failed first month and a second print on the plate by Sunday.
Post processing is half the hobby
A technically successful print that is badly washed, badly cured, or roughly handled at the support removal stage is not a paintable miniature. It is a lump of resin that will fight you at the primer stage and keep fighting you through every paint layer.
The post-processing article walks through the full wash, cure, and paint prep workflow. Read it after this one. The short version is that the cleanup steps matter as much as the print settings, and getting them wrong ruins more miniatures than a bad slicer profile ever will.
Browse by topic
If you would rather read the rest of the site by stage of the printing journey than by latest article, three topic hubs walk the ordered paths:
- Calibration and first prints for the path from a printer in the box to a clean miniature ready for paint.
- Workflow and post-process for the slicing, wash, and cure pass that turns a print into a paintable model.
- Failures and recovery for what to do when a print does fail, in the order you will reach for each step.
Each hub is four articles in deliberate sequence, with editorial intros explaining why each step belongs where it does.
Where to go next
If you want the guided walk through rather than the written version, my free video course covers the same gear decisions, the first print workflow, and the paint ready cleanup in a tighter sequence than a set of search results will ever give you. It is free because the alternative, a beginner figuring this out from random forum posts, is how most people end up quitting the hobby.
Read the start resin printing guide for the exact gear list with prices and the opinionated workflow with the benefit of hindsight. Read the common mistakes article for the failures to dodge. And if your budget is tight, the second hand printers worth buying in 2026 covers used machines that still hold up. Pick one miniature, print it, and learn from it. That is the setup.
Frequently asked questions
- How much does it cost to start resin printing miniatures?
- A printer plus wash and cure plus first bottle of resin runs roughly $400 in 2026. Add another $50 for gloves, IPA, paper towels, a build plate scraper, and a second VAT for batch printing. The kit lasts for years; the first month consumables are roughly $30. Anyone quoting more than that is bundling things you do not need yet.
- Is resin printing safer than people make it sound?
- Liquid resin is a sensitiser, which means repeated skin contact builds an allergy over months even if the first exposures cause no reaction. Treat it like wood varnish: gloves on every time, ventilation when the lid is off, no eating or drinking in the print area. Cured prints are inert and safe to handle. The danger is the workflow, not the finished model.
- How long does a single miniature take to print?
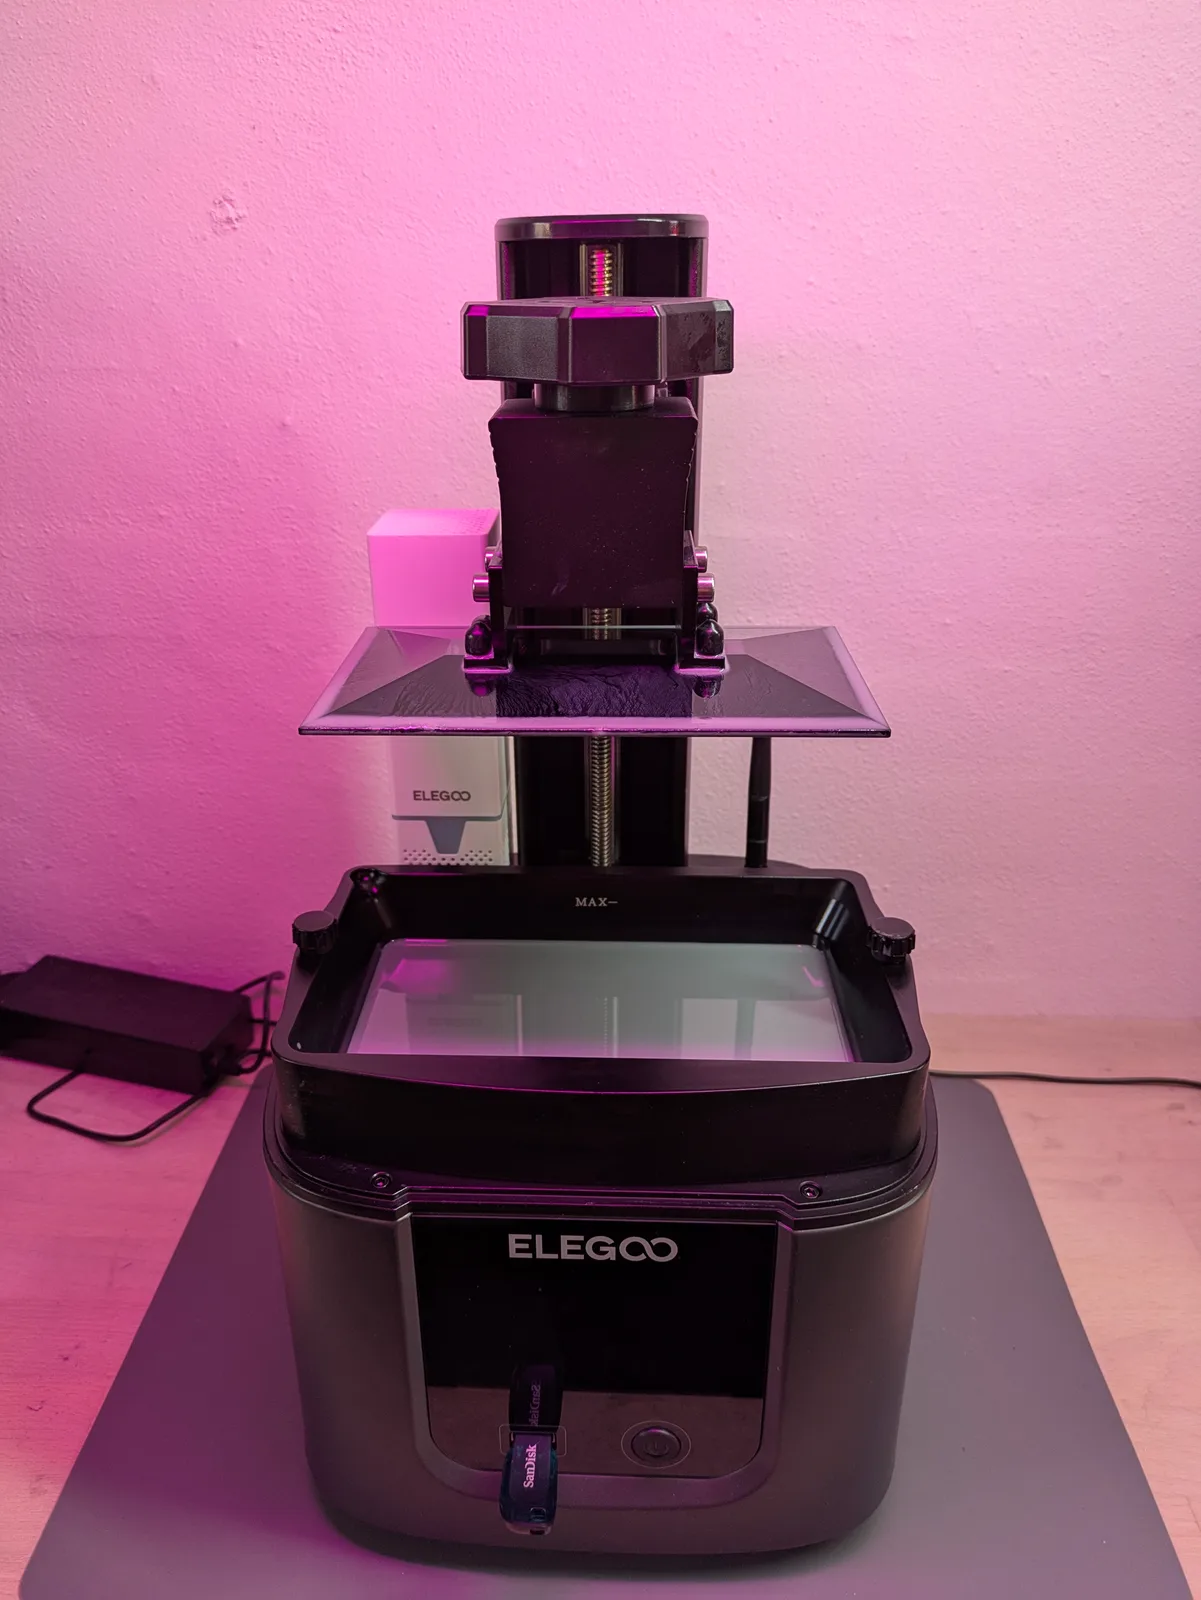
- A 28 mm miniature at 40 micron layer height takes roughly 3 to 5 hours on a tilt-VAT printer (Mars 5 Ultra, Saturn 4 Ultra) and roughly 5 to 7 hours on a static-peel printer (Mars 4, Saturn 3). The print runs unattended overnight in practice. A fully packed plate of twelve miniatures takes the same time as a single one because layer count is what matters, not model count.
- Do I need a separate wash and cure station?
- In practice yes. Manual washing in alcohol is messy and inconsistent and the curing step needs reliable UV exposure. A combined wash and cure unit costs roughly $120 to $200 and pays back within the first month in time saved and prints not ruined.
- Can I resin print in an apartment safely?
- Yes if the printer has a built-in air filter, the resin is low-VOC or water washable, the wash uses a sealed station, and at least one window is open during the print and the cure. Stack at least two of those four conditions and the apartment becomes a workable hobby space. The full apartment-specific guide is at /articles/resin-printing-in-an-apartment/.
- What is the cheapest printer that produces miniatures worth painting?
- The Elegoo Mars 4 at around $149 in 2026. It runs 18 micron pixels on a small Mars-class plate, the same pixel size used in much more expensive printers. Below that price the quality drop is significant; above it the value gain is incremental until the Saturn-class plates open up at around $230.