Some links on this page are affiliate links — marked with aff — and if you buy through them I may earn a small commission at no extra cost to you. Read the full disclosure.
Printing the miniature is half the job. The other half is what happens between the print lifting off the build plate and the primer hitting the surface. Rush that half and a sharp, detailed print becomes a soft, tacky, frustrating lump that fights you through every paint layer. Get it right and a merely acceptable print becomes a pleasure to paint.
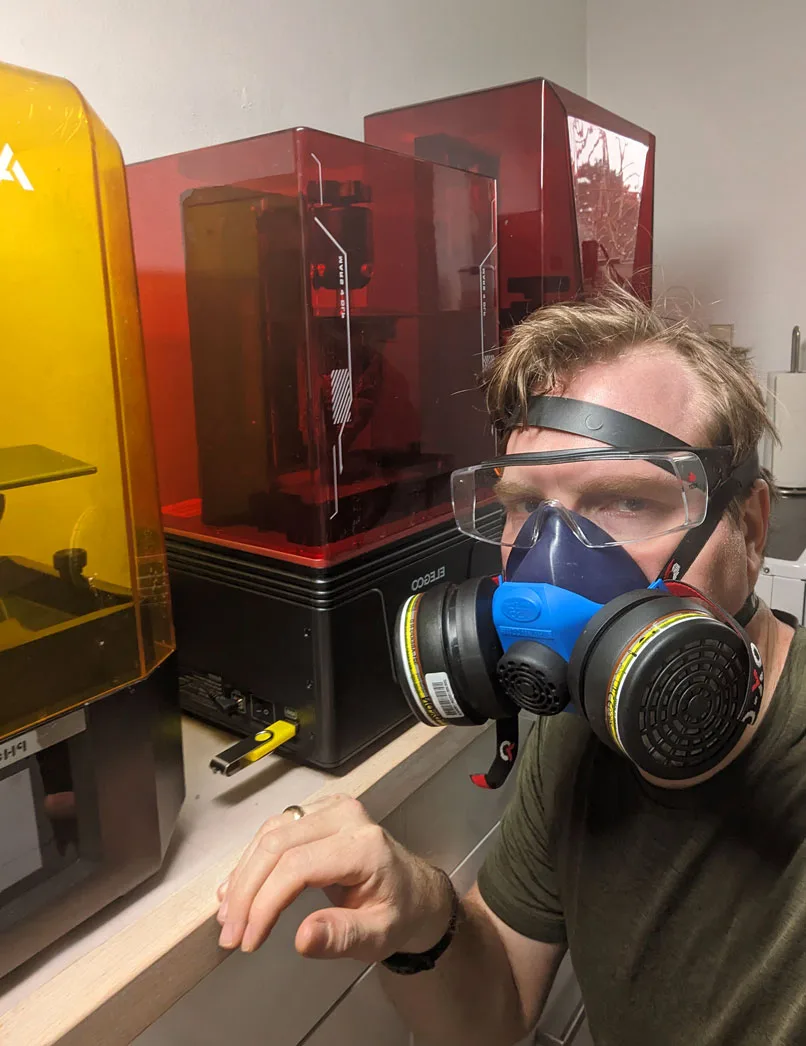
Painting miniatures for 27 years and running a resin printer every week for the last several years has left me with a post processing workflow that is boring in the best possible way. Predictable, repeatable, paint ready.
What paint ready actually means
A paint ready miniature is not just a model that has finished curing. It is a model where:
- The surface is free of uncured resin residue, so primer grips evenly.
- The supports have been removed without scarring visible detail.
- The fine features are still crisp, not softened by trapped resin or blurred by over cure brittleness.
- The model is stable in the hand and does not flex at thin points during handling.
- There is nothing pooled, rattling, or tacky inside hollow sections.
Every step in the workflow below exists to hit one of those targets. If you are missing one, the paint job suffers. If you are missing two, you end up blaming the paint, the primer, or the miniature itself, when the real problem happened three steps earlier.
The workflow in order
There is a specific sequence that works. Changing the order, or collapsing two steps into one, is where most of the preventable problems come from:
- Remove the print from the build plate.
- Wash the print in solvent.
- Let the excess solvent clear.
- Cure the print under controlled UV.
- Remove supports and inspect.
Each one has a specific job, a specific pitfall, and a specific test to tell you it was done correctly.
Step 1. Remove from the build plate
Hold the build plate tilted over the VAT so uncured resin drains back into the VAT rather than onto the workbench. Let it drip for a minute. Then take the plate to your washing area still tilted, with kitchen paper underneath, and gently slide the scraper under the raft or the model feet to release them from the plate.
The pitfall is impatience. If you pry at an angle, you snap the model at the raft interface, leaving half the supports stuck to the plate and half stuck to the model. A slow, flat slide releases the print cleanly. If the print is stubborn, flex the build plate slightly. Do not hammer the scraper in.
Test before moving on: the print should come off in one piece with the raft intact. If the raft is still on the plate and the model has snapped off above it, your exposure is probably too high. Note it for the next print.
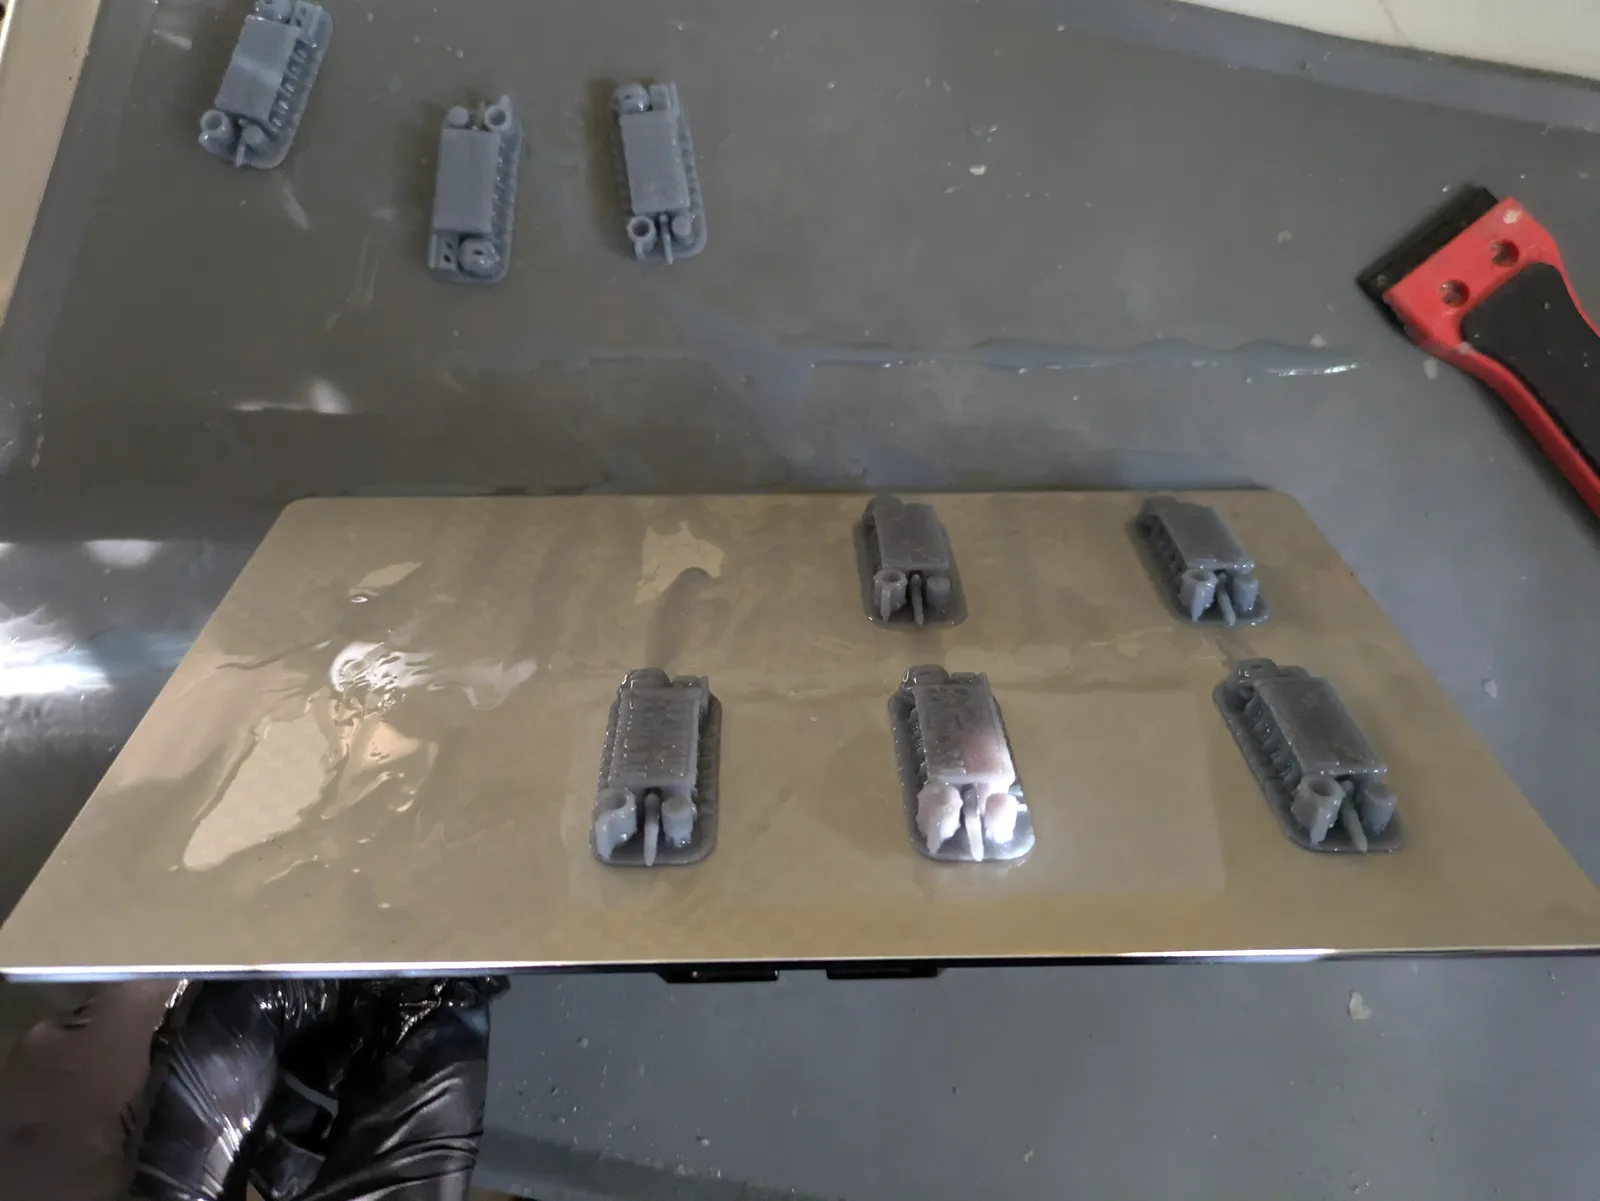
Step 2. Wash the print
Lower the print into the wash station or a tub of isopropyl alcohol. Run the full cycle, not a shortened one. Most wash stations default to around five minutes. That is not a suggestion. It is the time the resin needs to fully release from the detail recesses.
If you are washing manually, move the model through the solvent actively rather than letting it sit. Pay attention to the face, the underside of capes and cloaks, the insides of armour plates, and anywhere detail is recessed. A soft brush helps for deep recesses.
The pitfall is saturated solvent. Isopropyl alcohol that has washed fifty prints is a weak resin solution that cannot lift resin off new prints effectively. Change the solvent before it goes visibly cloudy.
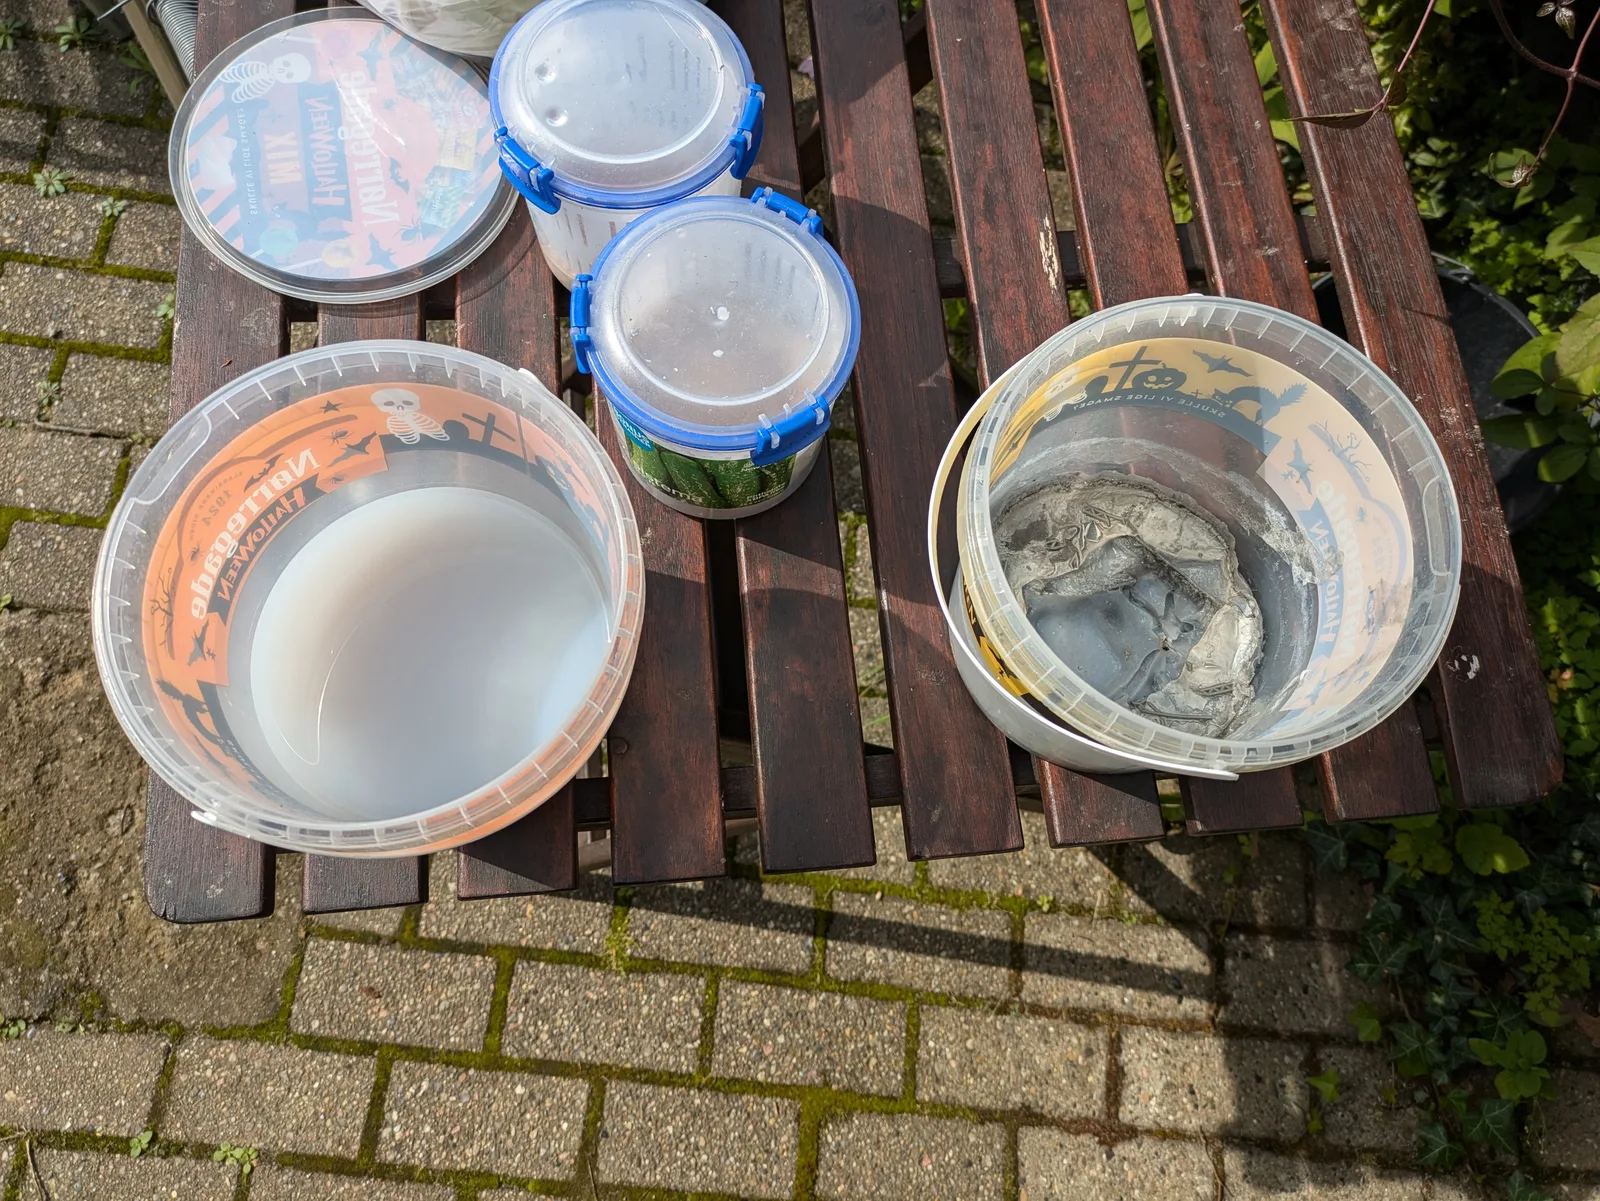
The three container method for IPA washing
The version of step 2 that scales to actual hobby use rather than burning through bottles of fresh alcohol is three containers in a rotation: one Dirty, one Less Dirty, one Wash Station.
Container one: Dirty IPA. First wash. Submerge the model and agitate for a minute or two. This removes the bulk of the surface resin. The container becomes contaminated quickly. That is its job.
Container two: Less Dirty IPA. Second wash. Cleaner IPA to clear the residue container one did not. Agitate again.
Container three: Wash Station. A powered wash with a motor that moves IPA through the model. Ten minutes with the lid on. This is the final clean and the cleanest IPA in the rotation.
When container one becomes too dirty to use, dispose of it (more on that below), promote container two to container one, and refill container two with the wash station’s IPA. Top the wash station up with fresh IPA. The rotation keeps wash quality consistent without replacing all of your IPA at once.
A side rule: do not remove supports over a container of clean IPA. Resin residue from the snap point goes into the wash medium and contaminates it faster.
Test before moving on: the print should feel squeaky, not slippery, to a gloved finger. A slippery surface means uncured resin is still on it. If the model feels anything other than clean, wash it again. Do not move to curing yet.
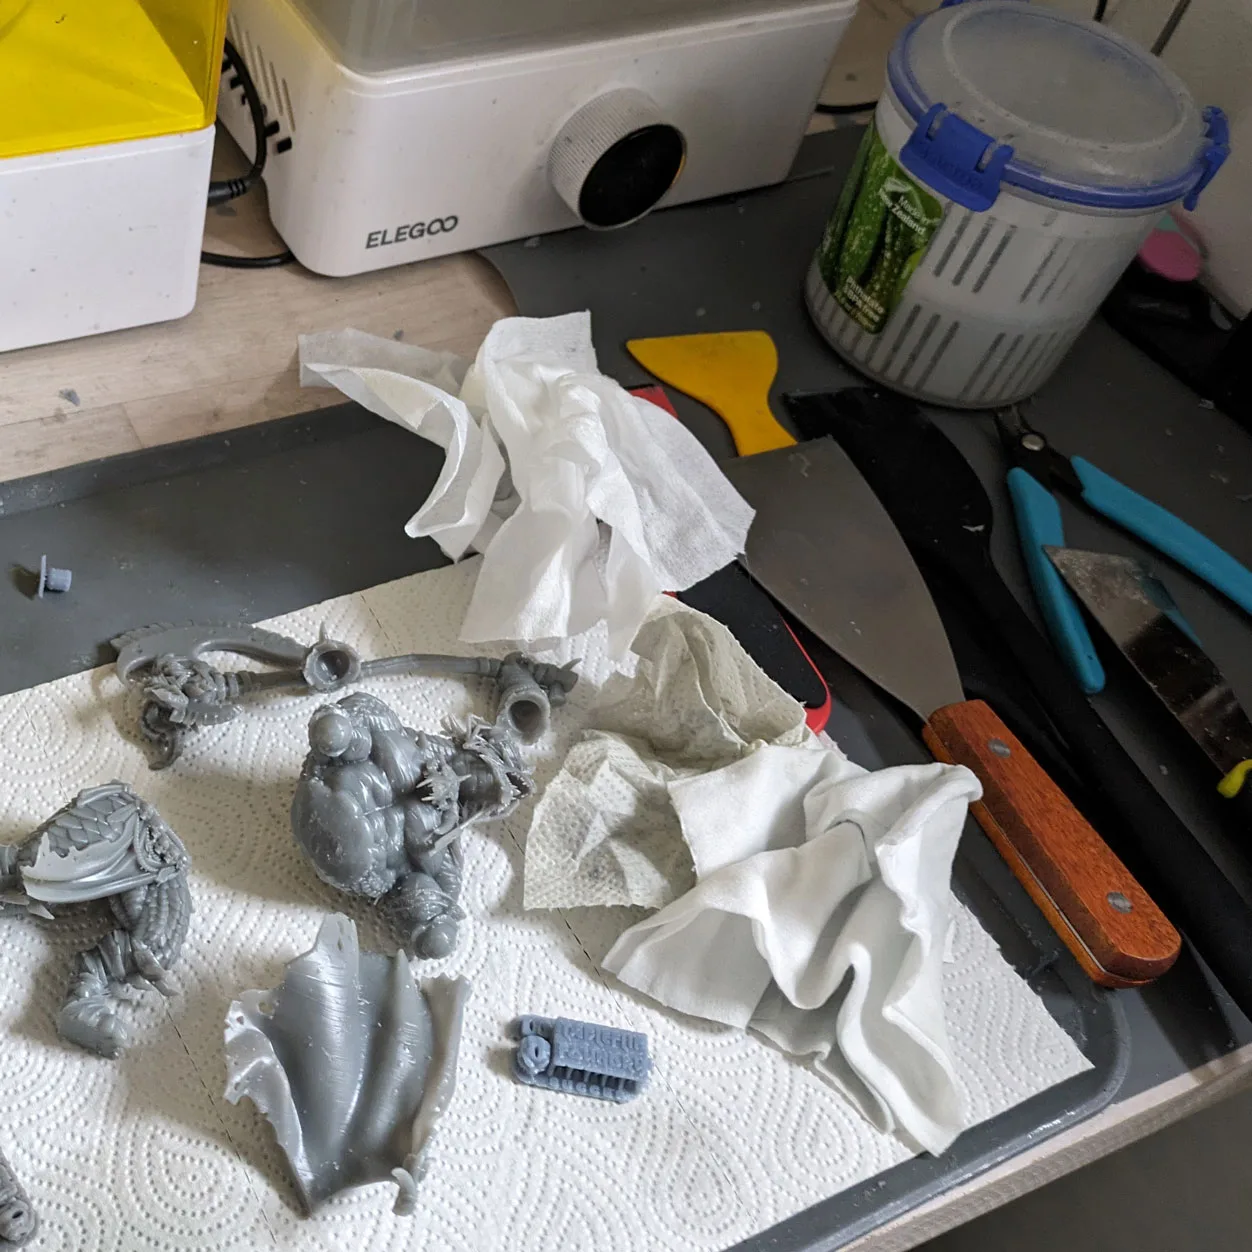
Step 3. Let the excess solvent clear
Place the washed model on kitchen paper in a ventilated area. Leave it until the visible solvent has evaporated and the surface looks matte rather than wet. This takes five to ten minutes at room temperature. A gentle airflow from an open window or a small fan speeds it up.
The pitfall is curing a wet model. If you put a model straight from the wash into the UV chamber, pooled solvent on the surface can interact with the cure process and leave a tacky or patchy finish. The solvent needs to evaporate before the UV goes on.
The visible failure mode this prevents is white specks on the cured surface. If alcohol gets trapped under a cured outer layer it leaves a permanent chalky residue that no amount of paint will hide. Ten to twenty minutes of drying time fixes this for free. Curing for longer afterwards does not undo it.
Test before moving on: the surface should look matte, not wet. There should be no pooled solvent in any recess or underneath any cape. Tip the model at different angles and check. If solvent has pooled, soak it up with the corner of a piece of kitchen paper.

Step 4. Cure under controlled UV
Place the model in the cure chamber. Set the time based on the resin you are using. For most miniature resins at 28mm to 32mm scale, two to four minutes is the normal range. Wargamer Resinaff and Sunlu ABS-Likeaff both cure in that range. TGM-7aff often benefits from the shorter end of the scale. Your specific resin datasheet will give a starting number.
The pitfall is curing for far longer than is useful. Fifteen minutes in the cure chamber does not produce a meaningfully more cured model than four. With a quality miniature resin the late stage curing is mostly cosmetic. With a cheap brittle resin the long cure simply pushes the chemistry to its worst behaviour faster. The fix in either case is not to cure for longer than a few minutes; the full version of the argument is in brutally honest resin printing advice. Direct sunlight is not a cure chamber either. The exposure is uncontrolled and uneven.
Test before moving on: the surface should feel dry and firm, not tacky. Press a gloved finger against a flat area. No residue should transfer. Flex a thin feature like a support branch gently. It should bend slightly rather than snapping instantly. If the surface is still tacky, the wash was incomplete. Go back and wash again rather than curing for longer.
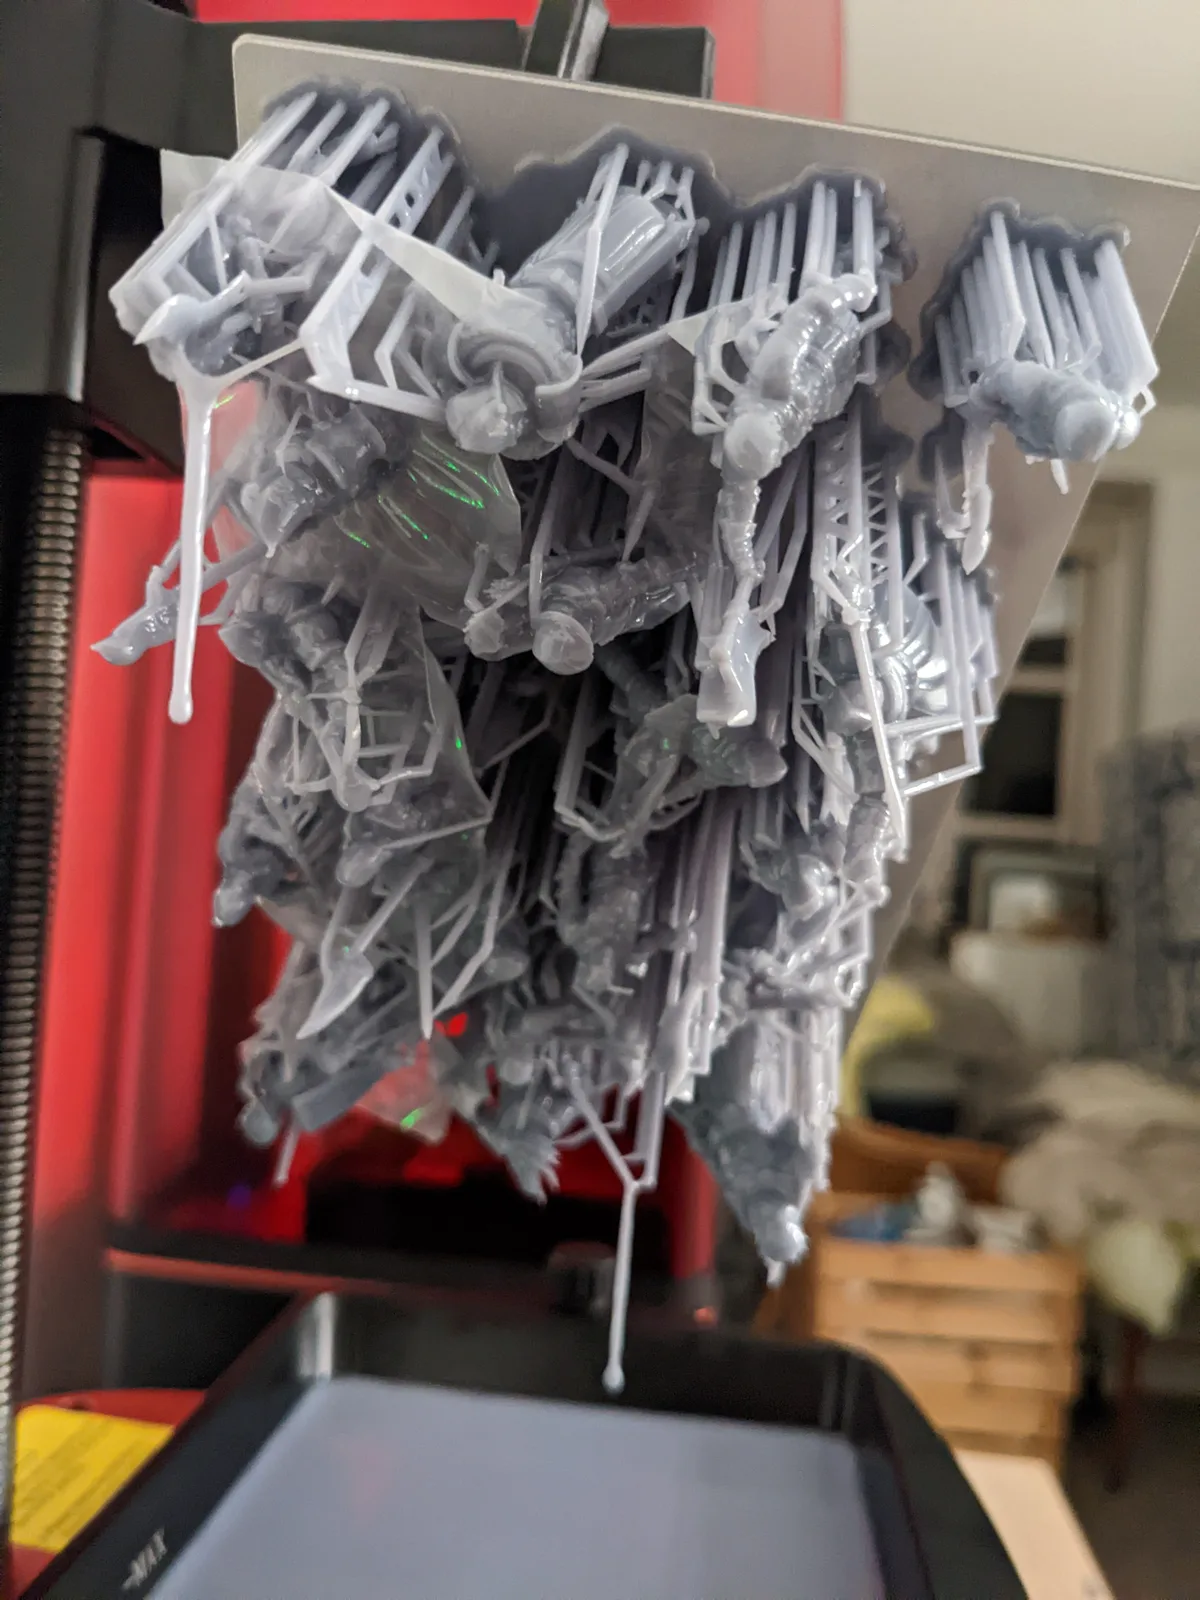
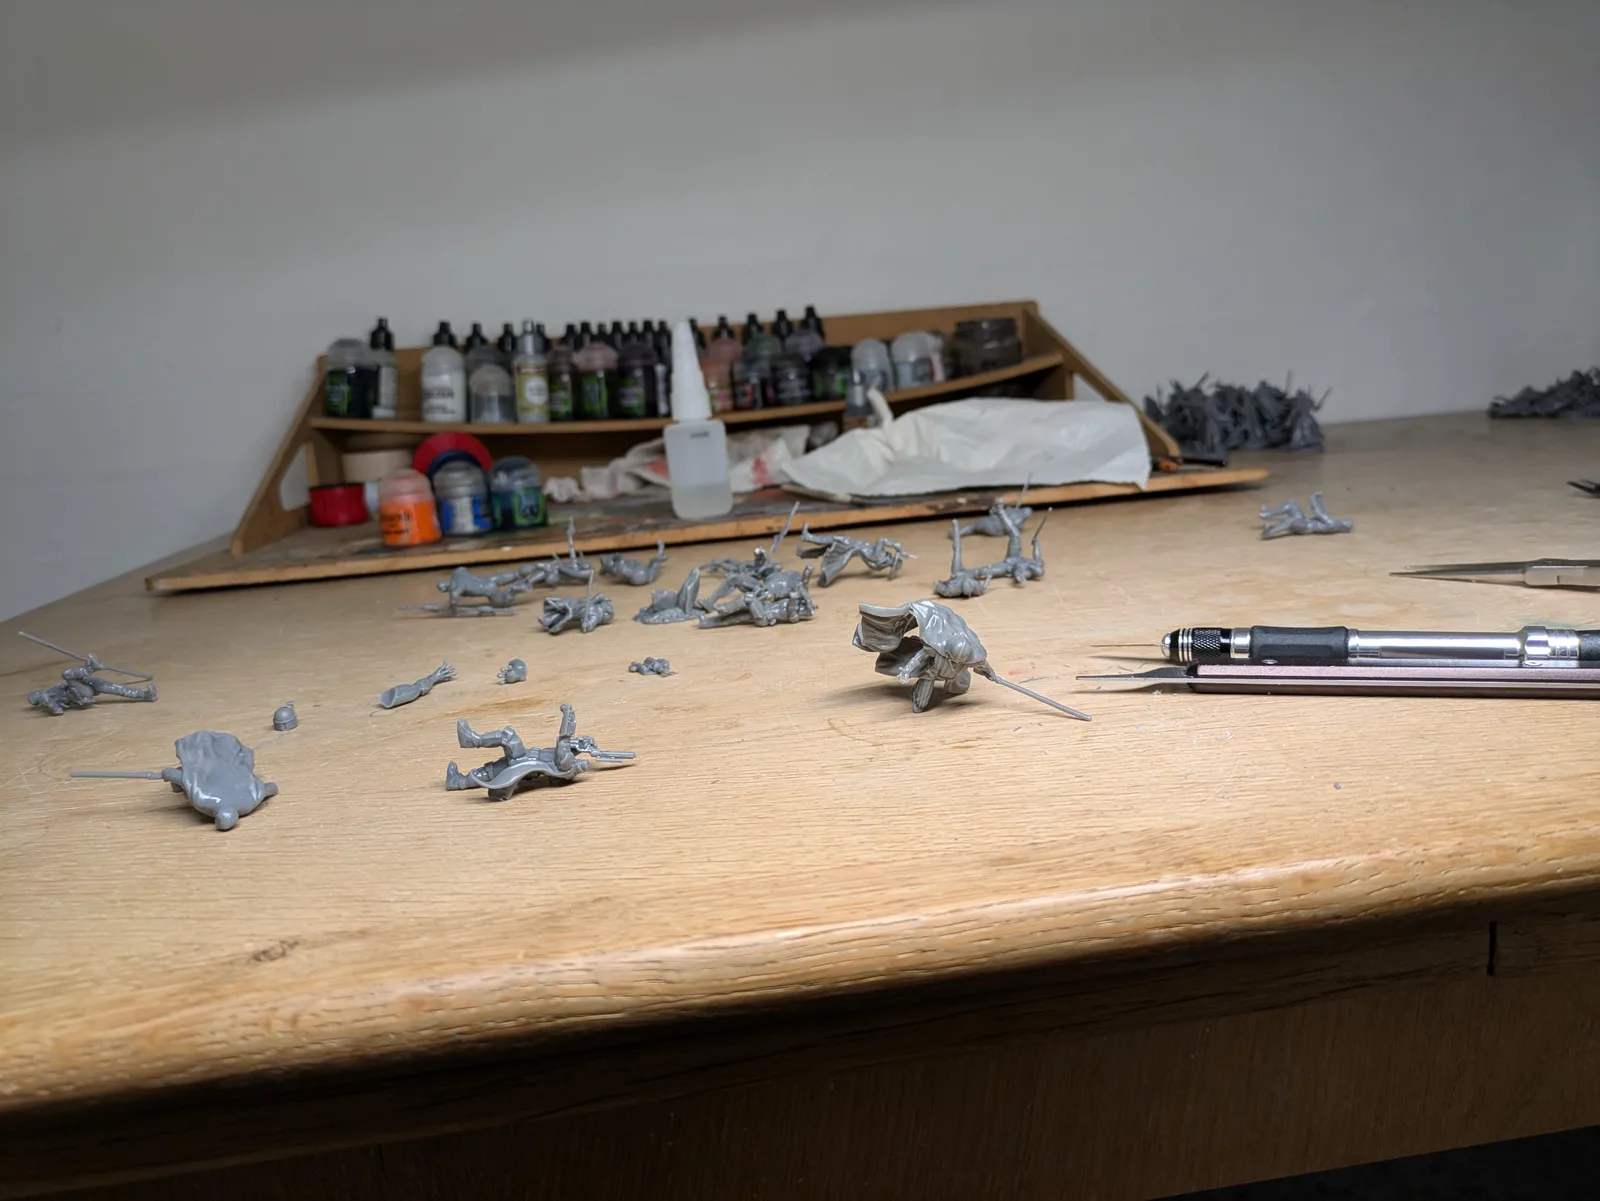
Step 5. Remove supports and inspect
Remove supports while the resin is still slightly flexible. This is easier immediately after curing than it is a week later, when the resin has fully stabilised and become harder. The other defensible option is to remove supports before washing, while the surface is still tacky and gives a clean snap. Either works. Pick one and stay consistent. Work from the heaviest supports first, cutting close to the model rather than close to the raft. A clean cut close to the model leaves a small nub that can be trimmed flush with a hobby knife. A cut close to the raft leaves a long stub that has to be cleaned up later. For supports on visible surfaces, cut rather than twist. Twisting a support off tears the surface. Cutting leaves a clean flat nub.
For stubborn supports, a brief pass with a heat gun softens the resin enough to release. A few seconds is enough. Overheating cured resin discolours it and softens it so much that the model deforms.
The pitfall is rushing the inspection. Once the supports are off, set the model in good light and look at it properly. Turn it in your hand. Check the face, the weapon tips, the cape edges, the insides of cloaks. You are looking for three things: support scars on visible surfaces, details that look softened or blurred, and any surface that feels tacky. Each of those tells you something about the previous steps.
What paint adhesion problems tell you
Primer is the acid test for your post processing workflow. If the primer beads, pulls, or refuses to cover, the model is telling you the workflow went wrong somewhere upstream.
Primer that beads up on the surface rather than spreading evenly means there is still uncured resin residue on the model. The wash was incomplete. Wash the affected model again in fresh solvent, let the solvent clear, cure again if necessary, and reprime.
A surface that still feels slightly sticky after curing is almost always a wash problem, not a cure problem. Pooled uncured resin cured into the surface and left a permanent residue. You cannot fully recover this. For the next print, check your solvent is still clean and your wash cycle is long enough.
Sword tips, spear tips, and cape edges that snap during support removal or priming mean the cure was too long or the UV exposure was too intense. Reduce the cure time for the next batch.
Detail that looked sharp on the build plate but looks soft after priming usually means uncured resin pooled in the recesses and filled them slightly as it cured. The wash did not lift it out. Be more active with the solvent around recessed details on the next print, or switch to a cleaner batch of solvent.
Every one of these symptoms is the model telling you which step to tighten. Do not blame the paint.
After the session: cleanup and disposal
Three jobs that are not part of any single print but matter at the end of every session. Skipping any of them is what turns a tidy hobby into a contaminated workspace.
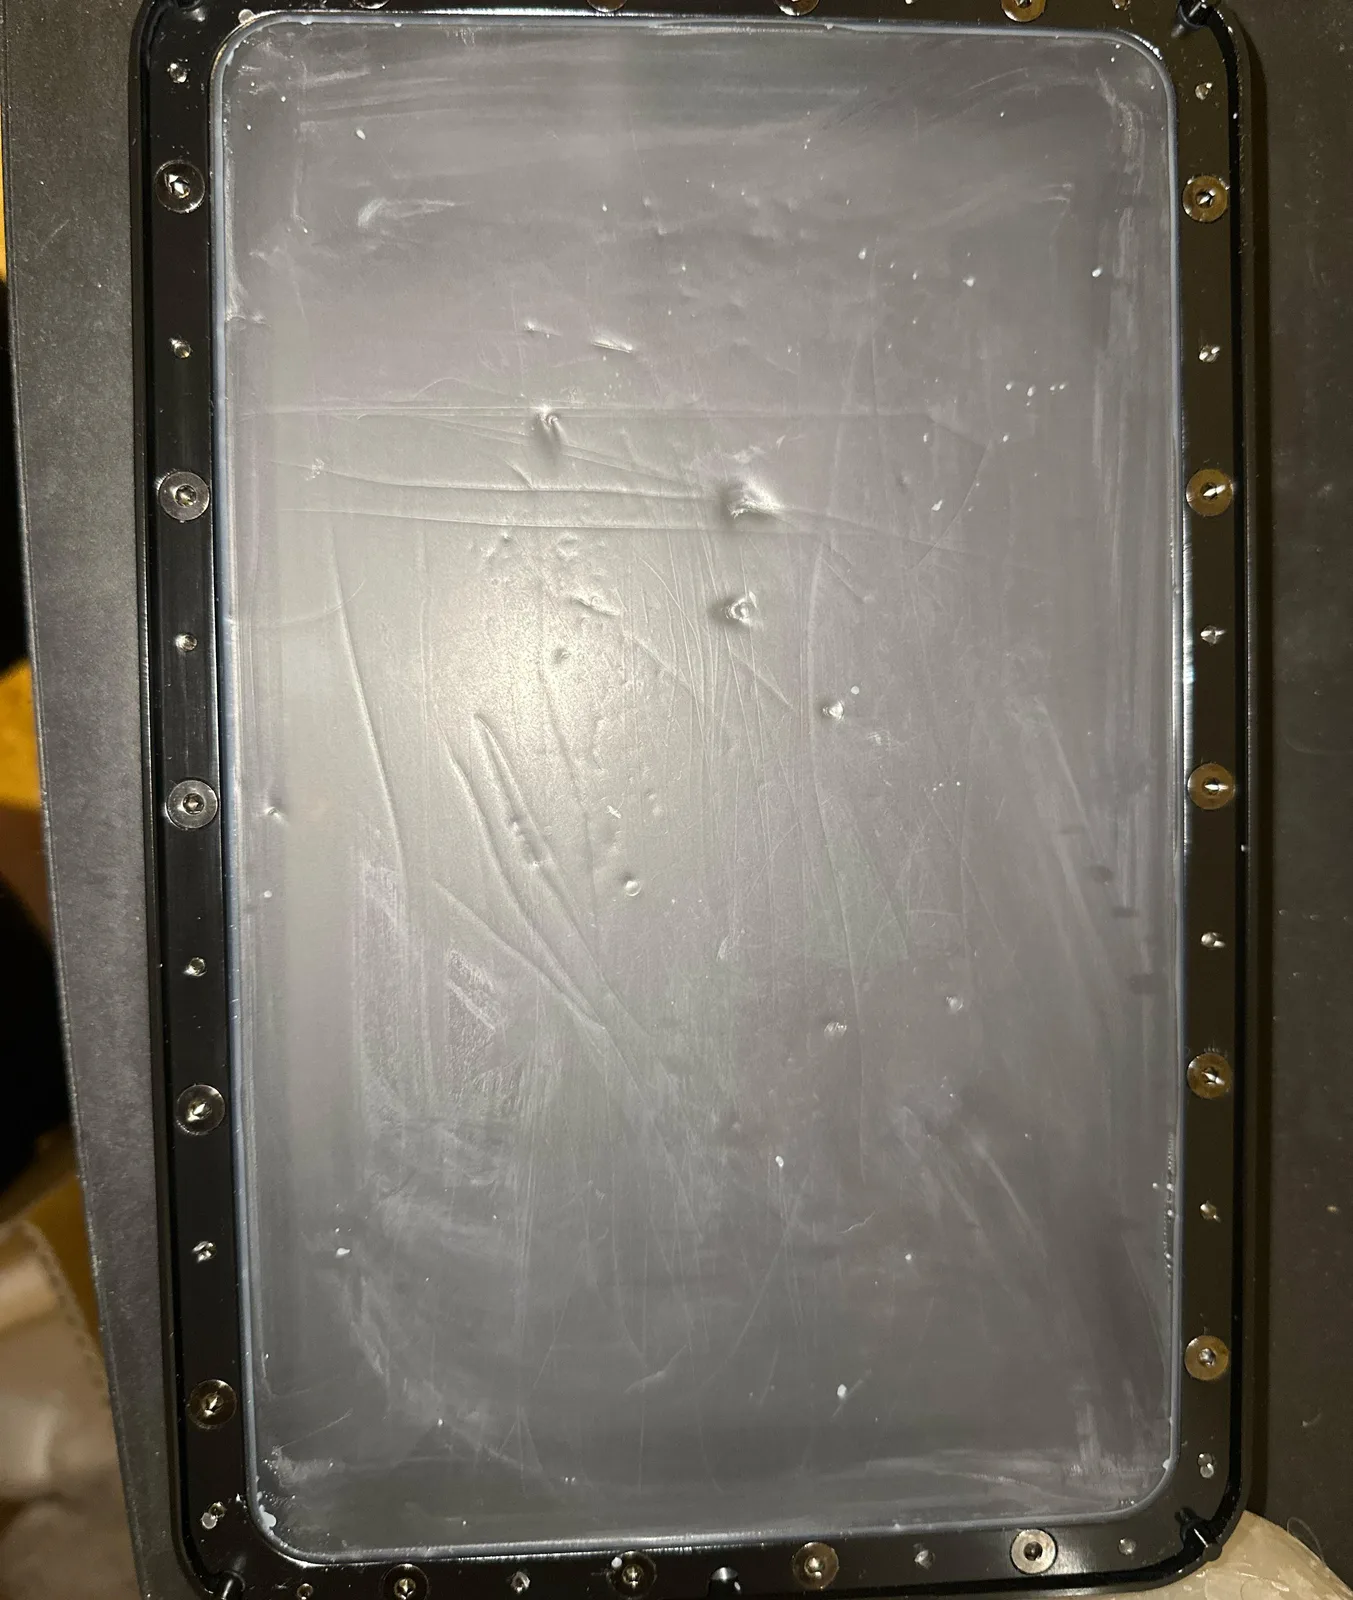
The vat. Pour any unused liquid resin in the vat back into the bottle through a funnel filter. Wipe the vat dry. Any cured film stuck to the FEP comes off cleanly with a soft plastic scraper or the Tank Clean function on your printer.
Contaminated IPA. When container one in the rotation reaches the end of its useful life, the IPA is a high concentration of dissolved and suspended uncured resin. This cannot go down the drain. Take the lid off the container, take it outside, leave it in an open, safe location in sunlight, away from anything flammable and away from children and pets. The IPA evaporates and the UV from the sun cures the resin residue. After a day or two depending on conditions you are left with a hardened resin slurry that goes into normal rubbish.
Do not attempt to distil contaminated IPA to recover it. Distilling IPA is a fire hazard, the result still contains dissolved photopolymers, and the sun does the same job for free.
Resin offcuts and failed prints. Support trees, failed prints, and any soft uncured resin should not go into normal rubbish while it is uncured. Put it in a clear plastic bag and leave the bag outside in sunlight. UV from the sun cures the resin. Once cured, the bag goes into normal rubbish.
A useful general rule: anywhere you see a tacky surface or a milky liquid, that is uncured resin. Cure it before it leaves your workspace.
Tools worth having for the full workflow
You do not need much. The start resin printing guide covers the full list, but for post processing specifically the items that matter are a dedicated wash and cure station (the Elegoo Mercury Plusaff or the Anycubic Wash and Cure 3.0 at around $120), nitrile gloves by the box, isopropyl alcohol in bulk, kitchen paper in quantities you will be embarrassed by, modelling side cutters, a sharp hobby knife, and good light at the inspection stage. Everything else is an optimisation.
Where this fits in the wider workflow
Post processing is not a separate hobby. It is the bridge between printing and painting, and the quality of that bridge decides whether your miniatures look like they came off a studio shelf or like they fought their way off the build plate.
If you are still setting up, start with the clean beginner setup article. It covers the workspace and the kit decisions you should make before you even think about washing your first print. If you are running into specific failure modes, the common mistakes article diagnoses most of them with the upstream fix for each.
And if you want the guided version of the full workflow rather than assembling it from articles, my free video course walks the end to end process with the actual gear on screen. It covers the same ground as this article and the ones it links to, in a tighter sequence than a scattered search will ever give you.
The goal at the end of this is not a clean miniature. The goal is a miniature you look forward to painting. Get the workflow right and that is what you have. Get it wrong and you have a queue of figures that feel like homework. Choose the first one.