Some links on this page are affiliate links — marked with aff — and if you buy through them I may earn a small commission at no extra cost to you. Read the full disclosure.
The resin printing community has a blind spot when it comes to water washing. Beginners are quietly steered away from water washable resin almost the moment they ask the question, usually with a vague comment about how it is brittle or fiddly. That advice was right for years. It is not right any more, and the gap between the old reputation and what the better water washable resins can actually do is now wide enough that the default advice is doing new hobbyists a disservice.
This article is the long answer. Why water washable resin earned its bad name, what changed, the bucket and squirt bottle method I use day to day, and the situations where I still reach for alcohol instead.
Why water washable resin earned a bad reputation
For most of resin printing’s history, every water washable resin on the market shared the same handful of properties. They were almost always cheap, of the basic standard chemistry rather than the tougher ABS-Like family, and they sat in a fairly narrow band of qualities:
- Cheap on price
- Low viscosity
- Detail level was acceptable but not stellar
- Almost universally brittle
On top of that, the water washing part was rarely as clean as the marketing suggested. Prints came off the build plate sticky. Models needed a long soak to actually shed the uncured resin. And the wash water filled up with dissolved resin frighteningly quickly, leaving you with a bucket of pale grey waste water and no obvious way to get rid of it.
So the standard piece of advice grew up: water washable resin is bad, just use isopropyl alcohol. For a long time that advice was correct.
But it is the wrong reasoning. The conclusion that water washable resin is inherently bad relies on a faulty generalisation. The water washable resins that were available all happened to be cheap, basic chemistry, brittle resins. Saying water washing is bad because of that is a bit like trying one cheap brittle standard resin and concluding that all resin is brittle. We know plenty of resin is not brittle. The category and the chemistry are two different things.
What actually changed is that the manufacturers finally started making water washable resin in the better chemistry tiers.
What changed
In the last couple of years, every serious resin manufacturer has put out a water washable variant of their tougher ABS-Like resin lines. These are not the cheap brittle resin in a new bottle with a different label. They are the proper miniature grade chemistry, formulated to wash off in water rather than in alcohol.
The result is resin that is genuinely close to standard ABS-Like in toughness and flex, with detail retention that holds up for 28mm and 32mm miniatures, and that actually rinses clean in plain tap water. The brittle, sticky, washing for an hour experience that built the bad reputation is no longer the default.
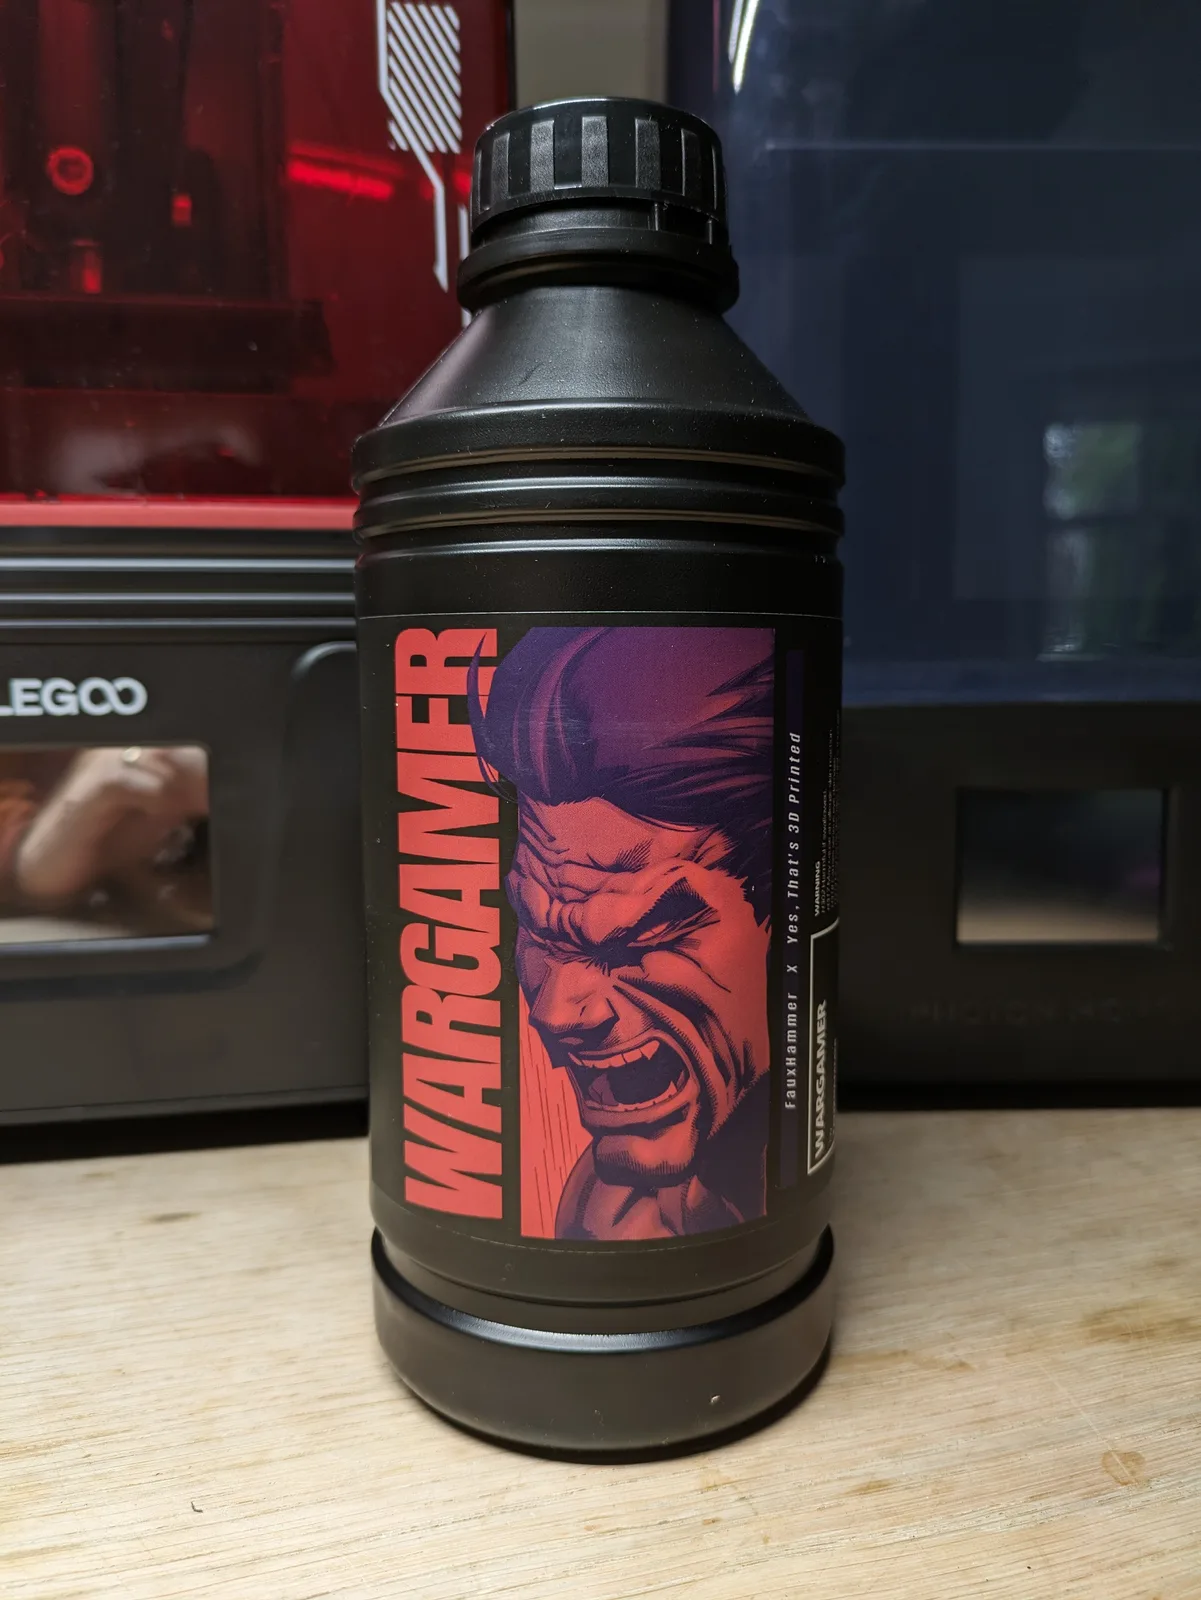
Wargamer Resinaff is the one I keep coming back to. It cleans easily, has enough flex in it that I am not chasing snapped weapons across the desk, and the detail on faces and filigree holds up against my standard ABS-Like benchmark. Other manufacturers now offer comparable resin in their range, and the gap to the alcohol washable equivalents is small enough that for most miniature use it does not matter.
For a deeper look at which resins work best for miniatures once you are past the first bottle, the resin buying guide walks through what actually matters in a miniature resin and lists the bottles worth knowing about.
Why this matters most for beginners
If you are starting resin printing in 2026, water washable resin is the easiest place to begin. The setup is genuinely simpler.
You can skip the dedicated wash station on day one. You can skip the routine of jar one, jar two, jar three, decanting cloudy alcohol into the wash station tank, working out where to store half a litre of dirty isopropyl. You can skip the mild background anxiety of having a flammable solvent in your workshop.
In parts of the world where isopropyl alcohol is expensive or hard to source in any volume, water washing is not an optimisation, it is the only sensible route in. The ongoing cost of resin printing tilts a long way toward the alcohol bill in some regions, and being able to substitute tap water for that line item changes the affordability of the hobby.
A first time hobbyist learning the print, wash, cure rhythm has plenty to think about already. Removing the alcohol logistics from that list is a real reduction in friction, and the trade off in resin quality is now small enough that it is worth taking.
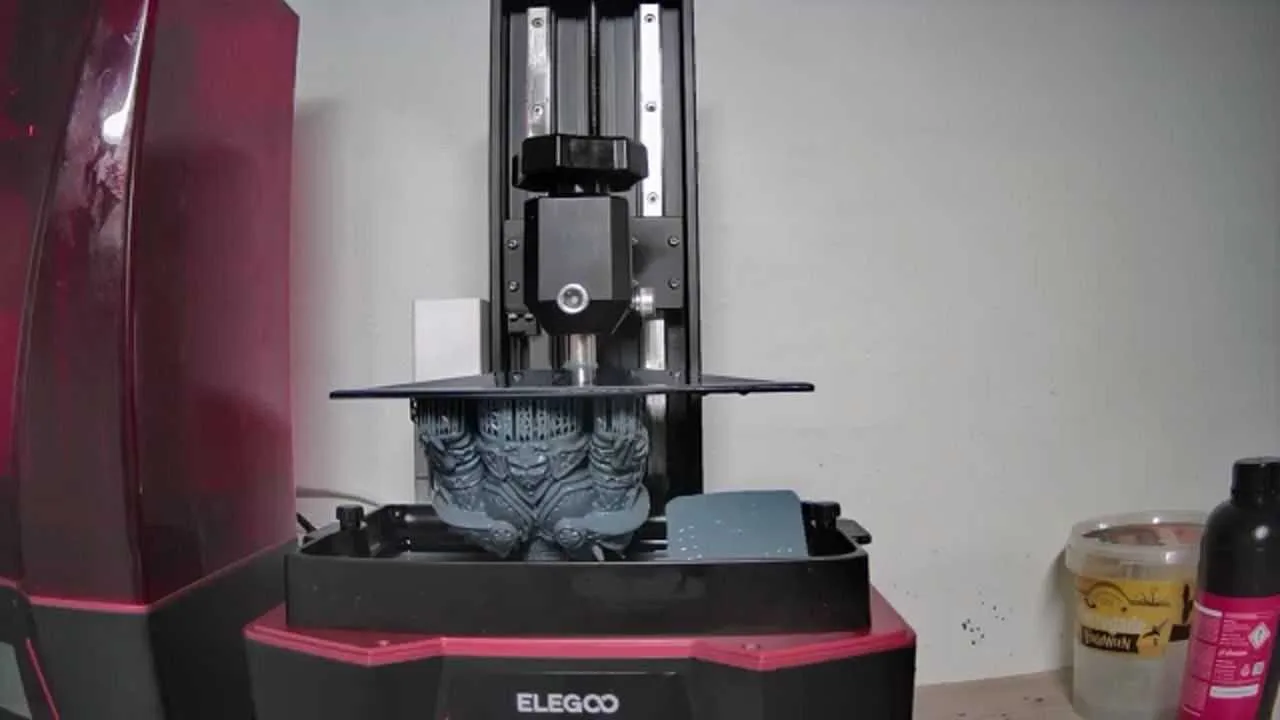
The bucket and squirt bottle method
Once you are using a decent ABS-Like water washable resin, the actual washing routine takes about two minutes per model and uses surprisingly little water. This is the workflow I run.
You need three things: a large bucket with a lid, a squirt bottle that holds about half a litre, and warm tap water.
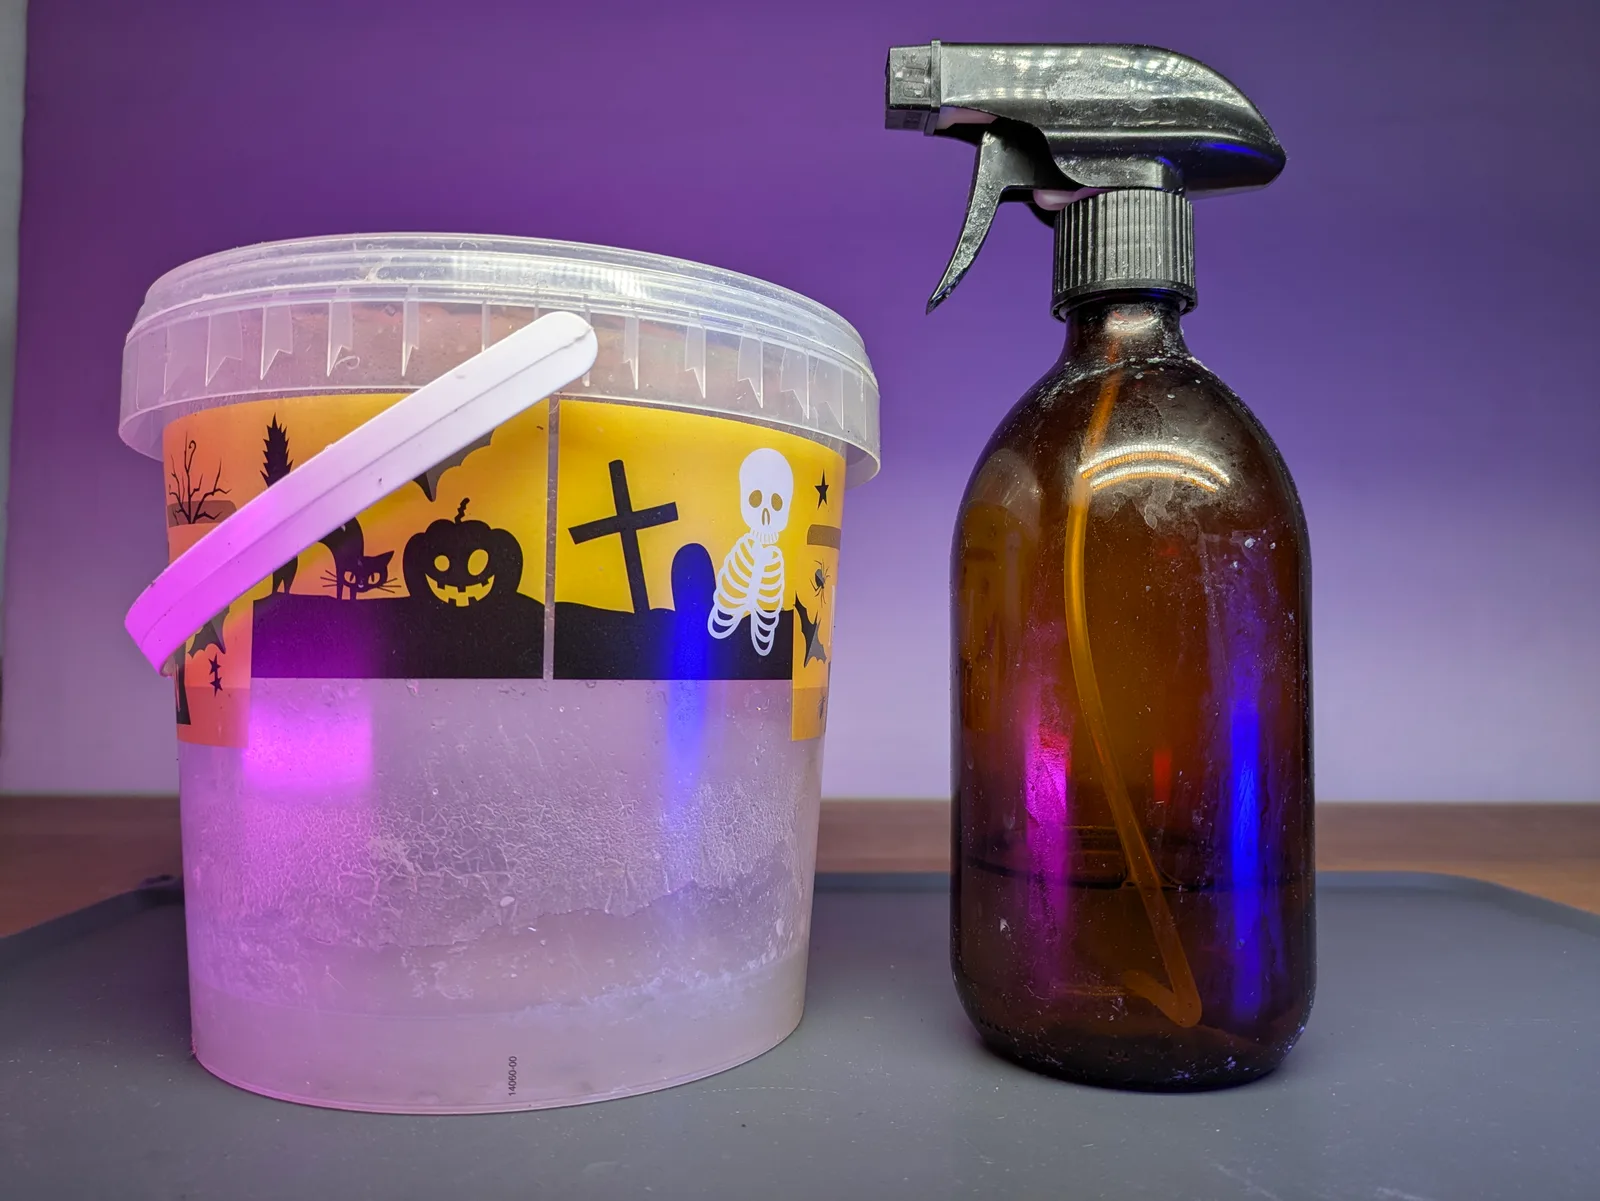
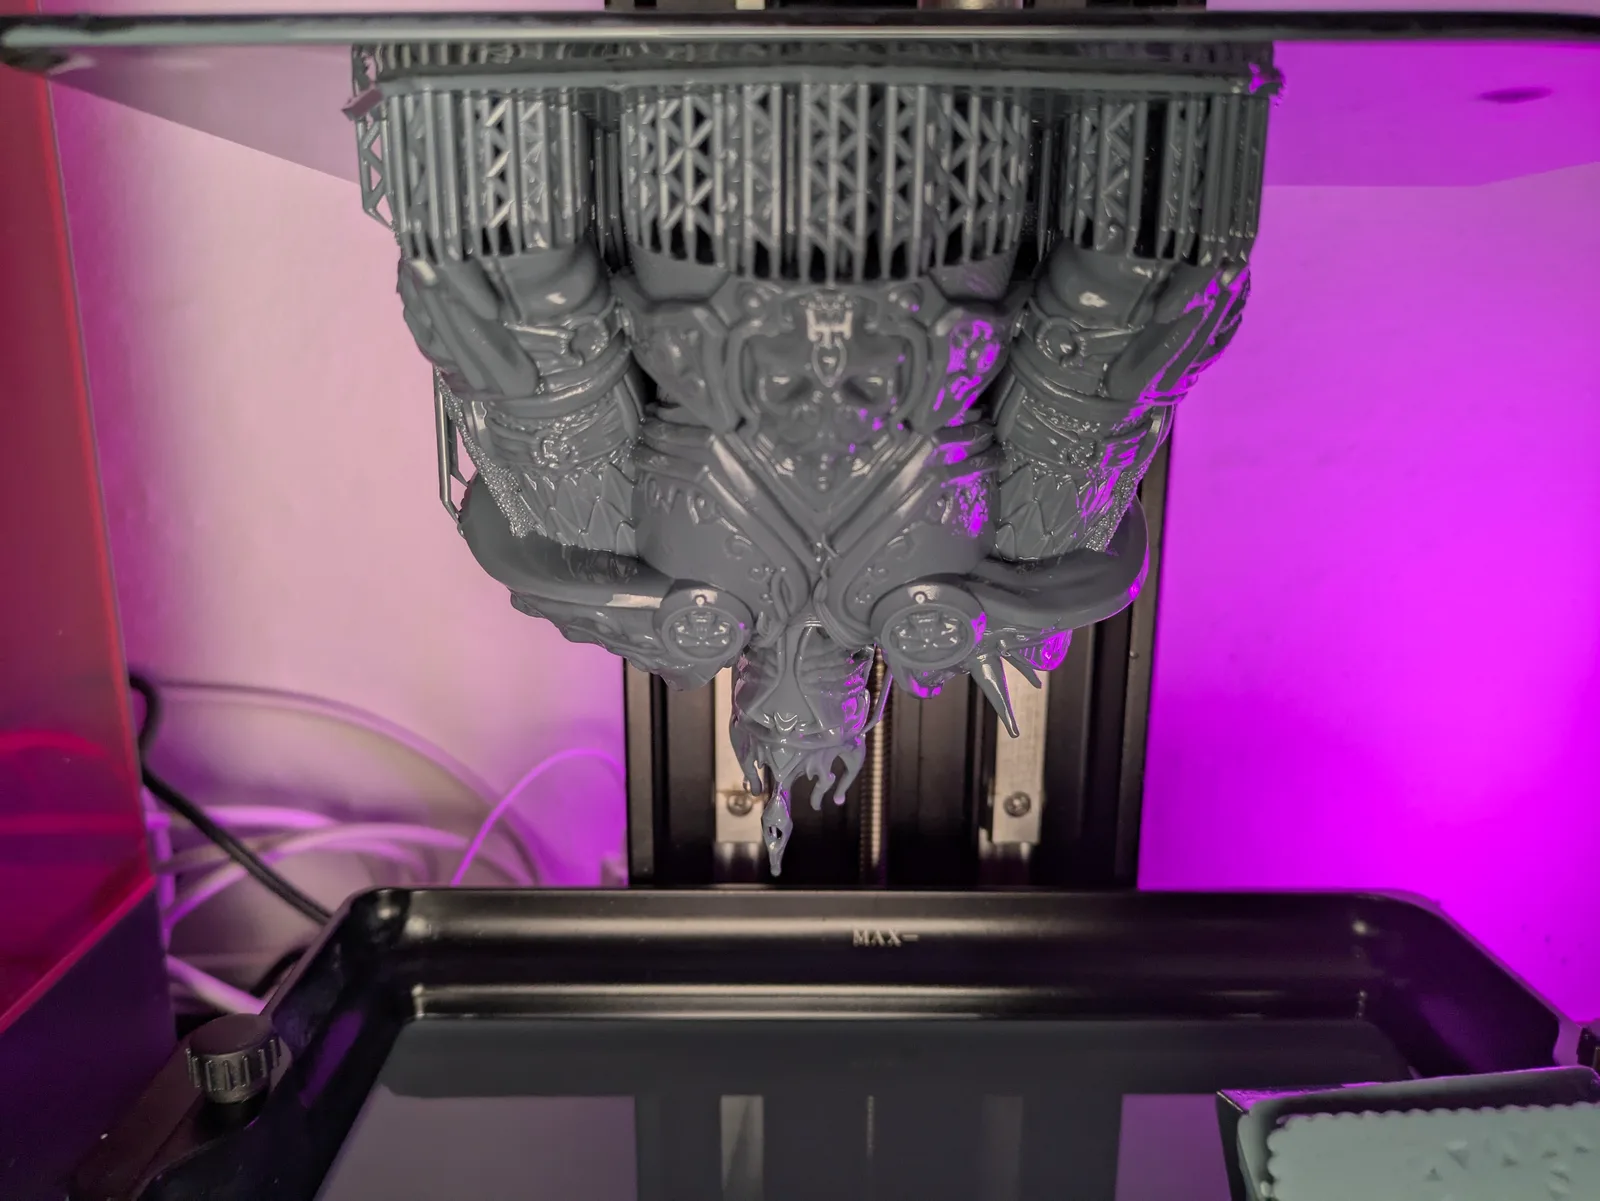
When the print finishes, fill the squirt bottle with warm tap water. Warm, not hot. The warmth makes the resin slightly more flexible while you handle it, which makes support removal easier and reduces the risk of snapping detail when supports come off.
Take a model off the build plate or off its supports raft, hold it over the open bucket, and give it a few short squirts. Let the run off drip into the bucket. Pull off the supports while the model is wet. Then squirt the model all over from every angle. The combination of warm water and the force of the spray lifts the uncured resin off cleanly if your resin and exposure are right. If you are still seeing tacky areas after a thorough spray, that is a sign your wash water is not getting into a recessed area or your resin is not the better chemistry.
Set the cleaned model on a sheet of kitchen paper. Repeat for every model on the plate. When the plate is empty, dab each model with kitchen paper to take off as much surface water as you can.
You can also dunk the models in a tub of water rather than spray, but that uses several times more water and gives you several times more waste water to deal with. The squirt bottle method is much more economical and is what I would recommend by default.
So far, this has been a clean win for water. One bucket of waste, no jar juggling, no flammable solvent, no wash station footprint on the bench. But there is one real drawback I am not going to gloss over.
The drying problem
Water evaporates much more slowly than isopropyl alcohol. Alcohol washed prints are dry in a few minutes. Water washed prints are not, and you do not want to cure a model with surface water still on it because the water can dull the cure and leave a slightly hazy or tacky finish.
There are three ways to handle the drying step:
- Leave the models on kitchen paper overnight, well away from any UV light source, and cure them in the morning
- Blow them with a hairdryer on the cool setting for a couple of minutes per model
- Stand a fan in front of them for half an hour or so before curing

None of these is particularly elegant. Overnight drying is the laziest option and the one I default to most evenings. The hairdryer trick is fine if you want a faster turnaround. If you have found a more efficient drying workflow, I would genuinely like to hear it, the comments under the video version of this piece are the right place to share.
Once the models are dry, cure them as you normally would and you are done.
Dealing with the waste water
The other piece of the picture is the bucket of pale grey waste water that builds up over a printing session. This is not as bad to handle as it looks, but you do need a routine.
What you want to do is split the waste back into its two parts: cured solid resin at the bottom of the bucket, and clean water on top that can be poured away.
The way to make that happen is sunlight. Stand the bucket somewhere it gets a few hours of direct sun each day, with the lid loosely on so rain does not get in and birds do not drink from it. The UV in sunlight will gradually cure the dissolved resin, which sinks and forms a layer at the bottom. The water on top becomes progressively cleaner.
To speed it up:
- Use a wide shallow tub rather than a tall narrow bucket so the surface area is larger
- Put it somewhere warm as well as sunny
- Stand a fan blowing across the surface to accelerate evaporation
When the water above the cured resin layer is clear, you can pour it off down the drain. The cured resin layer can be scraped out and binned with the rest of your cured resin waste. None of this is fast. A bucket of waste water can take a couple of weeks to fully process. Plan for that and have a second bucket on rotation if you print regularly.
When water washing is not the right call
There is one situation where I always reach for alcohol instead, and it is worth being explicit about it.
If you are printing big hollow models, the kind of large terrain pieces, vehicle hulls, or display sized centrepieces where the inside surface of the print is large and not deliberately cured, water washable resin is a poor choice. The inside of those models stays slightly porous, and water washable resin in particular slowly absorbs moisture from the air over months. Eventually that absorbed moisture causes the print to crack, sometimes weeks after it left the workshop.
For everyday 28mm and 32mm miniatures with sensible hollowing or printed solid, this is not an issue. For a 200mm hollow display piece you have spent a week printing, it is. Alcohol washable ABS-Like resin handles that case without complaint.
This is the tradeoff. Water washable resin is the right default for most miniature printing. Alcohol washable is the right call for large hollow display pieces. Both have a place in a serious hobbyist’s workflow.
How this fits the wider beginner workflow
If you are setting up a first resin printer, the route that gives you the gentlest learning curve looks like this. Buy a small printer. Buy one bottle of a decent ABS-Like water washable resin like Wargamer. Skip the wash station on day one, use the bucket and spray method. Cure with whatever UV source you have, even sunlight if you are on a tight budget.
When you have a few months of prints under your belt and you have a clearer idea of what you actually want to print, then you can decide whether to add a wash and cure station, switch to alcohol washable resin for specific use cases, or stay where you are. None of those decisions are urgent in the first month.
The full beginner setup with the gear I would actually buy is in the guide to starting resin printing, and the broader beginner workflow is in the hub article on resin printing for miniatures.
If you are going to make one mistake on the way in, I would much rather you started with water washable resin and the bucket method than spent your first weeks fighting an alcohol wash routine you did not need yet. The reputation water washing built in the early years was earned, but the resin available today is a different conversation. Try it for a bottle and see.