Some links on this page are affiliate links — marked with aff — and if you buy through them I may earn a small commission at no extra cost to you. Read the full disclosure.
The version of me who ordered a Mars 1 in the summer of the pandemic was a complete novice. The community knowledge was thin, half of what was treated as gospel turned out to be wrong, and you had to test almost everything yourself. I went into resin printing semi blind, which was probably stupid but at least made for better content later on.
There were a lot of things I wish I had known before I drowned myself in grey resin miniatures. These are the ten that would have saved me the most time, money, and frustration if someone had handed them to me at the start.
1. You probably do not have a space that is suitable for printing
I had it all planned. Pandemic working from home, a spare room in our small summer place, the printer would happily run during the dull bits of zoom meetings. Reality showed up about an hour after I unboxed the Mars 1.
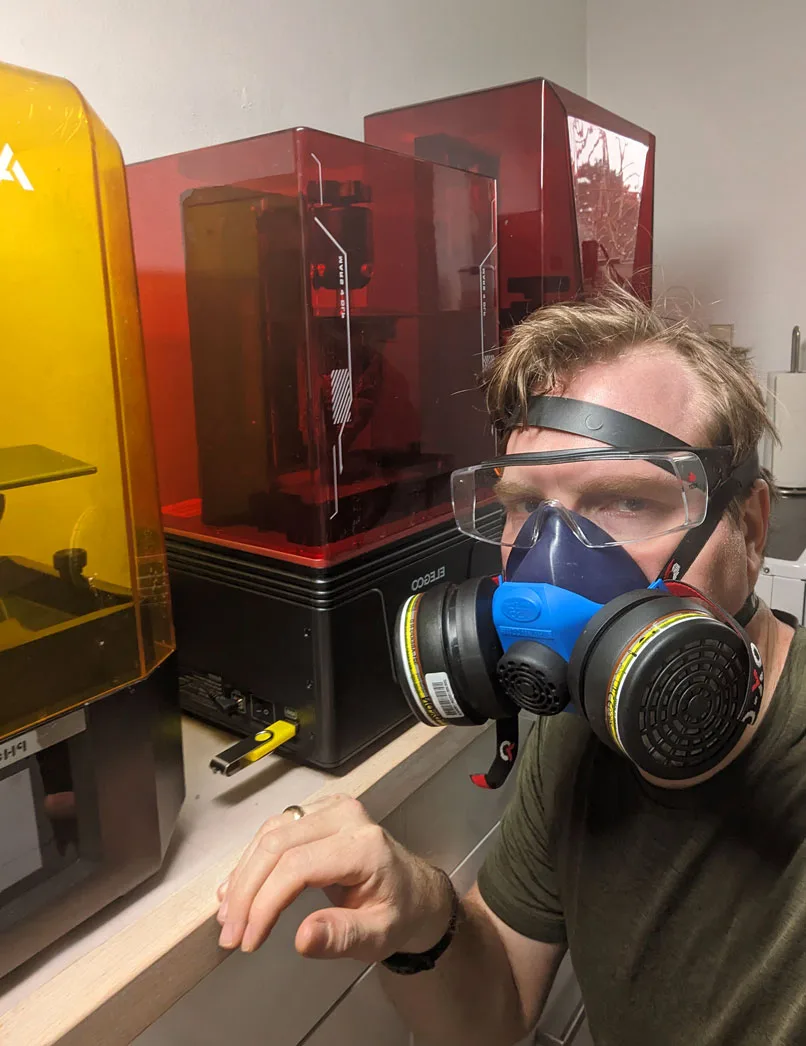
The room had no adequate ventilation, not by the standards in the ventilation and safety guide. Even with the door closed and every window in the house open, the smell of the resin worked its way into the rest of the building. The floor was so far from level that the printer wobbled while it printed and the prints came out a bit lopsided.
The bigger problem was that the smell was not just unpleasant. The volatile organic compounds resin emits are not something you want lingering in a living space, and the long term research on what exactly the chemical mix in any specific resin does to you over a few years is genuinely sparse. The answer is that nobody really knows.
The popular suggestion is to put the printer in a grow tent. That is fine if you also fit ventilation to push the fumes outside. Without the ventilation you are just trapping the worst of the air and releasing it in a concentrated burst whenever you open the tent. And it is much harder to clean inside a sealed chamber than on an open bench.
What I ended up doing was moving the whole setup to a shed in the garden, which worked beautifully until winter arrived and the temperature problem started.
The lesson is to plan the space before you order the printer, not the other way around. The full version of this conversation is in the clean beginner setup article.
2. Resin behaves very differently in different temperatures
Temperature has a much larger effect on resin than I realised. At higher temperatures the resin is less viscous, prints faster, and the exposure window is more forgiving. At lower temperatures the viscosity climbs, the resin is slower to settle between layers, and you start seeing weird fails or whole prints that simply do not adhere.
The same printer with the same resin at 20 degrees celsius behaves measurably differently from the same setup at 25 degrees celsius. The optimal exposure shifts. Most resin will still print fine in the 20 degree range, but reliability drops as you move further down.
The biggest issue for beginners is when the temperature falls during a long overnight print. You are not running at the ideal exposure for the new temperature, and at some point a layer fails to cure properly and the whole print falls off the build plate. That is exactly what happened to me back when screens were RGB rather than mono and exposure times were nine or ten seconds per layer.
There is a smaller side note worth knowing. The screen and the curing reaction itself produce heat, so the resin in the VAT is often warmer at the end of a long print than at the start. On my old Mars 3 printing standard resin, I measured a five degree rise across a print. On more modern printers with mono screens that is much less, but it is still there.
If your printing space gets cold, the cleanest solution is a printer with a heated VAT built in, rather than a brew belt or an external heater. Heated VATs were exotic two or three years ago and are now standard on most mid range and flagship printers. They take a major fail mode out of the equation.
3. UV light is everywhere, and that includes indirect sunlight
I cured my early prints in the sun to keep my initial gear cost low. It works, but it takes a long time and a lot of light to bring a model to a not sticky finish.
My faulty conclusion was that since full curing takes hours of sunlight, doing the wash in the shade outside should be safe. The shed in summer with full chemical resistant gear was cramped and uncomfortable, and the shade outside the shed was much more pleasant.
So one afternoon I tried it. The result was a disaster. UV light reflects, refracts, and bounces off pretty much everything outside. While I was working in shade I was still surrounded by ambient UV. It does not take much UV to half cure a thin layer of liquid resin into a sticky skin, even though it takes much more to fully cure a model. By the time I had the prints off the build plate, the surface resin had cured into a sticky film, the details were lost, and there was a layer of cured resin fused across the build plate.
The lesson was straightforward. Wash inside or in genuine deep shade with no line of sight to open sky. UV is more pervasive than it feels.
The accidental upside was that I learned hot water makes cured resin much more flexible, which is the easiest way to get fused resin off a build plate without chipping at it. Necessity is the mother of figuring things out the slow way.
4. The cost of resin printing is in the consumables, not the printer
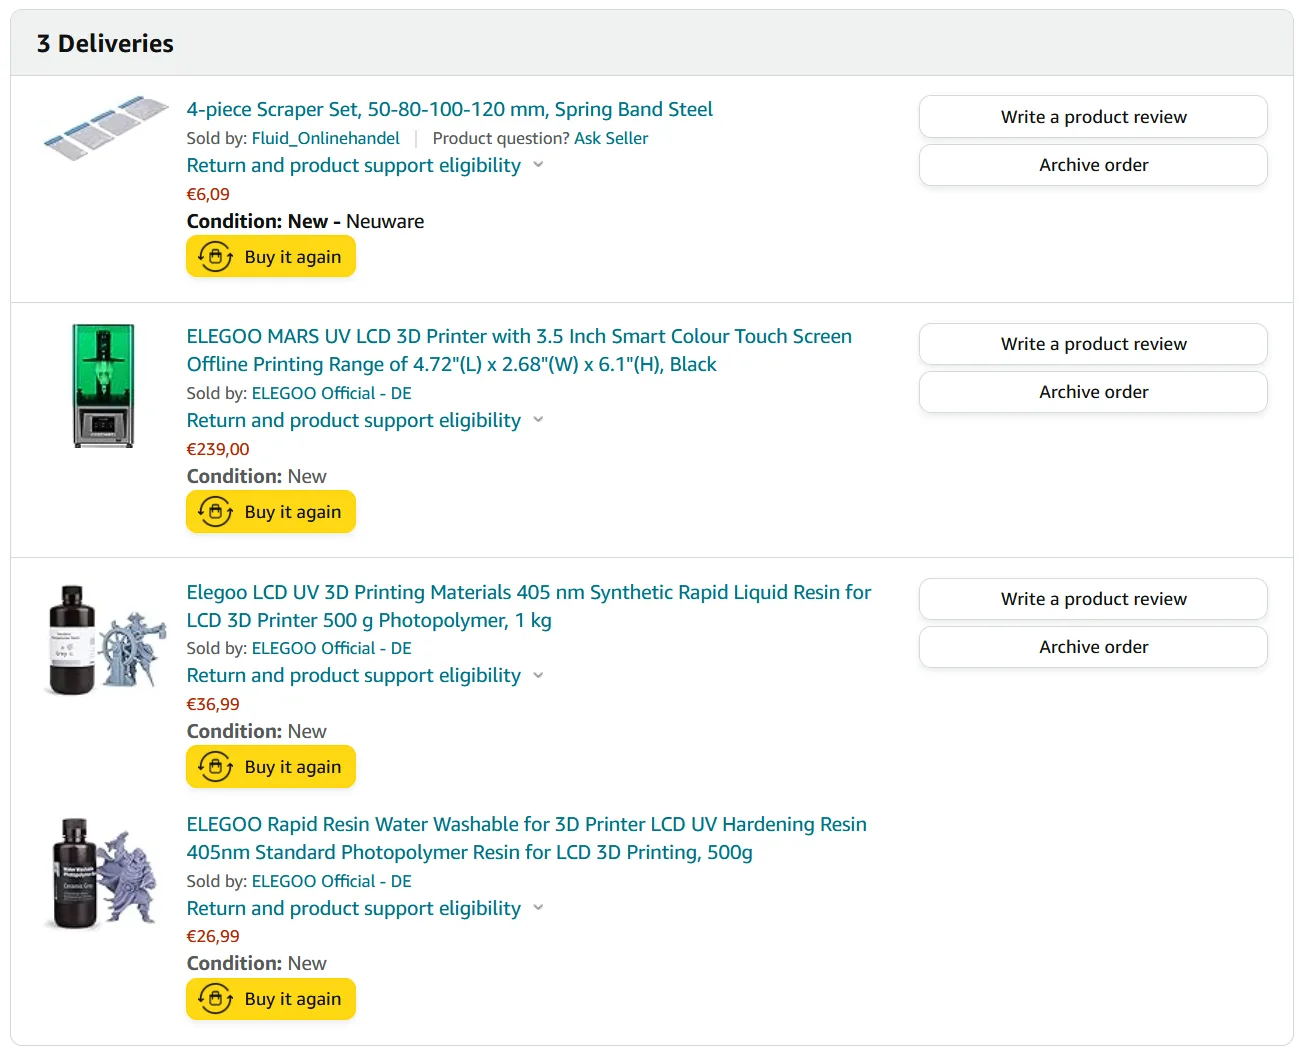
The Mars 1 was cheap. Everything that came after was less cheap, and most of it was not in any beginner gear list I read at the time.
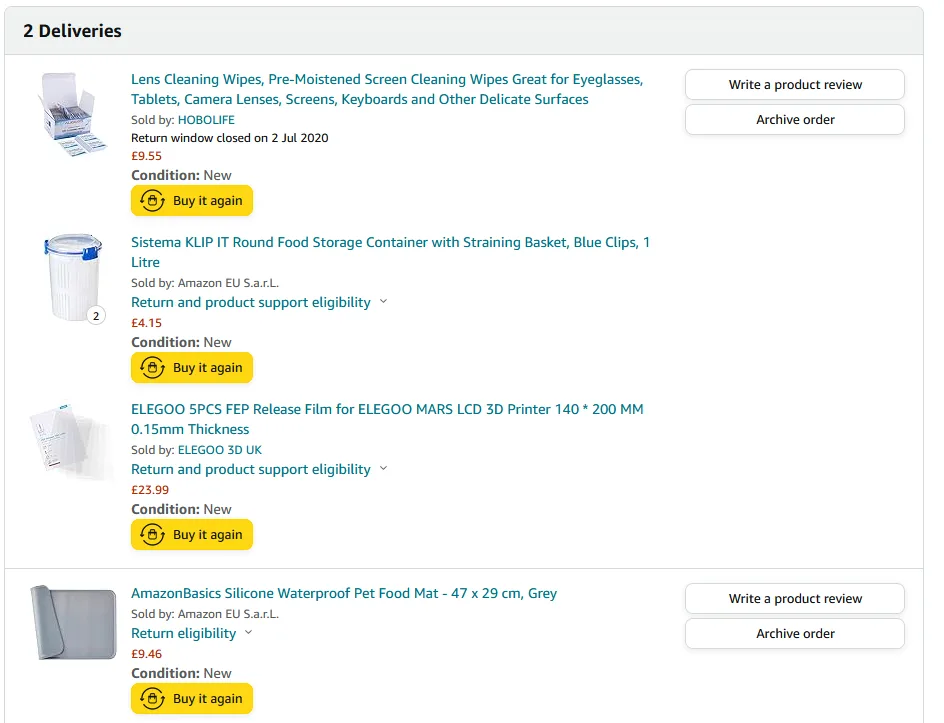
A few months in, I had filled a bucket with resin contaminated water, accumulated a stack of cured support structures I had saved for no real reason, gone through fifty pairs of nitrile gloves, used what felt like a hedgerow worth of kitchen paper, and built up a litre or two of cloudy isopropyl alcohol that I had no clean way to deal with.
Then the screen failed. Once that was replaced, the FEP needed changing.
In games, consumables are the potions and scrolls you stockpile for a tough fight that never quite arrives. In resin printing, consumables means the things that are expected to break and that you will pay for again and again. Screens, FEP, alcohol, gloves, kitchen paper, replacement build plates, replacement levelling screws, and on it goes. Add to that the resin you waste in supports, the resin you waste in failed prints, and the slow dribble of cleaning supplies, and the cost picture is very different from the sticker price on the printer.
I budgeted for the printer and forgot the rest. I would budget the same again for the first year of consumables, which roughly doubles the figure most beginner guides quote. The full picture is in the start resin printing guide.
5. The sticker price is almost never the actual price
The Mars 1 still annoys me. Not because it was a bad printer at the time, but because of what I paid for it.
I bought it shortly after release, when it was discounted ten or twenty percent off the sticker price. That is when most printers are at their most expensive. Nearly every consumer resin printer I have watched follows the same trajectory: preorder, a brief stint at sticker price, then a sequence of sales that bring the real price down meaningfully over the following twelve months. By the time the next generation launches, the previous model is often half the launch figure.
I also bought it on Amazon rather than directly from Elegoo, where it would have been noticeably cheaper for my region.
And I bought it right before a major leap forward. The mono screen revolution arrived just after, and the Mars 1 was instantly the obsolete generation. I would have got far better value waiting six months and buying the Mars 2 at a real discount.
The lesson is to buy after a tech leap, never just before one. 2026 is a sensible year to buy because the resolution war has more or less ended, ease of use features are now the differentiator, and last generation flagships are routinely on real discount. The case for that is in the why 2026 is still the best year article.
The same logic applies to second hand. The 2023 generation is genuinely good and now sells for very little. I covered that in the second hand printers article.
6. Owning the printer changes how you feel about commercial miniatures
This is the one I was least prepared for, and it has been the biggest long term effect of taking up resin printing.
I have played Games Workshop games my whole hobby life. The prices always felt high, but they made the best plastic miniatures, and the answer was just to buy fewer and paint the ones you had.
Owning a resin printer rewired that calculation in a way I did not see coming. I cannot help comparing the price, the quality, and the sculpt of any commercial miniature to what I can produce at home for a fraction of the cost. Every plastic kit becomes a mental sum about how many evenings of painting it represents and how many games of the current edition I will get out of it before the rules change again.
The result is a slow drift away from the big publishers and toward indie sculptors and game systems that are model agnostic. Sometimes those are the free rules systems, sometimes they are paid but with no obligation to use a specific manufacturer’s miniatures. Either way the relationship to the hobby changes.
If your relationship with Games Workshop is what people would politely call complicated, taking up resin printing is one of the things that quietly resolves it. You stop arguing with yourself about whether the prices are reasonable because you no longer have to pay them.
7. Sorting your files matters more than collecting them
Almost every printing hobbyist I know has a file library that ballooned out of control in the first year. After two years my downloads folder had something like forty thousand files in nested archives, no consistent naming, and no easy way to find a specific model when I wanted to print it.
Build a folder structure on day one and use it. Sort by creator, then by release, then by faction. Rename anything you actually intend to print so the file name describes the model. The what to print first guide covers the indie creator landscape and which files are worth keeping in your library at all. The files are not the hobby. The printing and painting are.
8. Fast printing is a trap
Manufacturers have been competing on print speed for the last couple of years. Tilting VATs, low viscosity speed resin, very high layer heights, all of it marketed as the next big thing.
For miniature printing, this is mostly a false economy. The reason resin printing is fast is that you cure a whole layer in a few seconds regardless of how much is on it. A full plate of eight 32mm models is roughly the same print time as one. So the bottleneck on your throughput is not the seconds saved per layer, it is how often you actually want to commit to a four hour print.
Speed resin tends to be more brittle, lower detail, and more limited in chemistry. You make a quality compromise to save twenty or thirty minutes on a print that was already going to take a few hours. That is a poor trade for miniatures.
If I am going to optimise for speed I do it on FDM, where prints take genuinely long enough that an hour saved actually matters. On resin, I would rather have the better resin and the longer print and the result I actually want to paint.
9. The indie creator market is where the real value is
The single best discovery I made through resin printing was the indie sculptor scene. There are hundreds of small creators, often single artists or two person studios, putting out monthly tribes of miniatures on Patreon and MyMiniFactory at prices that make commercial plastics look absurd.
The quality is often better than the equivalent commercial product, the variety is much wider, and you are usually buying directly from the person sculpting the figures. There is something genuinely satisfying about that exchange.
If you are coming into resin printing from a Games Workshop only background, give yourself a few months of exploring the indie scene before settling into a routine. Try a few different sculptors, find the styles you actually enjoy painting, and let the printer become a tool for that exploration rather than a way to print the same dozen models repeatedly.
This is the part of the hobby that stops being about the machine and becomes about the work. It is also the part that quietly justifies the kit cost.
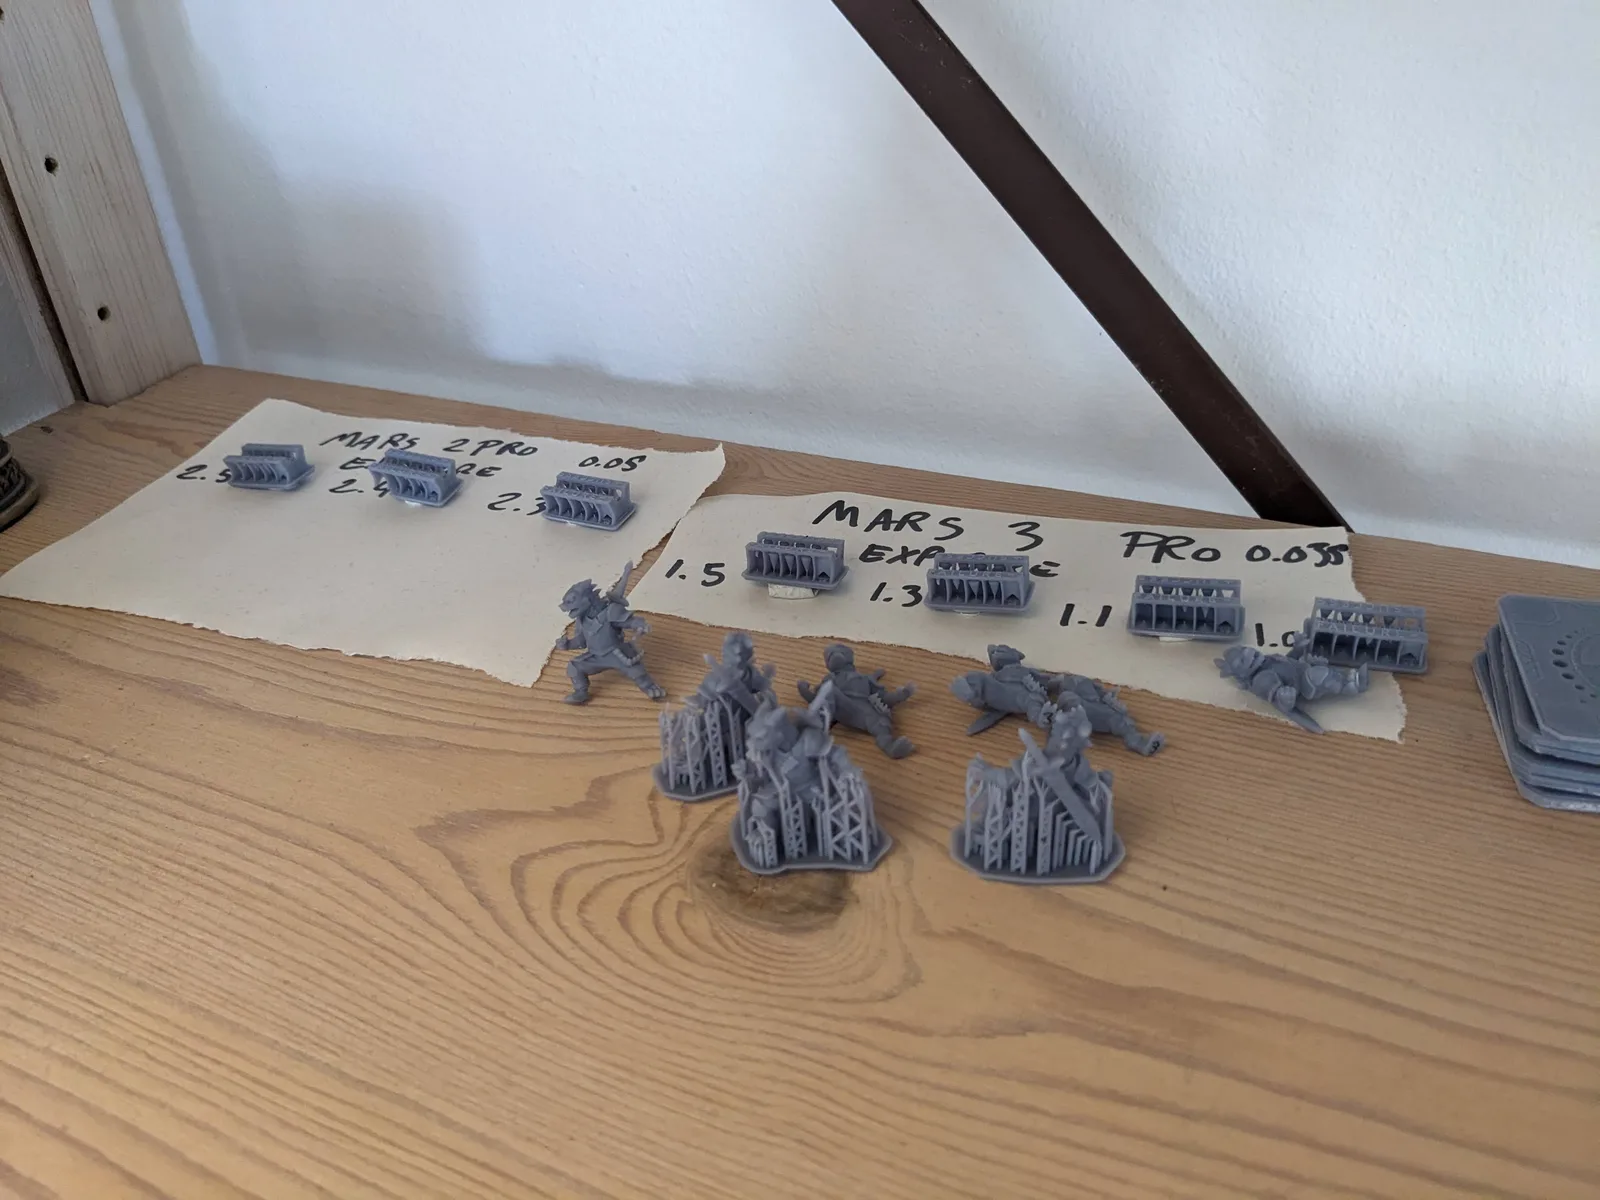
10. Calibration is much simpler than the forums make it sound
When I started, the slicer settings felt impossibly complicated and the advice online was contradictory. Most settings can be left at sensible defaults. The single setting that genuinely needs calibrating to your printer, your resin, and your room temperature is exposure time, and the RERF test finds it for you in twenty minutes.
For the broader picture of which settings matter and which can be left alone, brutally honest resin printing advice point 5 is the anchor. Treat the rest of the slicer as something to leave alone until you know why you want to change it.
What to do with this list
The version of me who needed this list would have ordered a different first printer, set up a different first workspace, bought a different first resin, and avoided the worst of his early consumables bills. He would still have made plenty of mistakes, because resin printing rewards the people who sit down and print, but he would have made fewer of the expensive ones.
If you are about to order your first printer, the hub article on resin printing for miniatures walks through the workflow end to end. If you have not yet decided on the printer, the best resin 3D printer buying guide is the place to start. The lessons above are the soft skills around the kit. They will save you more time than any single piece of gear.