Some links on this page are affiliate links — marked with aff — and if you buy through them I may earn a small commission at no extra cost to you. Read the full disclosure.
You fill the VAT with a new bottle of resin, slice a file using settings borrowed from a forum, and hope for the best. Sometimes it works. Often it does not, and you have spent resin and two hours finding out. There is a better way, and it is already in the menu on your printer.
The RERF test prints in under twenty minutes, uses almost no resin, and tells you exactly what exposure time to use for that bottle on your machine today. Most owners never run it because the printed result looks unremarkable and the manual does not explain what to look for. Every step is below.
What RERF is and why it matters
RERF stands for Resin Exposure Range Finder. It is a small calibration tile that prints eight identical patterns across the build plate, each at a slightly different exposure time. By printing all eight in a single run and comparing them, you can see at a glance which exposure time works best for your specific setup.
Every Elegoo printer has it built into the firmware, usually under a menu labelled Tools or Options. Equivalent tests exist on other brands under different names. On Anycubic printers it is sometimes called a photon validation matrix. The principles for reading the results are the same regardless of the name. If your printer has no equivalent built-in test, start with the Cones of Calibration instead; the calibration tools article covers that workflow.
Community settings sheets are a reasonable starting point, not a finished calibration. Your LCD has its own age and brightness output. Your resin is from a specific batch stored at a specific temperature. Your room is warmer or colder than the person who measured those numbers. LCD brightness declines noticeably over the life of a printer, so settings that worked on a newer machine will underexpose on an older one. Resin batches vary even when the label says the same thing.
The RERF accounts for all of those variables in one short run. It costs almost nothing and takes less time than diagnosing a failed plate print.
How to run the RERF correctly
Fill the VAT with the resin you want to calibrate. If the VAT has been sitting unused for more than a few hours, stir the resin with the plastic spatula first. Resin components settle and separate; a calibration on separated resin gives you a misleading result.
Level the build plate if anything has disturbed the printer since the last level. A badly out of level plate causes adhesion problems on one side of the tile that can look like exposure problems. Level first, calibrate second.
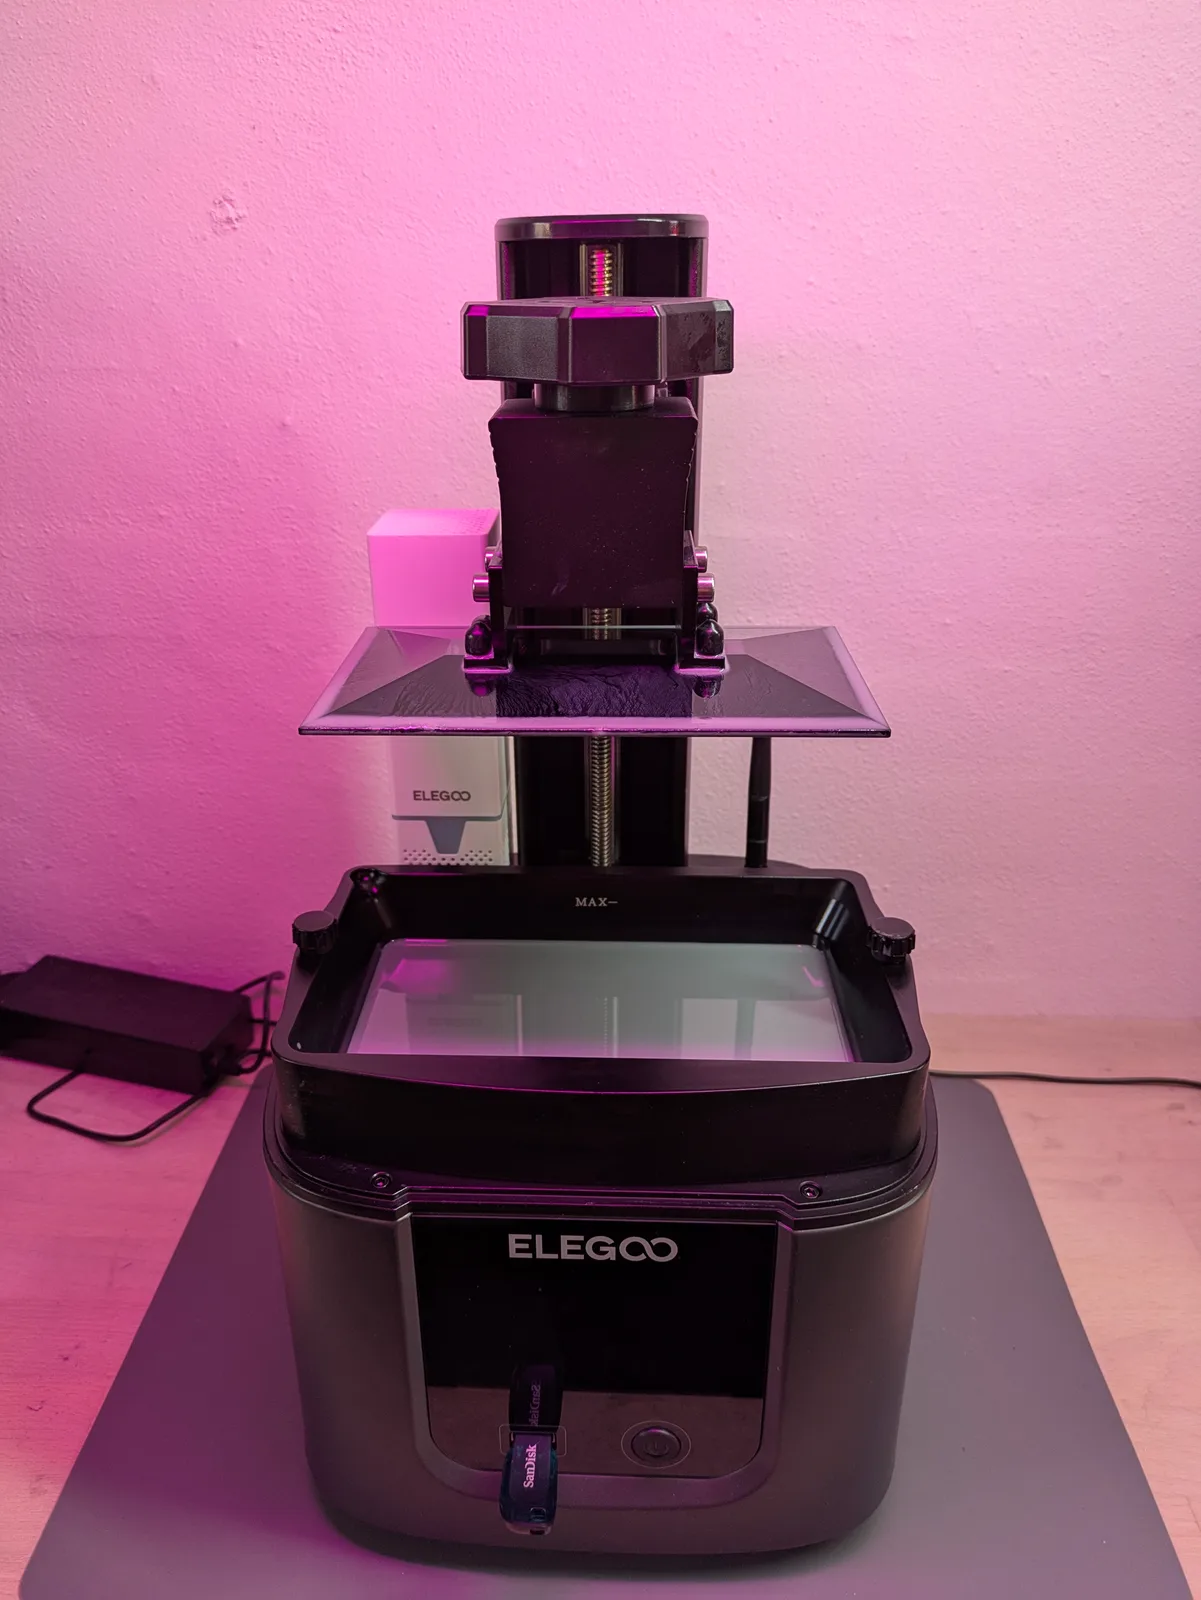
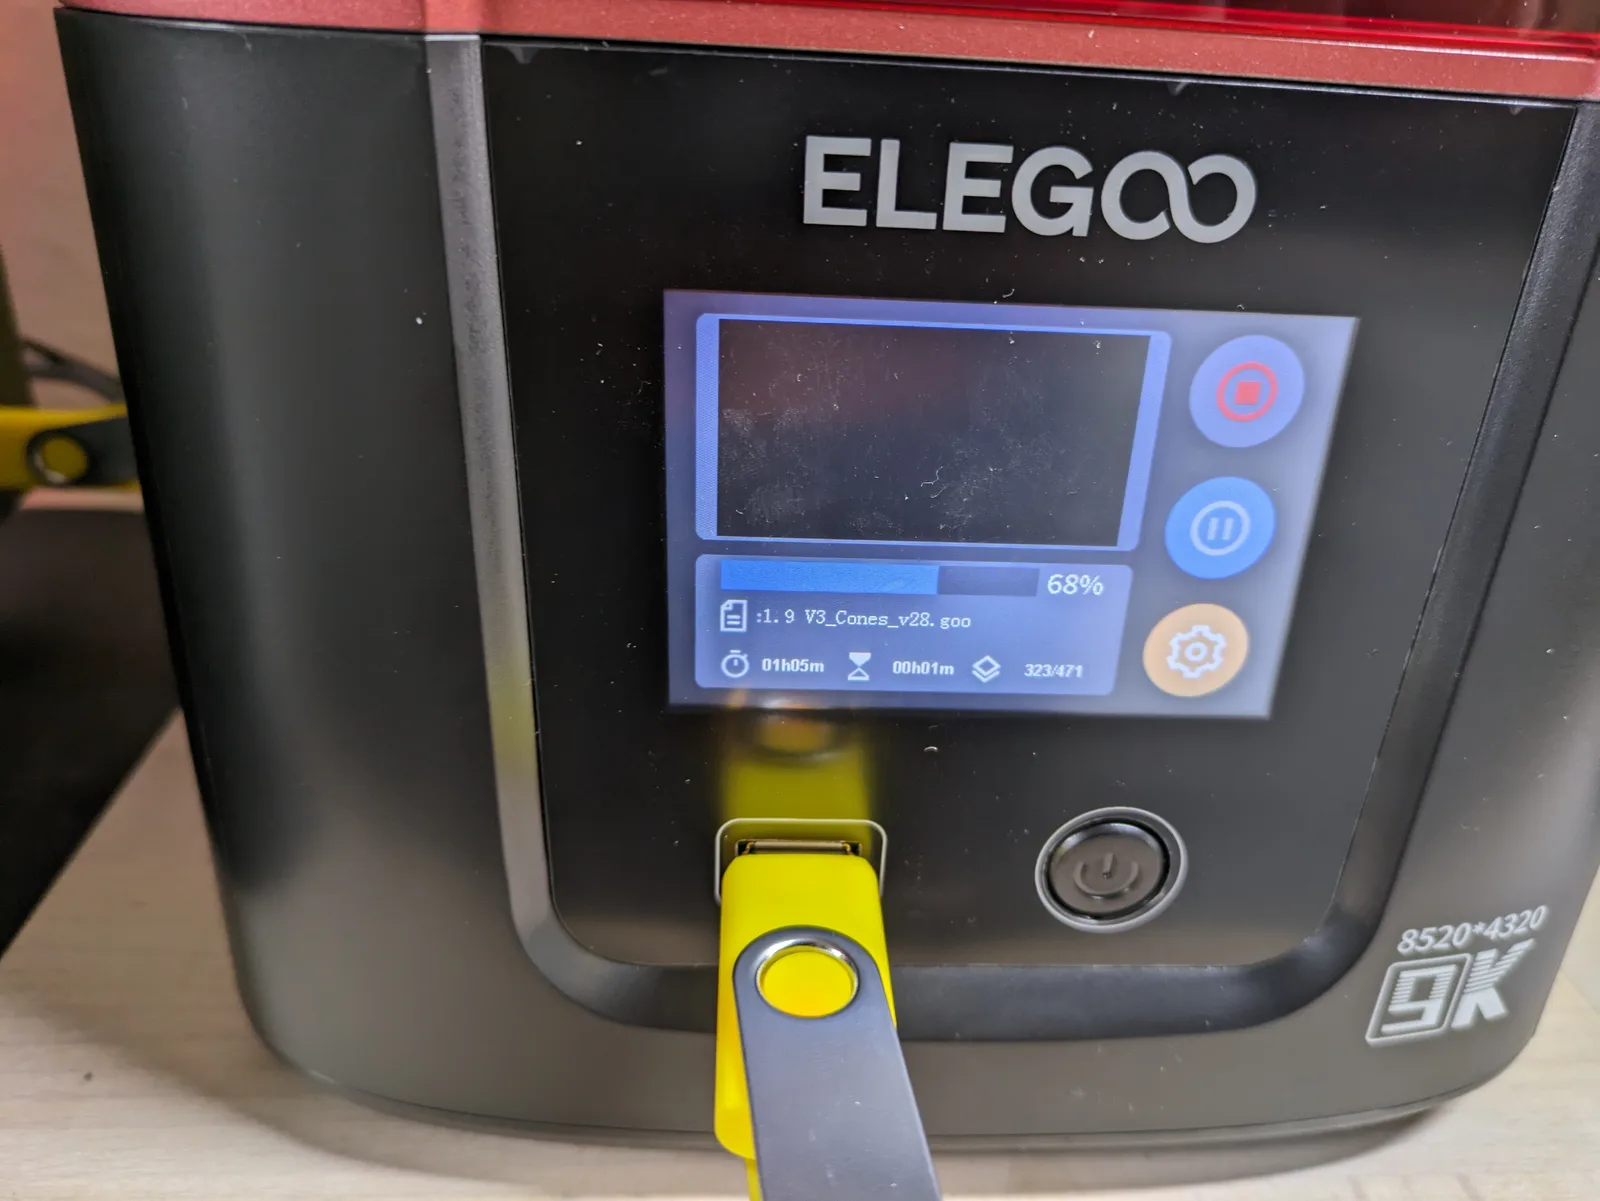
Navigate to the RERF option in the printer menu, usually under Tools on Elegoo printers. Start the print and leave the printer alone until it finishes.
When the print finishes, remove the tile with a plastic scraper and wash it briefly with IPA, just a dip and a gentle agitate. Do not put it through a full wash station cycle. Heavy washing attacks fine surface detail and makes the tile harder to read.
Let the tile air dry completely on a clean paper towel before reading it. Do not cure it yet. Read it washed and dried under a good light.

What to look for on the tile
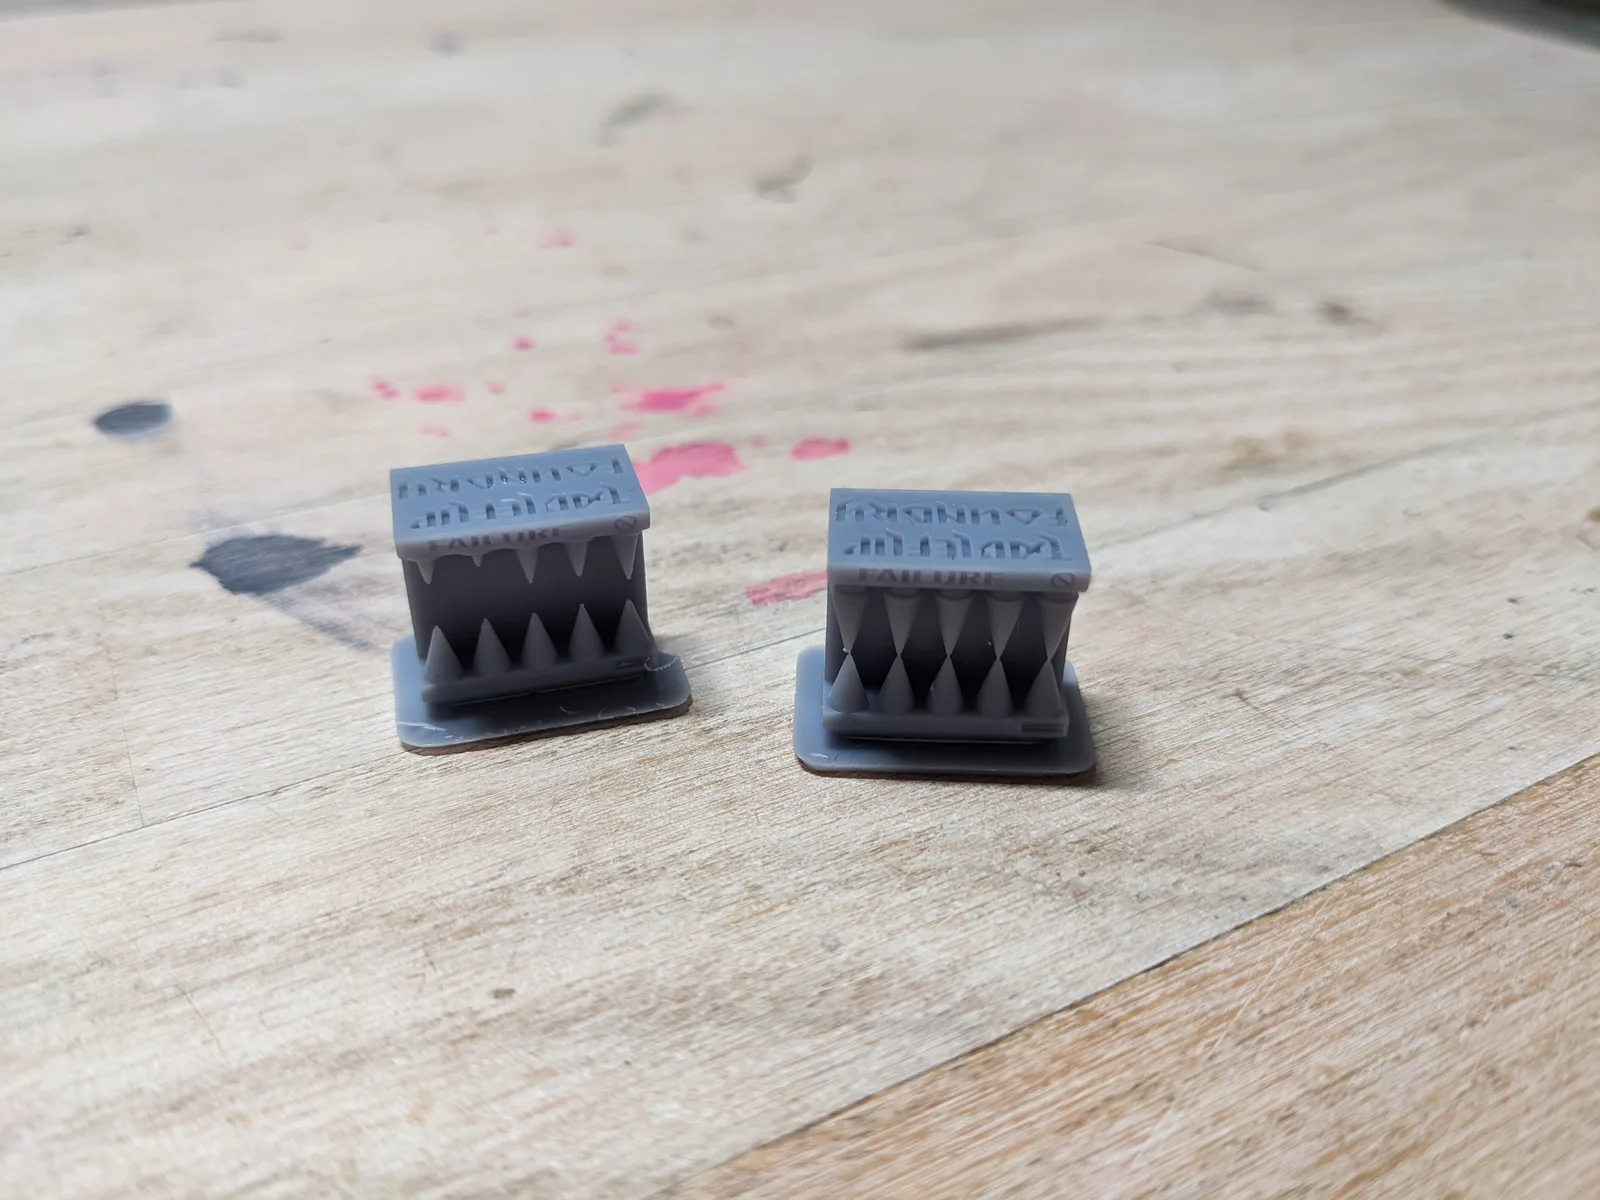
Each of the eight sections contains the same three features: small lettering near the top, a thin vertical pillar on one side, and a cone or crosshatch in the centre. Exposure time increases from one end of the tile to the other. On Elegoo’s default RERF, the exposure values are printed on the tile itself so you can match each section to its time.
Each feature responds differently to over and underexposure, which is why the tile includes all three.
The small lettering is one of the most demanding features to print accurately. At correct exposure the letters are fully formed and legible. Overexposure thickens them until the gaps between strokes close in. Underexposure leaves them fragmented or shallow.
The thin pillar tests the minimum feature size the exposure can resolve. At correct exposure it stands with its full height and a clean tip. Overexposure widens the base and rounds the tip. Underexposure leaves it fragile, bent, or absent.
The cone or crosshatch tests fine geometry at the centre. Overexposure closes in the crosshatch gaps and softens the cone tip. Underexposure leaves gaps and prevents the cone tip from resolving.
Recognising overexposure
Overexposure is the more common mistake when working from borrowed settings, because community sheets tend to err on the cautious side for printers with older LCDs.
Signs of overexposure: fine lettering thickens and gaps close in; the pillar base is wider than neighbouring sections; crosshatch gaps are partially filled; the overall surface looks soft and swollen rather than crisp.
On real miniatures overexposure shows up as soft faces, rounded fabric folds, and detail that looks slightly blurred. It does not cause outright failures but it limits the quality your resin can produce.
Recognising underexposure
Signs of underexposure: the pillar is leaning, shortened, or absent; lettering has gaps or rough edges; crosshatch shows open gaps; sections at the short end of the tile may not have adhered to the build plate at all.
Underexposure translates directly to print failures in real use: models fall off mid print, layers do not bond fully, and supports snap at the contact point because the resin at the tip did not cure hard enough to hold the weight above it. If you are seeing any of those failures with borrowed settings, underexposure is the first thing to check.
Picking the winning section
The correct exposure is the shortest time at which all three features are fully formed and nothing is closing in.
Read from the underexposed end. Find the first section where the pillar is standing cleanly, the lettering is complete, and the crosshatch shows no gaps. Check the section immediately to the right: if it is showing early overexposure signs (lettering slightly thickened, pillar base slightly wider), you have your number. If the section to the right also looks clean, step one further right and re-check.
The winning section is usually the second or third from the underexposed end, not the middle. Most readers default to the middle because it feels like a safe average. It is not. The RERF range is set conservatively to accommodate a wide variety of printers, including older ones with dimmer LCDs. If your printer is less than a couple of years old, it will almost certainly perform best at a shorter exposure than the midpoint.
This is the most practically important thing the RERF tells you. The difference between the midpoint and the correct setting is often a full second or more, and that difference directly affects the sharpness of every print you run on that bottle.
Setting the exposure in your slicer
Enter the time from your winning section as the normal layer exposure in your slicer profile for that bottle. For burn-in exposure, a reliable starting point is roughly four times the normal layer exposure: if normal is 2.5 seconds, set burn-in to around 10 seconds. If adhesion is still weak, increase burn-in by 2 seconds and try again. Do not raise normal layer exposure to fix an adhesion problem; they are separate settings.
Save the profile under a name that includes the resin name and the date, for example: Sunlu ABS-Likeaff Grey Oct 2026, so your calibrated settings survive a slicer reinstall.
With exposure set, print a Cones of Calibration as a final confirmation. The Cones of Calibration by TableFlip Foundry is designed for miniature printing and gives a more detailed read on fine detail resolution than the RERF does. If the Cones look clean at the exposure you picked, you have a confirmed baseline.
The calibration tools article covers the Cones of Calibration in depth.
When to run the RERF again
The RERF is not a one-time task. These are the situations that call for a fresh run.
New bottle of resin. Even the same brand, same colour, and same label can vary between production batches. Do not assume last bottle’s settings carry over. Run the RERF and confirm before committing to a full print plate.
LCD replacement. A new screen outputs different brightness than the old one, regardless of whether it is the same specification. Start calibration from scratch after any screen replacement.
Seasonal temperature change. A few degrees of temperature shift is enough to push exposure out of the ideal window. If you notice a sudden increase in failed prints and nothing else has obviously changed, temperature is the first thing to rule out. Running the RERF at the start of winter and again at the start of summer is a sensible minimum for most setups.
The RERF uses a negligible amount of resin and takes under twenty minutes. There is no good argument for skipping it. Run it, read it, and set your exposure with confidence.
For the broader calibration picture, including which printer settings matter for miniature work and which can be left at sensible defaults, read the calibration tools article. For guidance on choosing and setting up a slicer profile once you have a confirmed exposure time, the slicer comparison article covers the workflow.

