Some links on this page are affiliate links — marked with aff — and if you buy through them I may earn a small commission at no extra cost to you. Read the full disclosure.
Your printer is ready and it is time to set up and dial in the settings. This is the part most beginners want to skip, or do by borrowing numbers from a spreadsheet online. Both of those approaches will cost you more time in failed prints than calibrating properly from the start would have.
Why borrowed settings do not work
Every resin printer calibration is specific to a combination of variables that differ between setups:
- The printer model and how old the light source is
- The FEP film type and its current condition
- The layer height you are printing at
- The resin brand and specific formulation
- The ambient temperature of the room
- The temperature of the resin itself
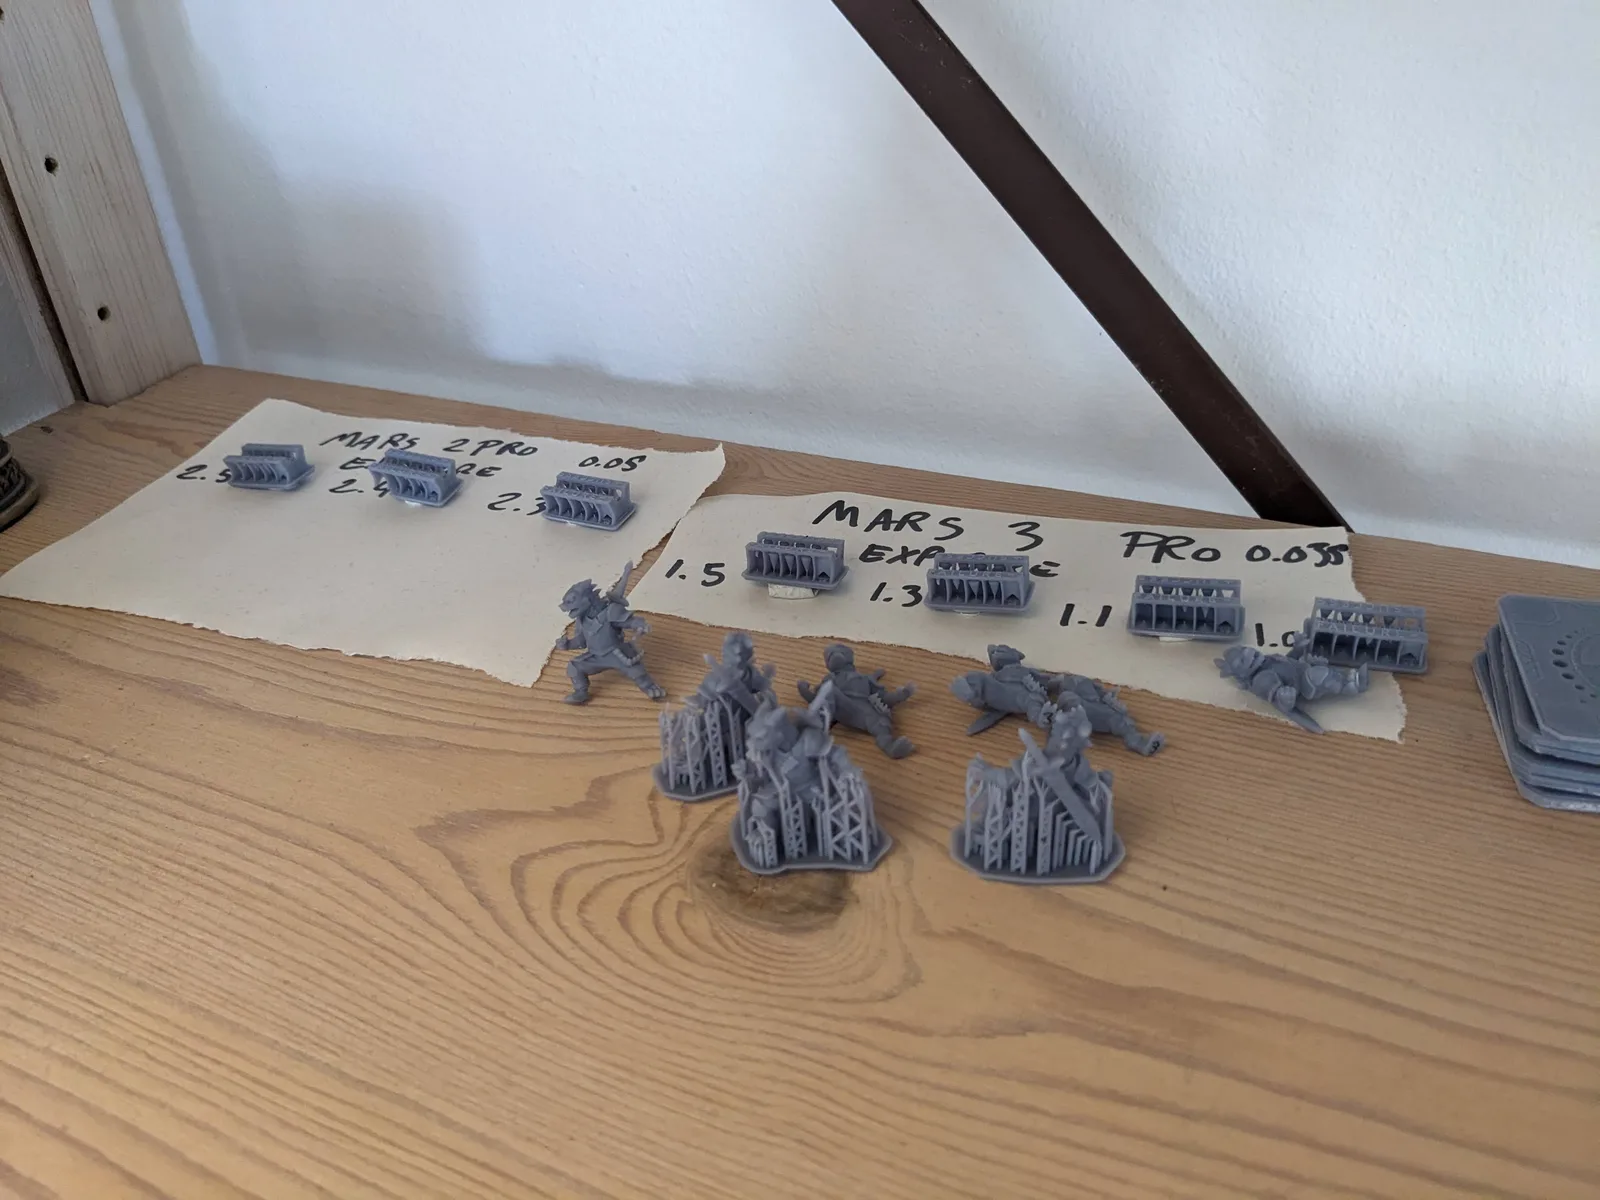
Change any one of those variables and the optimal settings change. Settings that produce perfect prints on someone else’s printer may produce overexposed blobs, underexposed failures, or anything in between on yours.
Forum spreadsheets and community settings sheets are useful as a starting point. They tell you roughly where the exposure range is for a given resin on a given printer. But they are not a substitute for running the calibration yourself, reading the results, and adjusting.
The calibration loop is: print a test, read the results, adjust one variable, repeat. It sounds slow. It is much faster than spending weeks printing failures and trying to diagnose the problem without a calibrated baseline.
What needs calibrating
Resin printing has several settings that interact. Not all of them need the same depth of attention for miniature printing.
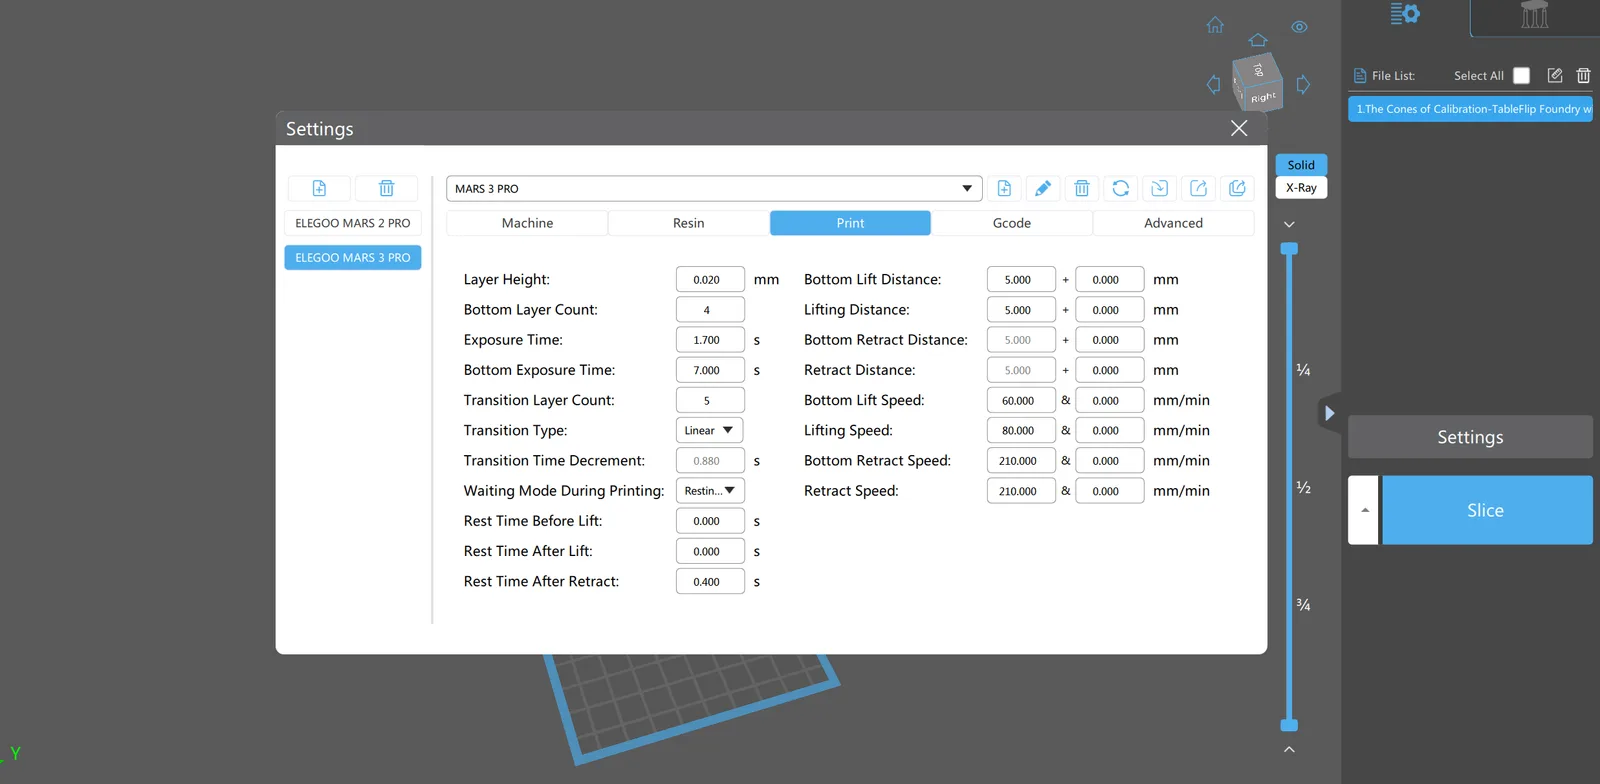
Normal layer exposure time. This is the most important variable. It controls how long the UV light fires for every layer except the base layers. Overexposure produces layers that spread slightly beyond their intended boundary, filling in fine details and producing pillowing on flat surfaces. Underexposure produces layers that do not cure completely, leading to weak parts or failed prints. Getting this right is the core of calibration.
Bottom layers (burn-in exposure). The first few layers print with a much longer exposure time than normal layers. These are the layers that bond the model to the build plate. The burn-in time needs to be long enough that the model sticks securely, but not so long that it becomes impossible to remove the model from the build plate after printing without damage.
Lift height. After each layer cures, the build plate lifts up to allow fresh resin to flow under the model before the next layer. The height of this lift needs to be enough to allow resin to flow in fully. Too little lift and the model starves for resin, causing layer failures. Too much lift and the print time extends unnecessarily.
Lift and retract speed. How fast the build plate moves up and back down. Slower speeds reduce the peel force on the FEP, which is the primary cause of suction cup failures on larger models. For miniature-scale printing, moderate speeds work well. For larger models, slower is better.
Wait time. After the build plate drops back down to the next layer position, the printer waits before firing the UV. This wait time allows the liquid resin to fully settle and fill any air gaps before curing. If the wait time is too short, micro-bubbles in the resin layer cause layer-line artifacts. This variable is easy to overlook but makes a real difference.
Dimensional accuracy. Resin warps slightly during curing, so precise dimensional accuracy is not achievable regardless of calibration. For miniatures, it does not matter. For technical parts where specific dimensions are required, it matters a great deal, but that is outside the scope of miniature printing.
Z compression offset. If the build plate is not perfectly level, the first layers get compressed more than they should. This puts stress on the FEP and the screen. Following the levelling guide handles this; Z offset calibration is secondary.
Anti-aliasing. Anti-aliasing blends the edges of each layer to reduce the stair-step effect on curved surfaces. It is more useful for flat-surfaced technical prints than for organic miniature sculpts. Worth knowing about but not a priority to dial in early.
Speed calibration. Some calibration tools focus on finding the maximum reliable print speed. This is satisfying to optimise but not important early on. Consistency comes first. Speed is something to explore once the baseline is solid.
Printers with tilting mechanisms
A small number of printers use a tilting mechanism to break the FEP seal rather than lifting straight up. Some of these printers override slicer settings with their own internal compensation values. If your printer has a tilt mechanism and your slicer settings do not seem to be taking effect, check the printer documentation for built-in peel force compensation. Settings on the printer itself may be overriding what the slicer sends.
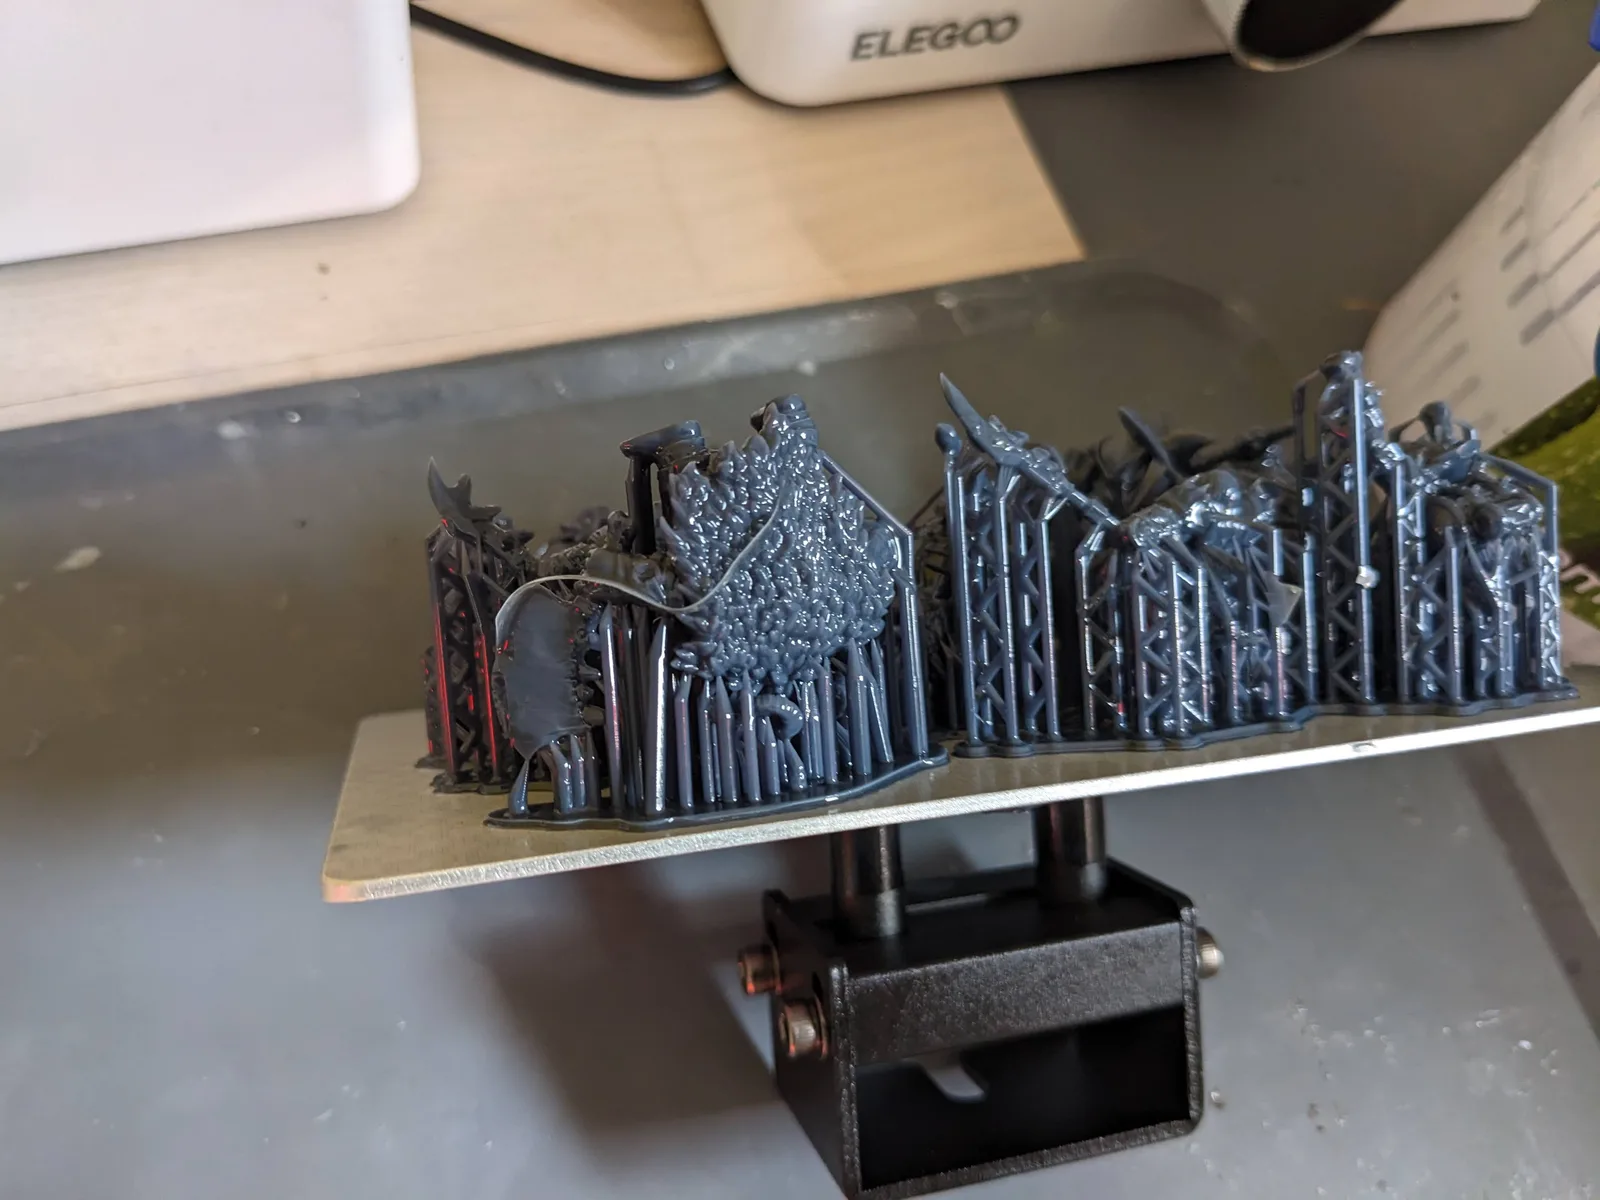
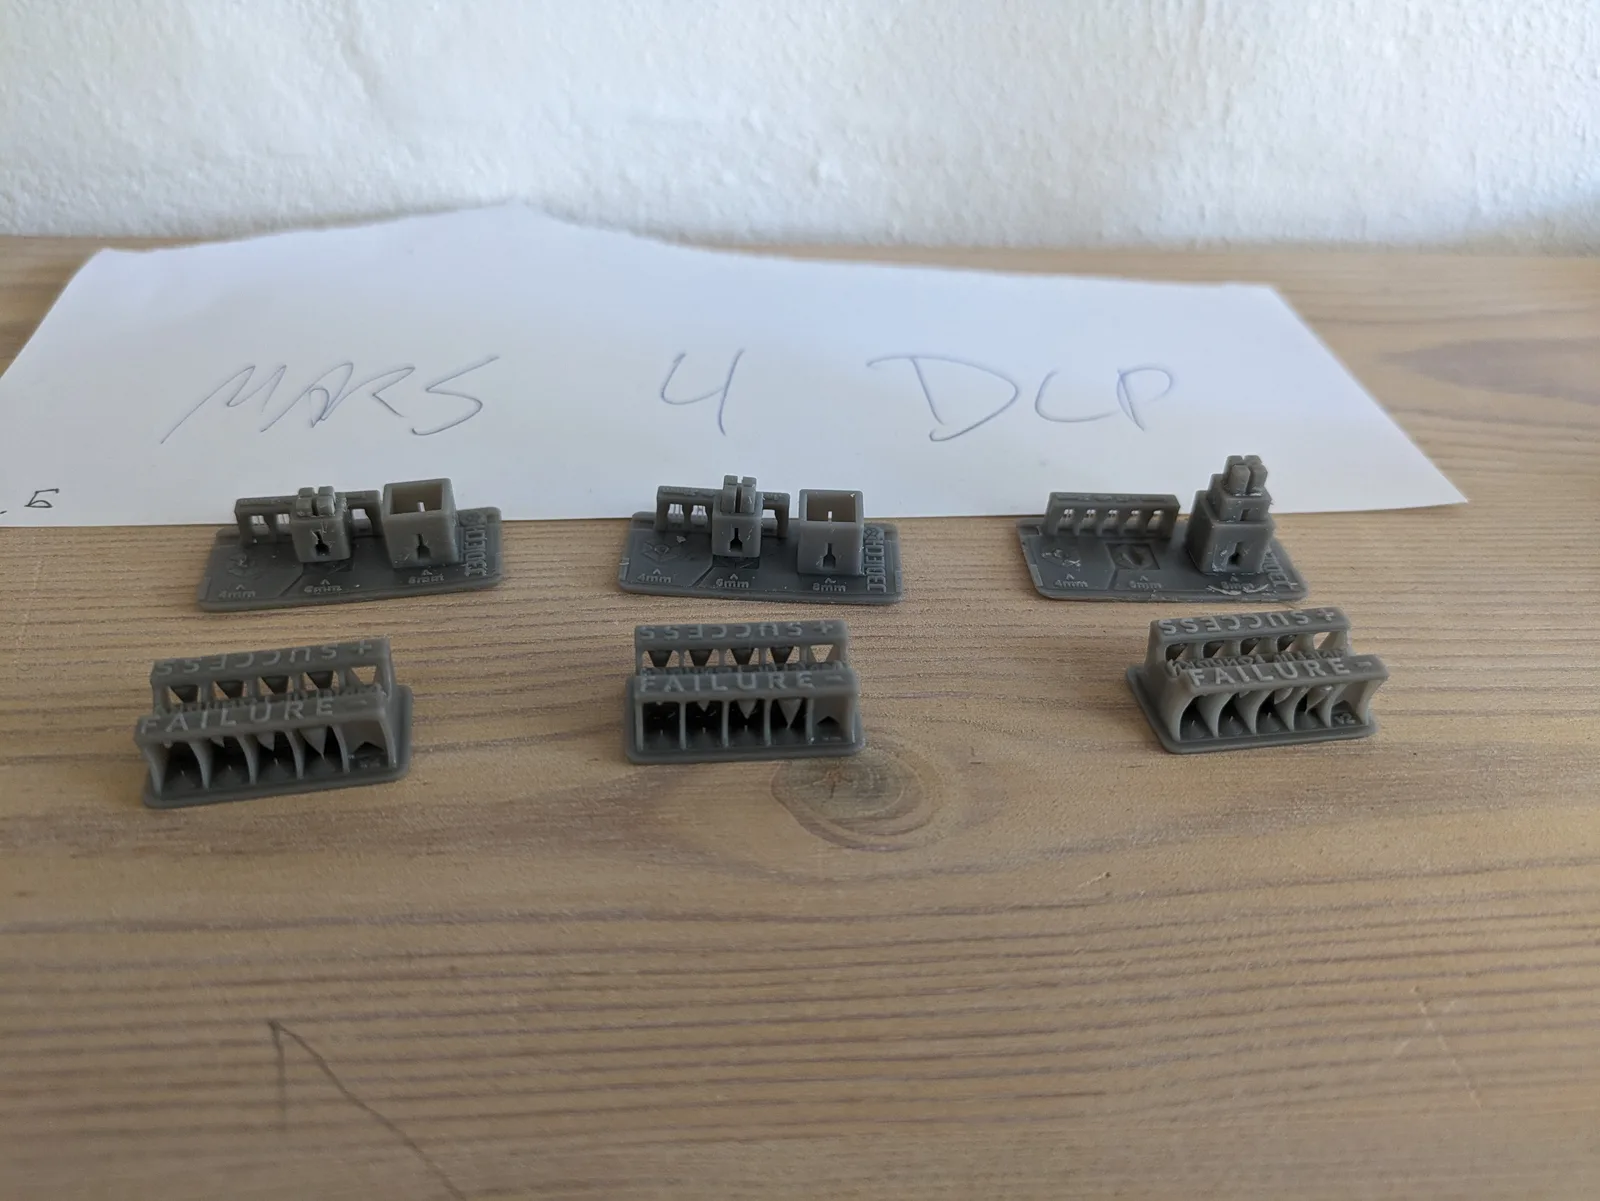
The Cones of Calibration
Several calibration tools exist for resin printing. The recommended starting point for miniature printing is the Cones of Calibration by TableFlip Foundry. It is free, designed specifically for miniature-scale printing, and produces results that are easy to read.
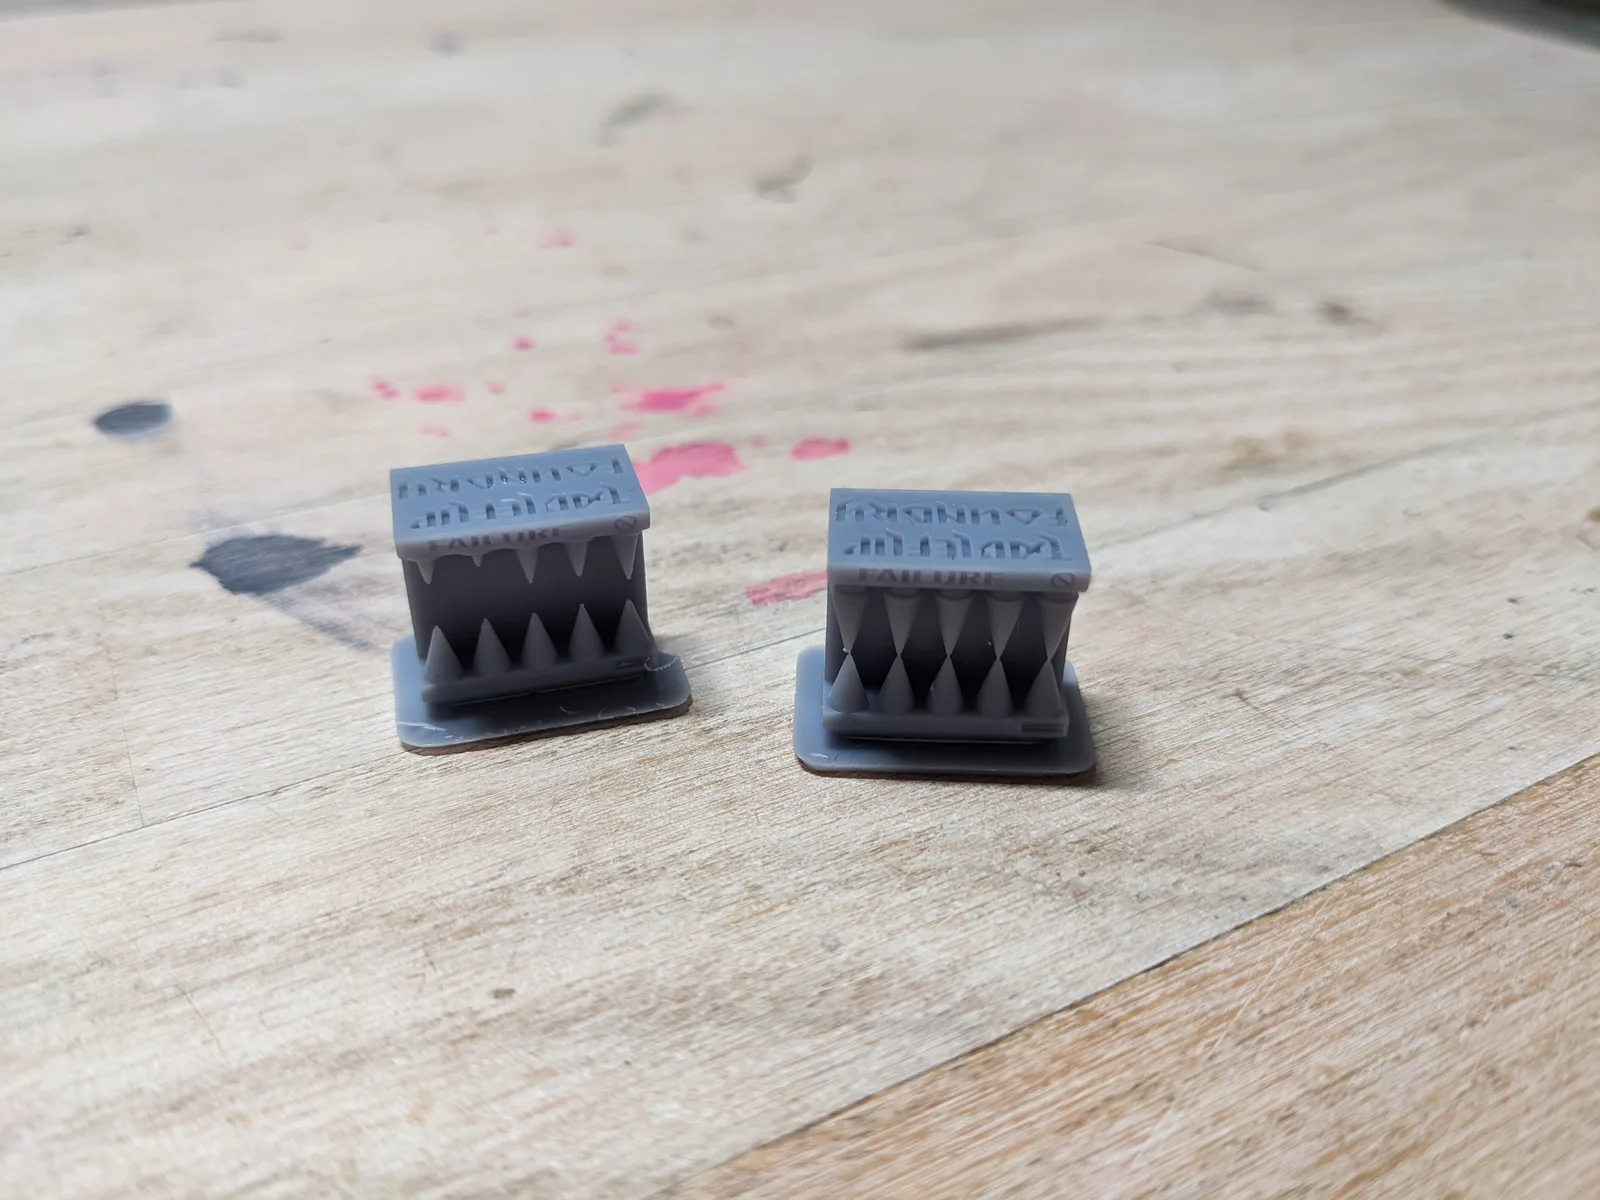
The Cones of Calibration is a small test print that produces a set of cones at different exposure times in a single print run. After printing, you examine the cones and look for the exposure level that produces the cleanest result: defined tips, no pillowing, no fusion between adjacent features.
What makes it a good starting tool is that it is specific. It does not test general printer parameters. It tests what matters for miniatures: the fine detail resolution at different exposure settings. The result tells you directly what exposure time to use.
Other calibration tools exist and some are worth exploring later. Exposure matrices that test a range of values at once are efficient but can be harder to read for beginners. Detailed dimensional calibration prints are useful for technical work but overkill for miniatures.
If your printer has a built-in RERF test (most current Elegoo machines do), run that first. It is the fastest way to a baseline because it lives in the printer firmware and prints a graded exposure tile in a single short run. Once you have the RERF result, the Cones of Calibration is a good follow-up to confirm the fine miniature detail resolves cleanly at the chosen exposure. The how to read RERF exposure test results article covers the workflow if your printer supports it.
If your printer does not support RERF, start with the Cones of Calibration. Run it after setting up your printer profile in Lychee. Read the result. Set your exposure time based on what it tells you. That is the calibrated baseline you need before printing real miniatures.
The test prints that come with the printer
The USB stick included with most printers has one or two test print files on it. These are useful for confirming the build plate adheres and the printer is mechanically working. They are not calibration tools. They do not test a range of exposure values, and they do not tell you anything useful about the settings needed for miniature printing.
Run the included test print once if you want the reassurance. Then move to the Cones of Calibration for actual calibration.
The goal
At the end of the calibration process, you should have:
- A confirmed normal layer exposure time for your printer and resin combination
- A burn-in time that holds the model securely without making it hard to remove
- Lift, retract, and wait settings that produce consistent results without excessive print time
With those numbers confirmed, you have a calibrated baseline. When something changes, such as a new bottle of resin, a FEP replacement, or a change in room temperature, you know what your settings should be and can adjust from a known position rather than guessing.
The next step is applying those settings to a real miniature. The article 10 Resin Printing Mistakes Beginners Make covers the errors that happen most often once printing begins, so you know what to watch for.