Some links on this page are affiliate links — marked with aff — and if you buy through them I may earn a small commission at no extra cost to you. Read the full disclosure.
A 32 mm character has a hundred undercuts. Almost nothing on a miniature prints flat, and almost everything overhangs something else. A failed support on a face is not a cosmetic blemish you can sand away. It is a ruined model.
This is why supports are harder on miniatures than on any other kind of resin printing. The geometry is unforgiving, the surfaces are visible from every angle, and the margin for error is small. What follows covers the settings that genuinely move the failure rate, the defaults that ship wrong in every major slicer, and the four placements where auto supports will fail you every single time.
The two paths: auto supports and pre-supported files
Before touching any settings, it is worth understanding the choice you are actually making. When you import a file into Lychee or Chitubox and hit the auto support button, you are asking the slicer to solve a genuinely difficult computational problem with a general purpose algorithm. It does not know that a specific face matters. It does not know that a thin sword tip will snap if the support contact point is slightly off. It gives you its best guess.
Pre supported files are different. A creator who sells models on Patreon or through a Tribes subscription on MyMiniFactory has placed every support by hand, on the actual geometry, tested on a real printer, and shipped with the guarantee that the supports work. For hero models, character figures, and anything with fine fabric or filigree detail, pre-supported files are almost always the better choice. The supports do not touch faces. The tip sizes match the geometry. The contact points are placed where they will leave minimal marks on surfaces that do not matter.
Auto supports are genuinely fine for terrain pieces, vehicles, and rank and file infantry where a support touching an irrelevant surface area is not a problem. Use them there. For your hero models, find the pre-supported version or learn to place supports manually.
The settings that actually matter
Inside Lychee or Chitubox, there are a lot of dials. Most of them are not going to change your outcomes in any meaningful way. The five that will are tip diameter, contact depth, support density, branch thickness, and base raft type.
Tip diameter is the size of the contact point where the support touches the model. This is the most consequential setting in the list. A tip that is too thick leaves a visible pock mark scar on the model surface where the support was. A tip that is too thin snaps mid print, leaving the model floating with no support on that side. For 28 to 32 mm scale models, a tip diameter in the range of 0.3 mm to 0.5 mm is usually the right window. Default slicer profiles often start higher than that because they are calibrated for general purpose printing rather than fine detail work.
Contact depth controls how far the support tip penetrates into the model surface. A shallow contact depth reduces scarring but increases the chance of the support detaching mid print. A deeper contact depth holds more securely but leaves a more prominent mark. For miniatures, err slightly toward shallow on surfaces you care about and slightly toward deeper on surfaces you do not.
Support density controls how many support columns the auto generator places across the underhanging area. Too low and the model floats away from the unsupported sections on the lift cycle. Too high and you spend an hour removing supports and risk damaging the model in the process. There is no universal correct setting here because it depends on the model geometry, but for miniatures, start conservatively higher than you think you need and reduce it over time as you understand your printer and resin.
Branch thickness is the diameter of the support column itself, not the tip. A thin branch fails under the mechanical load of the lift cycle on large models. A thick branch is fine mechanically but takes up more room, makes support removal harder, and can collide with other geometry. For most miniature work, a branch thickness around 0.8 mm to 1.2 mm is a sensible starting range.
Base raft type affects how the support tree anchors to the build plate. The heavy solid raft that ships as the default in most slicers provides a very strong anchor but is slow to print and can make it harder to remove finished prints from the plate. A lighter lattice raft or a smaller contact raft is usually adequate for miniature sized models and will save time without sacrificing adhesion.
The defaults that ship wrong
Every slicer ships with defaults aimed at general purpose desktop resin printing, not at 28 mm miniatures. On the first day you open Lychee or Chitubox, these are the settings to change before you run auto supports on anything.
Tip diameter. As covered above, the default is almost always too large. Set it to 0.4 mm and adjust from there once you have seen a few prints.
Raft type. The default heavy raft is calibrated for the widest possible range of printers and models. Switch to a lighter raft option as soon as you are past initial setup. The specific name for this option varies by slicer version but is usually labelled something like “lattice” or “grid” raft in the settings.
Light source position. Some slicer versions default to generating supports from a straight vertical angle only, which produces a dense forest of columns with no branching. Turning on branching or tree mode reduces the total number of columns, puts them on better geometry, and makes support removal much easier. If you are in Chitubox, make sure the support type is set to the branching mode rather than the straight column default.
Anti aliasing. This is not a support setting, but it ships in a state that can affect how support contact points appear on the final model. Set it to a sensible middle value on day one and leave it there.
None of these are complex changes. They take five minutes to set once and save you hours of failed prints and damaged models.
The four placements that always need a manual touch up
Even with good settings, auto supports will miss four specific placement problems on miniatures consistently. After running auto supports, always check these four areas manually before sending the file to the printer.
Cape edges and trailing fabric. The thin edge of a billowing cape sits at a sharp angle to the build plate. Auto supports tend to place columns directly under the midpoint of the trailing edge where the geometry is largest, and miss the actual edge. The result is that the thin fabric edge warps or detaches mid print. Add a manual support near the very tip of any trailing fabric, even if the auto generator has already placed one nearby.
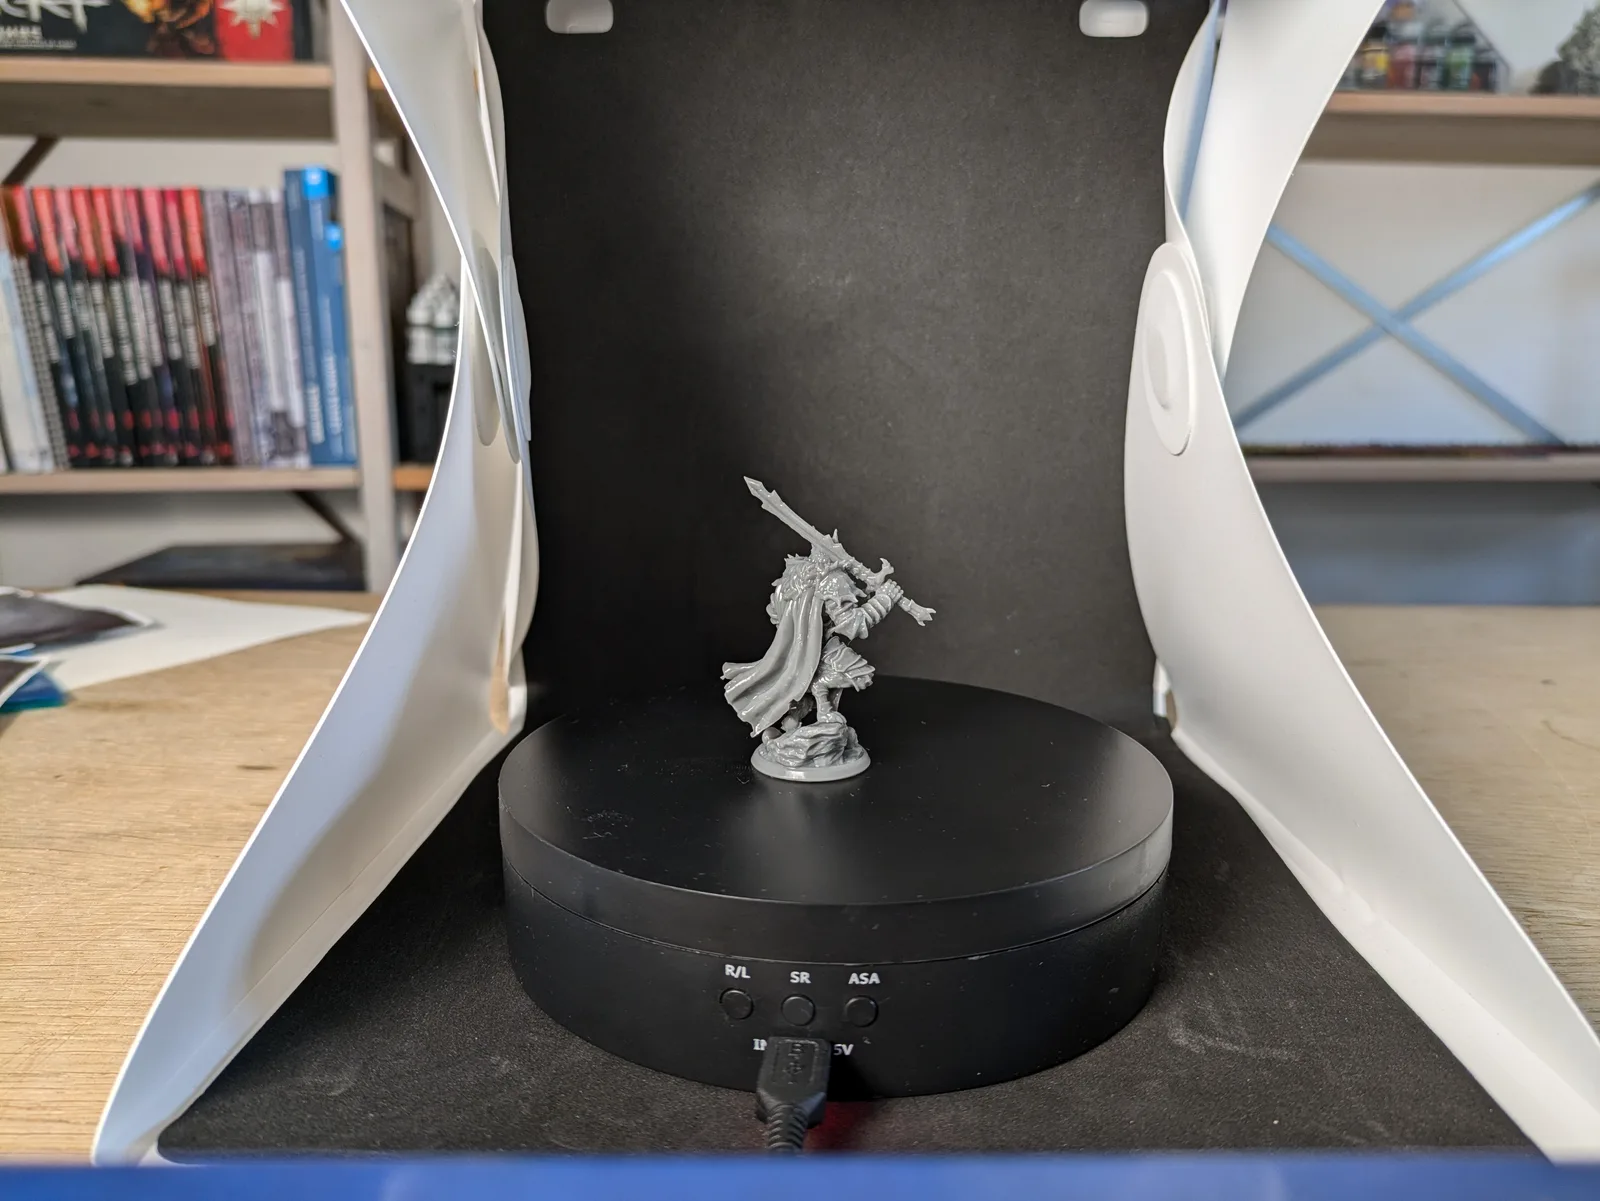
Sword tips and weapon ends. A sword tip pointing away from the body is a long unsupported overhang at the end of a thin column of geometry. Auto supports often miss it entirely or place the support contact on the flat of the blade rather than the tip. A single manual support near the sword tip at the correct angle makes a significant difference.
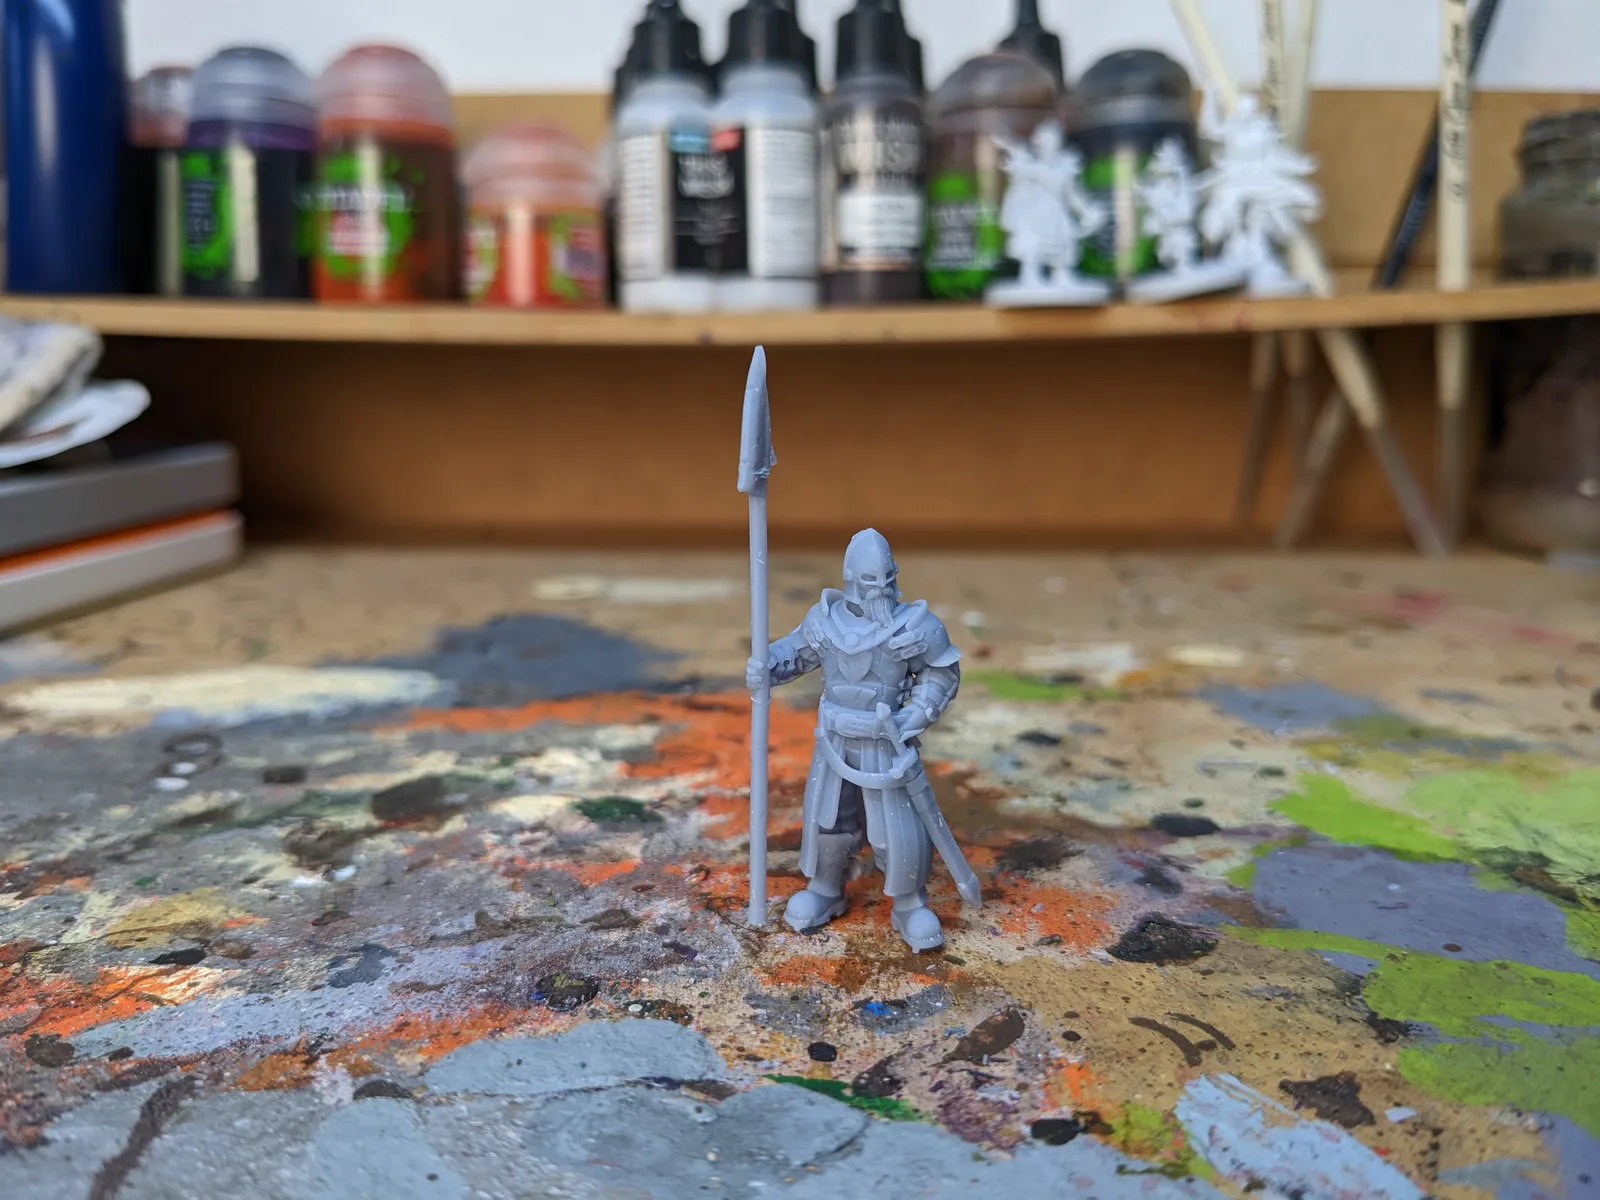
Weapon hafts far from the body. A staff or spear held at an angle will overhang significantly in the middle section where the haft is furthest from the model body. Auto supports see the geometry at both ends and consider it adequately supported, but the middle section can still droop or snap. Check the midpoint of any long diagonal weapon and add a support if the nearest column is more than a few millimetres away.
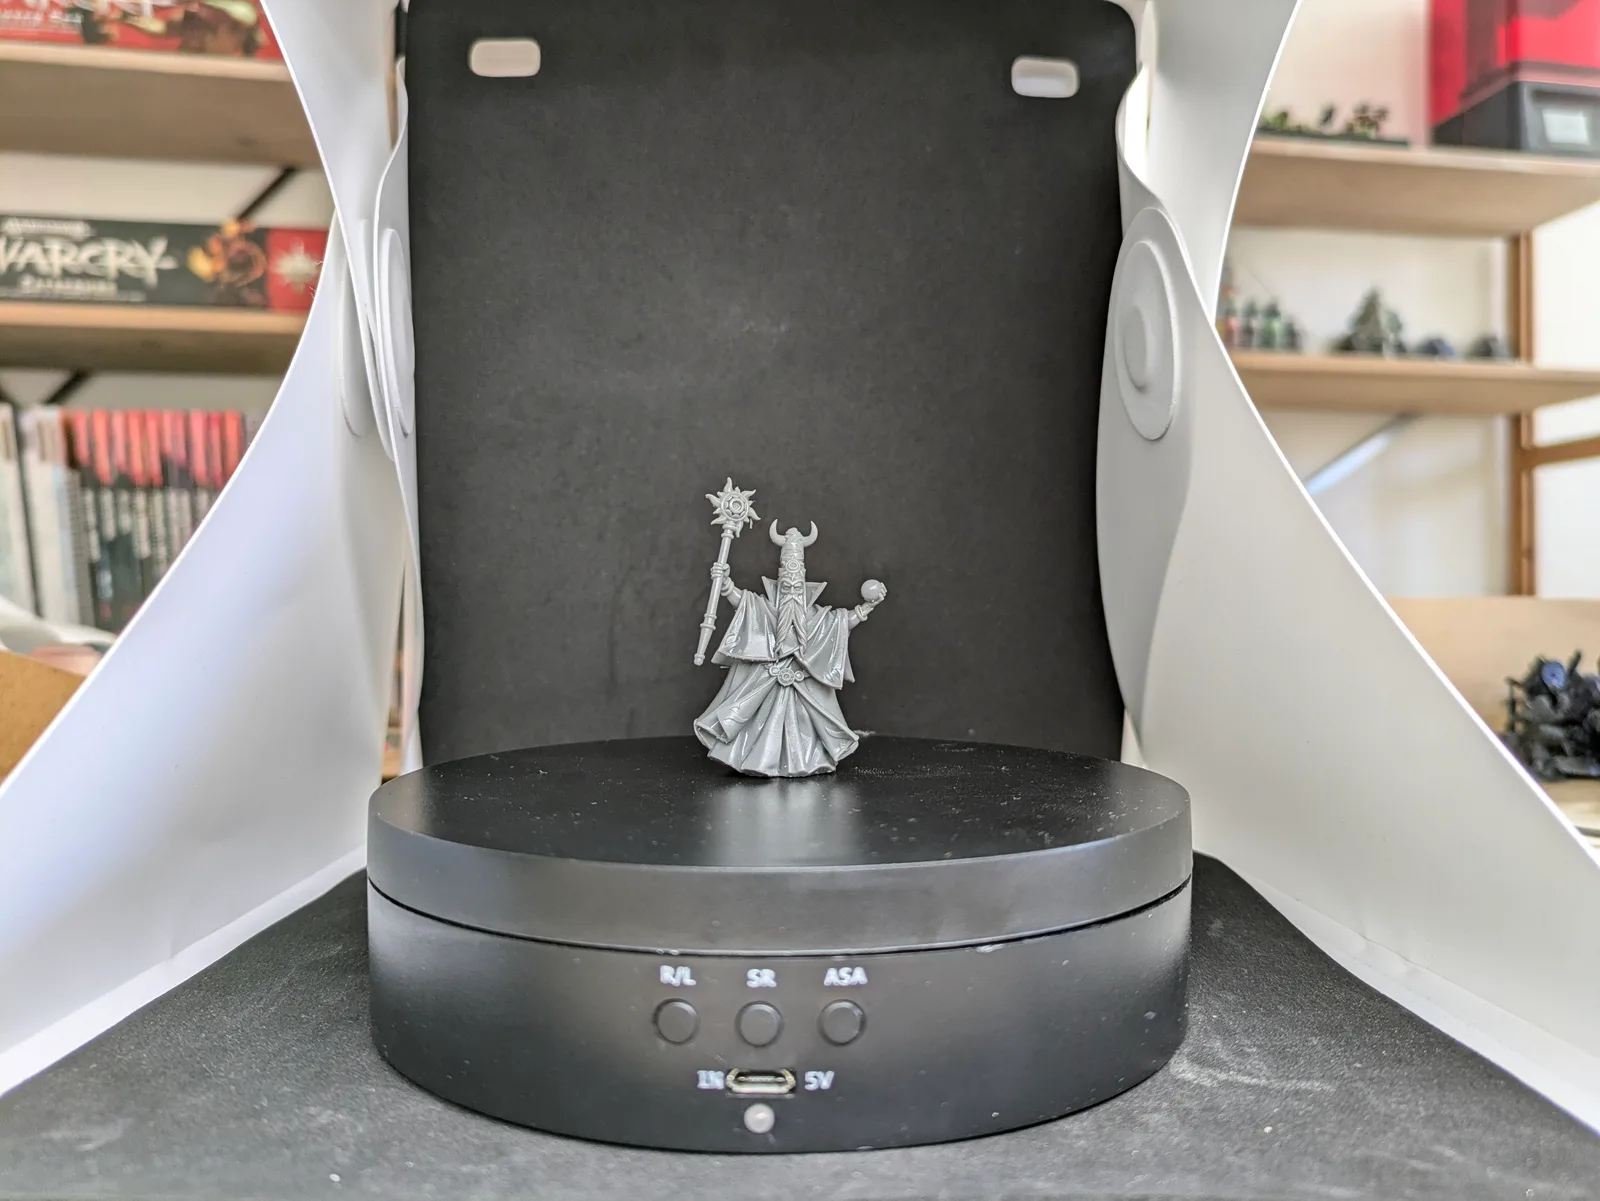
Faces in the lee of a head turn. A character with their head turned to one side will have the downward-facing cheek and jaw largely hidden from a top-down auto support analysis. The auto generator supports the top of the turned head but ignores the shadow geometry underneath. The result is a sagging or partially detached face. After running auto supports, rotate the model view to look directly at the face from below and check whether the jaw and cheek geometry have coverage.
When to give up on auto supports entirely
There is a category of model where the right answer is simply to not use auto supports at all. Hero characters with fine fabric detail, character resin with sculpted hair or lace, anything with filigree details finer than about 0.5 mm: these are models where auto supports will either damage the detail or fail to hold it in place, and sometimes both.
For these models, either find the pre-supported file from the creator, or place the supports entirely by hand using the manual placement tools in Lychee or Chitubox. Manual placement is slower, but it puts you in control of every contact point and lets you place each support on the least visible surface area.
If you are printing regularly from Patreon or Tribes subscriptions, the pre-supported version of a hero model is usually available in the file pack alongside the unsupported variant. There is rarely a good reason to manually support a hero character when the creator has already done the work. Reserve manual support placement for models where no pre-supported version exists.
A single monthly Patreon or Tribes subscription in the range of $10 per month is often money well spent, because the failure rate on pre-supported files from tested creators is much lower than what auto supports produce on complex geometry. How quickly that pays back depends on how often you print and how much resin a typical failure costs you.
Failure diagnostics tied to supports
When a print fails, supports are very often the cause. Three patterns map directly back to specific support problems.
Model floated away from the build plate mid print. The most common cause is insufficient support density combined with a lift speed that is too aggressive for the model geometry. The supports held the first few layers and then detached when the mechanical load of each lift cycle overcame the adhesion. Increase support density, reduce lift speed slightly, and check that the burn-in exposure is giving the base layers adequate adhesion to the plate.
Print has a missing limb or a missing section. An outstretched arm or a protruding weapon that the supports did not reach or the tip was too thin to hold. Find which section is missing, understand what was supporting it in the file, and add a manual support to cover the gap on the next attempt.
Faint pock-mark scars on the model surface. The supports held successfully but the tip diameter was too large, leaving visible circular scars at each contact point. Reduce the tip diameter on future prints. On the current model, the scars can often be minimised at the painting stage but not eliminated entirely. This is why getting the tip diameter right before printing matters more than fixing it after.
If the diagnostic points to supports but you have already checked all of the above, cross-reference with the diagnosing failed resin prints article, which covers the full diagnostic process including patterns that can look like support failures but originate elsewhere.
Supports are a workflow, not a one-off setting
The instinct when support settings go wrong is to fix the setting that failed and move on. The better habit is to build a support profile for each resin and model type you print regularly, save it in the slicer with a clear name, and treat that profile as the starting point for every new print.
A profile for standard 28 mm infantry on your usual resin will have different settings than a profile for large character models, and both will differ from a profile for terrain pieces. This sounds like extra work but it is actually less work than diagnosing a support failure after a four-hour print. You set the profile once, verify it over a few prints, and then it is solved.
When you open a new bottle of resin, check whether your existing profiles still hold. A different batch or a different brand may need a small adjustment to tip diameter or density, but in most cases the profile transfers cleanly. If it does not, that is useful information about the resin and worth noting somewhere you can find it again.
Set up the slicer correctly once. Save the profile. Print with confidence.

