If I had a time machine and could send myself back five years to the version of me who had just unboxed his first resin printer, here is the advice I would force into his head before he made the worst of his early mistakes.
None of what follows is fashionable. Some of it cuts directly against the way the hobby talks about itself. All of it is true, in the sense that I have lived it, tested it, and now believe it strongly enough to say it on record. Six pieces of advice, in the order they would have saved me the most time.
1. 30 micron layer height is plenty detailed enough
I drooled over the launch of every new generation of resin printer for years. The Mars 3 came out, I bought one, and going from a 50 micron XY resolution to a 30 micron XY resolution was a real upgrade. Models looked sharper. Detail you could actually see came through.
Then the Mars 4aff launched and I bought one of those too. Going from 30 microns to 18 microns should have been an even bigger upgrade. On paper, it was a fifty percent improvement in pixel size. In practice, the prints looked basically the same.
I wrestled with this for months. I printed at 20 micron layer height on slow overnight runs, expecting the result to obviously beat my 30 micron prints, and it did not. There was no visible difference unless you put both models under a microscope.
The reason is severe diminishing returns. Once you are at 30 microns, the bottleneck on print quality stops being the printer and starts being the resin chemistry, the cure dynamics, and the limits of what the human eye can resolve at miniature scale. Going from 50 microns to 30 microns is a real visible upgrade. Going from 30 microns to 20 microns is a number on a spec sheet that does not show up in the painted figure on the table.
The practical takeaway is that if you have a printer at 30 microns or finer, you do not need to upgrade to chase detail. The detail is already there. If you have a printer at 50 microns and the prints look soft, an upgrade will give you a real improvement. Beyond that, the spec war is a marketing exercise rather than a hobby decision.
The follow on conclusion is that upgrading your printer almost certainly will not give you crisper miniatures. If you want crisper miniatures, the upgrade is in your supports, your resin choice, your wash and cure routine, and your slicer settings.
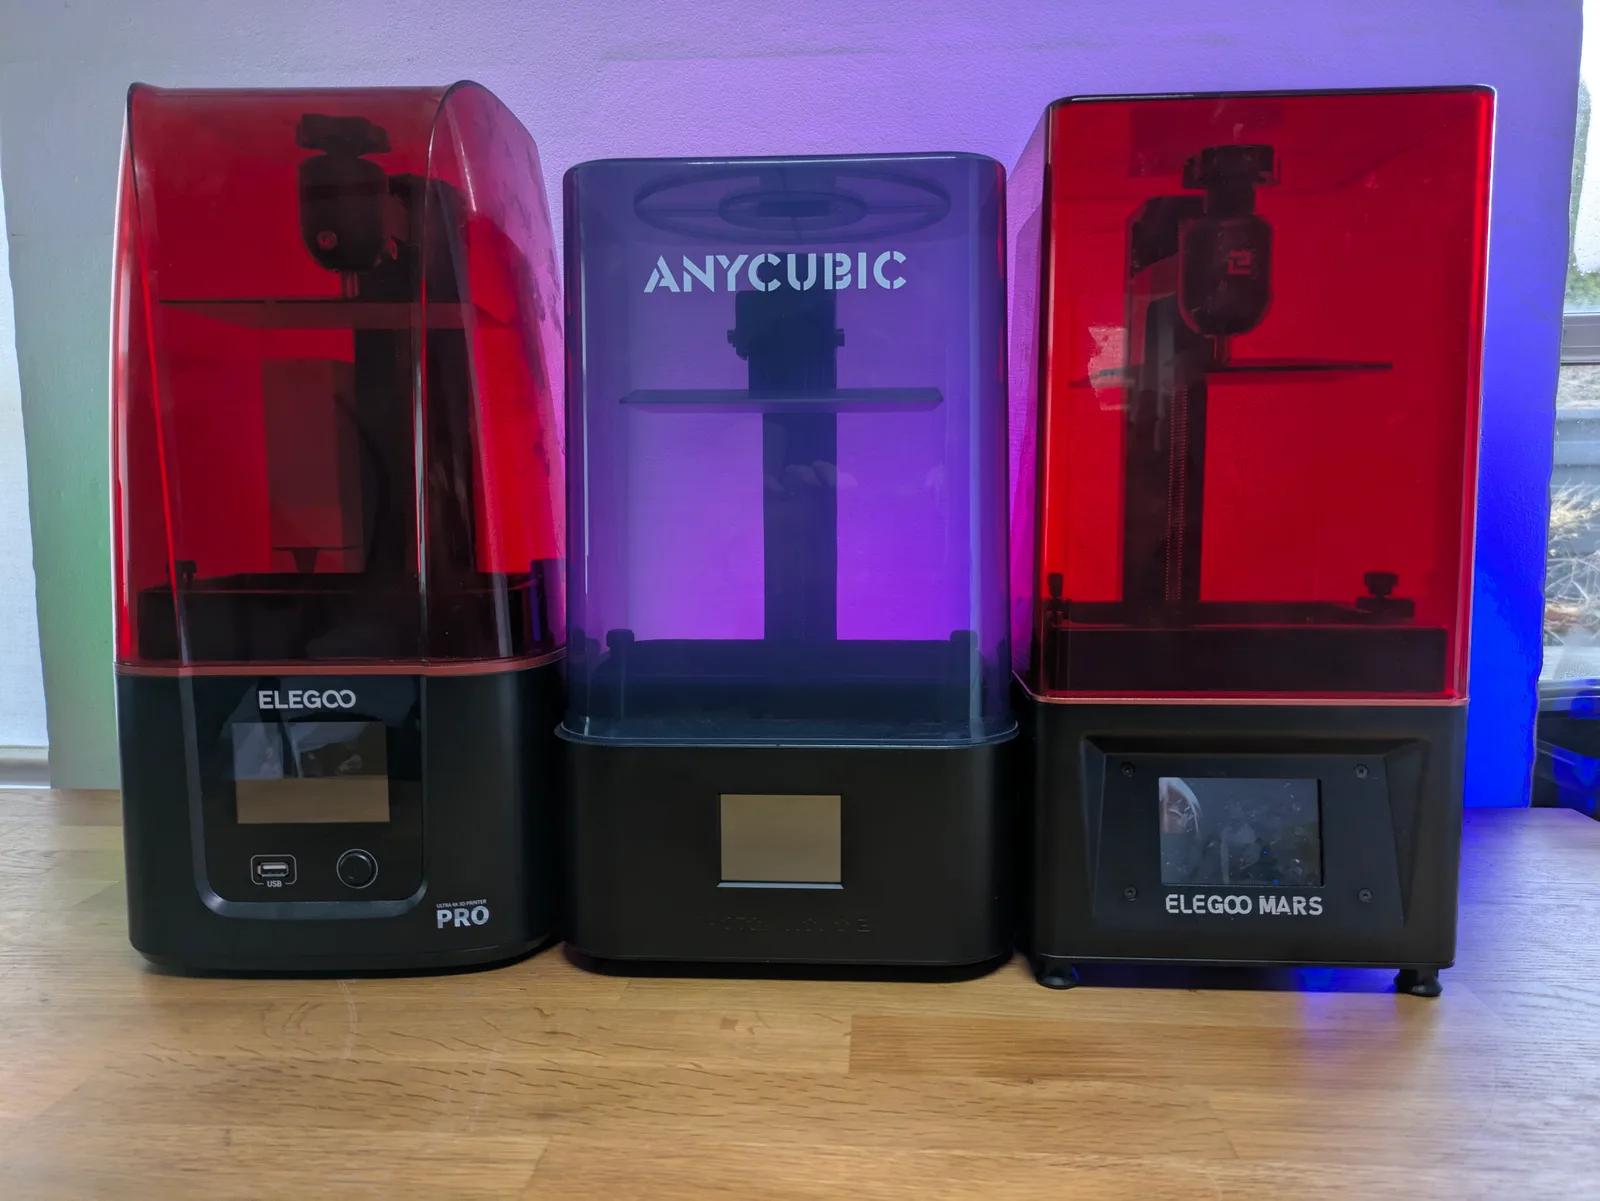
2. Resin printers in 2026 are boringly similar
Before I started Micron Monster I ran a different site called Age of Miniatures, and one of the things I covered there was printer reviews. I had review samples of most major releases for a couple of years. That experience left me with an opinion that I think a lot of reviewers will not say out loud.
Modern consumer resin printers are mostly the same product in slightly different boxes.
Once you accept that print quality is not the differentiator, what is left to review? The layout of the buttons. The position of the USB port. A handful of ease of use features. The build plate attachment. The cover hinge. Whether the slicer has done something annoying with the file format. A spec sheet that varies in numbers but not in meaningful capability.
I came to resin printing from FDM, where the difference between a five year old Ender clone and a recent Bambu is genuinely the difference between two different tools. You feel it in every step of the workflow. Resin printers are not like that. The hardware is much simpler, the variables are fewer, and the differences between models in the same bracket are small enough that in normal use you would not notice them.
This does not mean reviews are pointless. Features still need to be tested, and occasionally a printer ships with something genuinely broken that needs flagging. But if you are stuck endlessly comparing two printers in the same price bracket and you cannot decide, just buy one of them. They both produce great prints. They both have minor annoyances. The choice rarely matters as much as it feels like it should.
The same applies to the upgrade urge. If your current printer prints what you want at the quality you want, the next one is unlikely to change your hobby. Use the printer you have. The full version of this argument is in the printer choice framework.
3. There is no such thing as overcuring
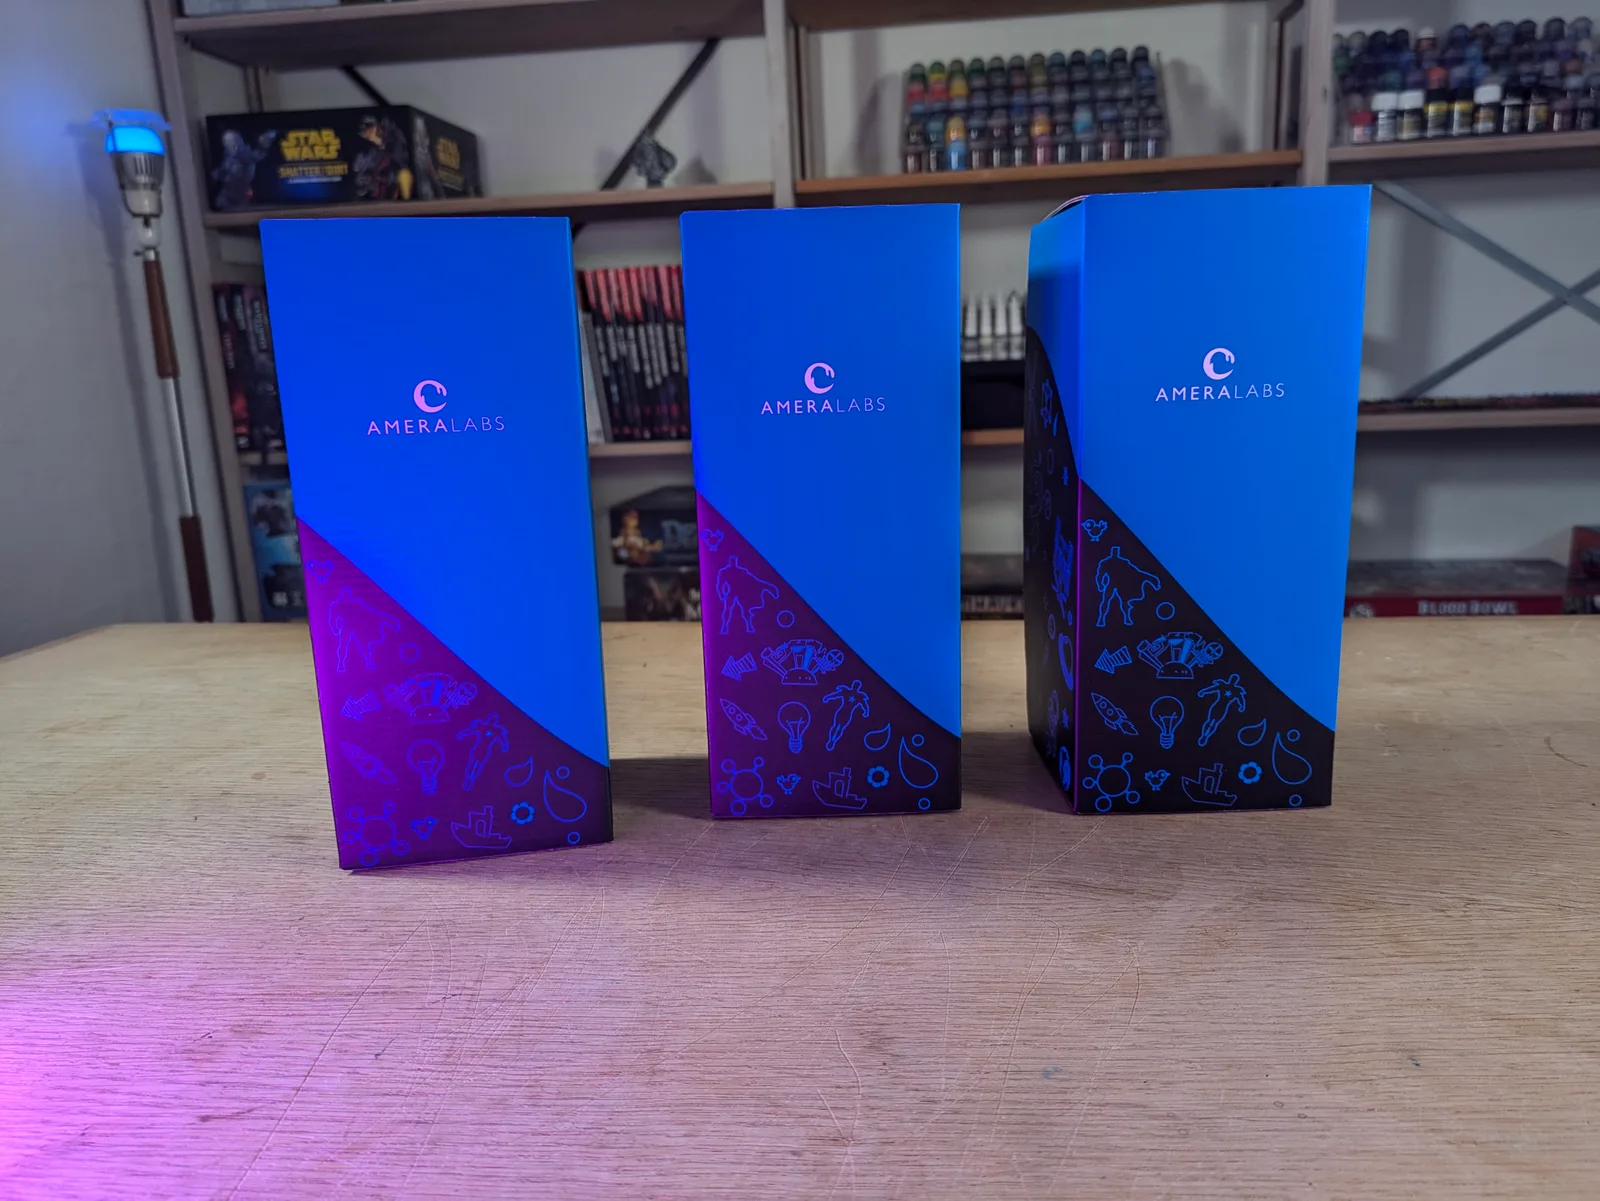
This one took me a long time to internalise, and the conversation that finally clarified it for me was with Andrius from AmeraLabs, who makes some of the most interesting resin on the market.
The popular fear is that you can cure a print too much, that the resin goes brittle and the model becomes worse if you leave it in the curing chamber too long. So beginners ask questions like “how many minutes should I cure for”, as if there is some sweet spot you have to hit and any number above it is dangerous.
The reality is different. When the curing process finishes, the resin in your model is not at one hundred percent bonded. It is somewhere on the way there. Over time, additional UV exposure pushes it closer and closer to one hundred percent.
Properties of the resin change as the bonding stage advances. With a poor brittle resin, more bonding means more brittleness, because the resin chemistry is fundamentally limited and full bonding pushes those limits to their worst behaviour. With a good resin, the changes from late stage bonding are minimal, because the chemistry is engineered to behave well across the full range.
So the people who experience prints going brittle from overcuring are not actually experiencing an overcuring problem. They are experiencing a “cheap brittle resin” problem, and the cure chamber is just speeding up an outcome that ambient UV exposure would eventually deliver anyway. The fix is not to cure less. The fix is to use better resin.
The other practical takeaway is that ambient UV slowly continues the bonding process whether you like it or not. A print that sits in a sunlit window will keep curing over weeks. A print on a shelf in a dark cabinet will continue at a slower rate. So timing matters in the sense that you want to cure your prints reasonably soon after washing rather than leaving them indefinitely uncured, which is something I have been guilty of more times than I care to admit.
The full post wash workflow is in the start resin printing guide.
4. Resin emits VOCs while it is idle, not just while printing
This was a genuinely uncomfortable thing to learn, because it contradicted something I had treated as settled knowledge for years.
The standard understanding in the community is that the bulk of volatile organic compound emission happens while the printer is actively printing. The resin is being moved, layers are being cured, the screen is hot. So the standard advice is to ventilate well during prints and worry less when the machine is idle. That is the reasoning I have built my own setup around.
Then a redditor with a relevant background posted their thesis findings, and the conclusion was that resin in the VAT emits VOCs at almost the same rate while idle as while printing. The act of leaving the resin sitting there is itself the emission event.
I want to dig further into the methodology and run more questions past them before treating this as fully settled, but the implication is significant. A common practice in the hobby is to leave resin in the VAT between prints rather than pour it back into the bottle, because pouring back is a hassle, wastes a small amount of resin, and is generally not pleasant. If the idle resin is emitting VOCs at the same rate as a printing machine, that practice is doing real harm to the air quality in your workspace.
What I am doing in response is two things. First, I am printing a lid for every VAT in my workshop, so resin can be left in the VAT but with the airspace above it sealed. Second, I am taking the ventilation question more seriously between print sessions, not just during them. The fan stays on whether the printer is running or not.
The wider safety conversation is in the clean beginner setup article, and I will update it as the methodology becomes clearer.
5. Slicer settings are much simpler than the forums make them sound
When I first started, the slicer settings panel looked like the cockpit of an aircraft, and the advice I found online was contradictory enough that I had no idea which dial to touch. I asked questions on reddit, got five answers, and watched as those answers contradicted each other and drove my prints in three different directions.
The settings worth tuning are far fewer than the interface suggests. You can ignore most of the panel.
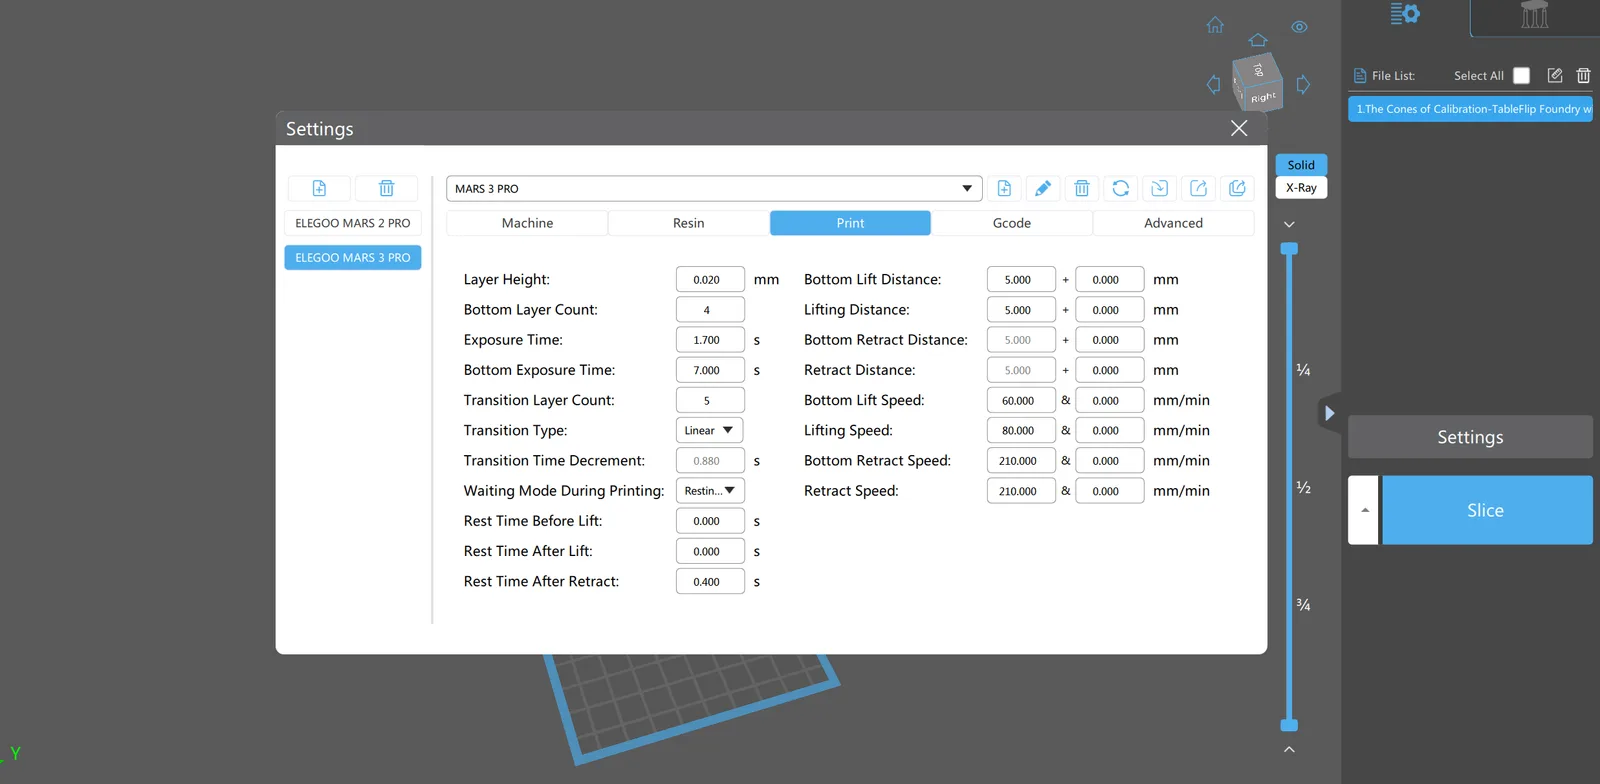
Layer height should be set to your printer’s XY resolution, or 30 microns if 20 takes too long for your patience. There is no upside to going lower, see point one above.
Wait before print should be one or two seconds. The build plate has just moved down, the resin is still settling, and curing while the liquid is in motion will damage detail and can cause failures. A short wait fixes this.
Lift height and lift speed should be enough that the print can separate cleanly from the FEP. Too low or too fast and the print rips off the supports. The defaults are usually a good starting point.
Initial layer exposure should be enough to bond the first few layers to the build plate hard, but not so hard that the bottom of the print burns in and is impossible to remove. The temptation to crank initial exposure to a huge number is strong, and it caused me to brick my early prints onto build plates that took an hour to clean.
Exposure time is the one setting that genuinely needs calibrating to your specific printer, your specific resin, and your specific room temperature. The way to find it is the RERF test, which prints a small calibration pattern at multiple exposure times in one go. Run that, look at which exposure looks cleanest, and use that as your number.
That is the whole list. Once you have those settings dialled in for one resin at your typical temperature, you have a working baseline. Treat everything else in the slicer as do not touch until you have a specific reason to know what it does.
The thing I did not understand at the start, and which would have saved me weeks of frustration, is that two identical Mars 1 printers in two different rooms with two different bottles of the same resin will need slightly different exposure settings. The light intensity varies between units, the temperature varies between rooms, and the chemistry varies between batches. Calibration is not optional even when you have copied someone else’s settings exactly. Run the RERF.
6. FDM will eventually catch up to resin in quality
This one is a prediction more than a piece of advice, but it is the one I am most willing to bet money on, and it should affect how you think about your printer purchase if you are looking five years out.
For most of resin printing’s history, the gap between resin quality and FDM quality on miniatures has been so large that FDM was simply not a serious option. You either accepted huge sacrifices in sculpt to make models supportless, fought with horrible supports that damaged the figure and took ages to clean, cut every model into multiple pieces and glued them back together, or all of the above. The output, after all that work, was still visibly worse than a resin print straight off the build plate.
That gap is closing faster than I expected.
Resin printing is hitting a quality plateau. We might creep down to 10 microns of XY resolution in the next few generations, but printing at that layer height triggers other problems and the result is on par with 20 microns. Manufacturers are responding by adding ease of use features rather than chasing further detail. The frontier is no longer pixel size, it is the experience of using the printer.
FDM printing is not at its plateau. The hardware is improving in real ways every generation. Printers are more dimensionally accurate, more reliable, and faster to set up. Slicers are getting better at automatic supports, better at handling overhangs, better at the soft skills that used to require manual tuning.
The trend lines suggest that within a few years, FDM miniature printing will be close enough to resin in quality that a lot of new hobbyists will simply use FDM and never touch resin at all. Imagine a slicer that does proper resin style supports for FDM with a single button. Imagine an FDM printer with a dedicated nozzle for support material that lets the supports come off cleanly. Imagine the print quality reaching the point where you stop seeing layer lines on a painted face.
We are not there yet, but the path is visible. The Resin 2 FDM plugin for Blender from Painted 4 Combat is one of the projects pointing the way.
The implication for a beginner today is not “do not buy a resin printer”. Resin is still the right tool right now, and the printers are at their most affordable point. The implication is that you should not bet too much money on the long term value of a flagship resin machine, and you should be open to FDM in your kit conversation in a way most resin hobbyists currently are not.
What this list is not
The six points above are deliberately the contrarian ones. They are not a balanced beginner guide. They are the things I think the hobby underweights, and that I would force my past self to read before he made another expensive purchase.
If you want a more balanced beginner walkthrough, the hub article on resin printing for miniatures is the right starting point. If you are still picking your first printer, the decision framework for choosing a resin printer covers the buying process. If you have already bought one and want the foundational gear list, the start resin printing guide is built for that.
The bigger lesson behind all six points is the same one. Resin printing in 2026 is a more mature hobby than the marketing makes it look. Most of the dramatic upgrades have happened. The differences between modern printers are smaller, the workflow is better understood, the chemistry is better, and the route in is cheaper. The version of me who needed to hear that five years ago would have spent his money very differently.
Take the contrarian advice for what it is. Then go and print.

