Some links on this page are affiliate links — marked with aff — and if you buy through them I may earn a small commission at no extra cost to you. Read the full disclosure.
Someone asked me at a gaming night last weekend what I would buy if I was starting resin printing today, knowing what I now know. I gave the short version over a pint, but the question stayed with me. The real answer is not the generic beginner gear list every YouTube video recycles. It is more specific, more opinionated, and in places genuinely different from what I actually did when I started.
This article is the longer answer. What I would buy, why, what I would deliberately skip even though forums and well meaning hobbyists would tell me to buy it, where I would set the printer up, and which mistakes I would consciously avoid on the way to a first clean print.
Written from years of running resin printers every week and 27 years of painting the miniatures that come off them. Take it as the version of the gear list I wish someone had handed me on day one.
In order: the printer, the resin, a wash and cure station, the workspace and ventilation, the cleaning route, where I would get my files, the small tools I would buy on day one, the first models I would print, the mistakes I would consciously skip, the things I would refuse to buy in the first six months, what the whole kit actually costs on day one, and where I would go from here.
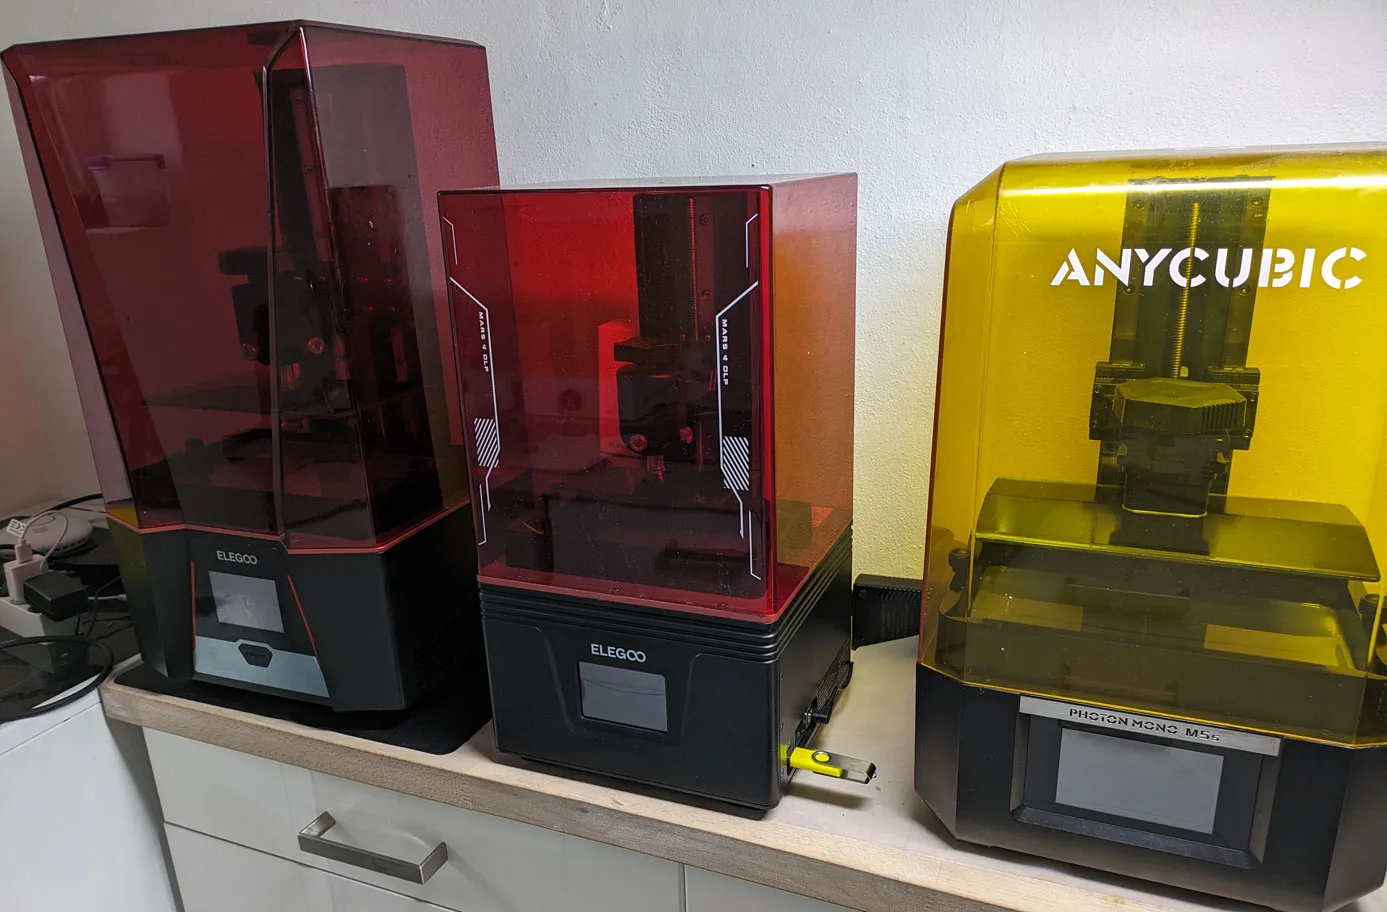
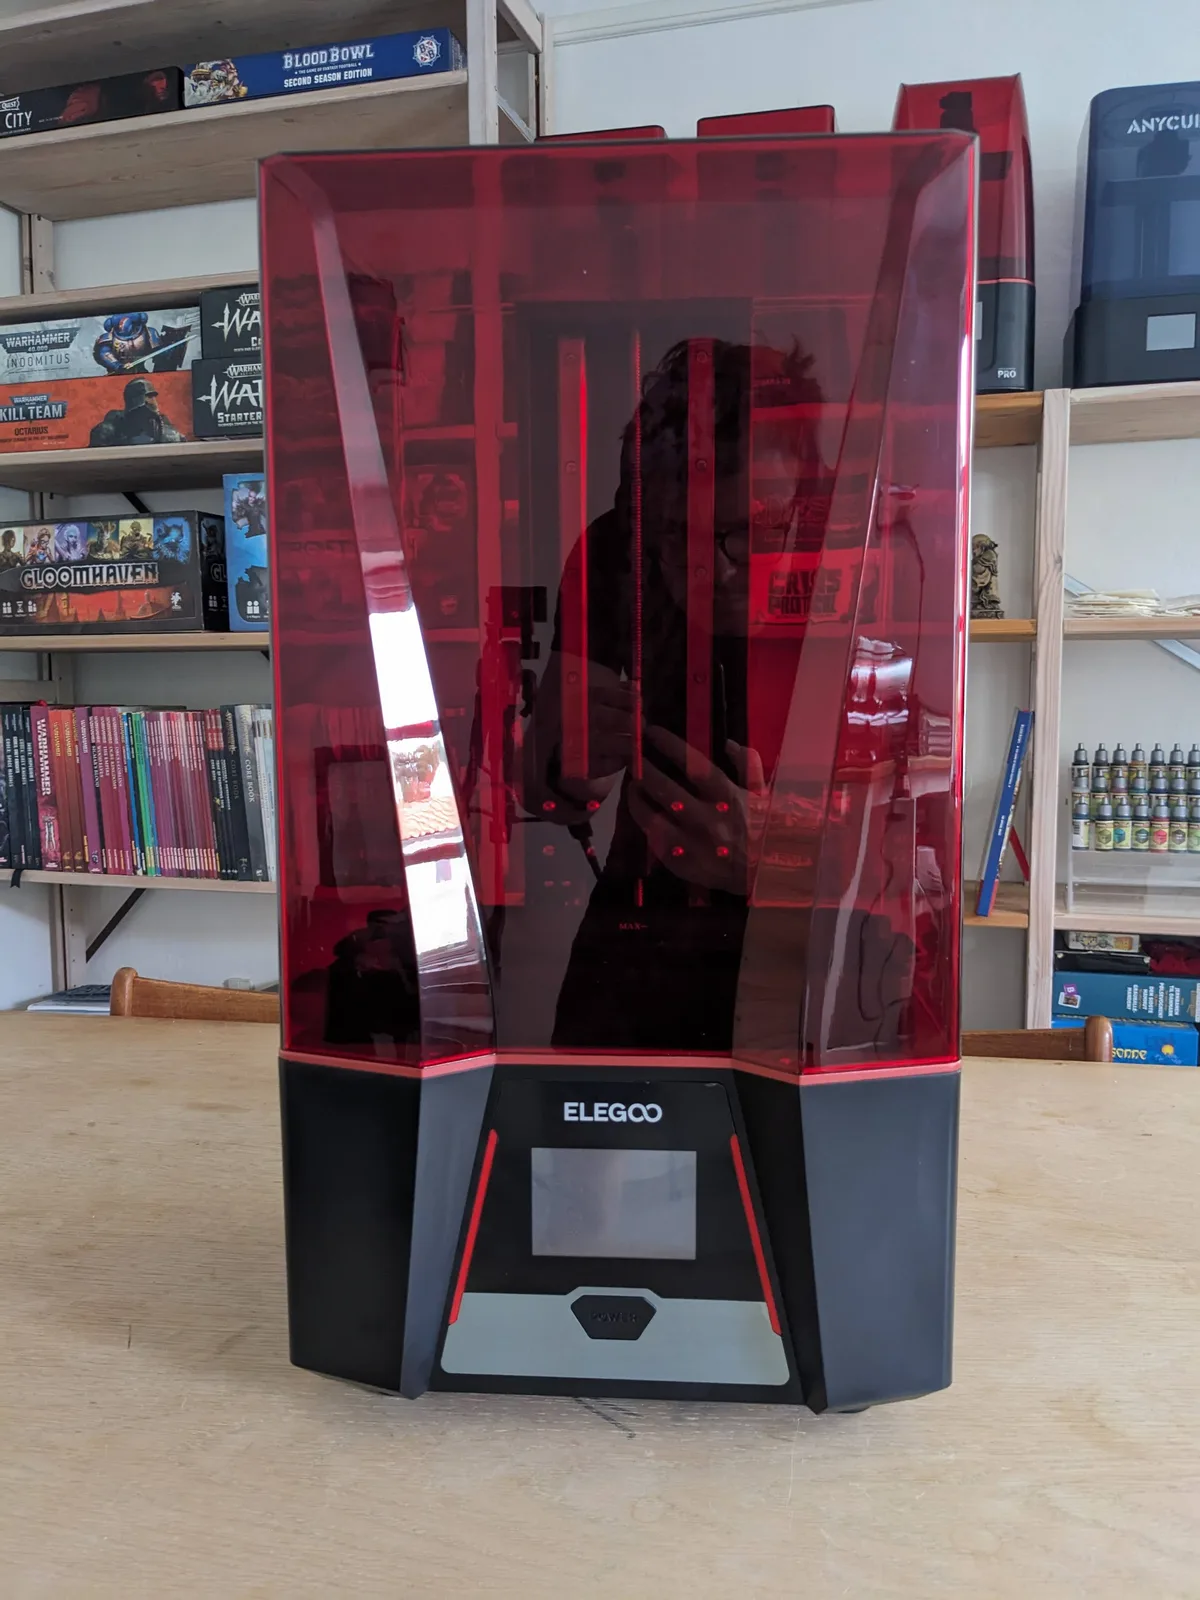
The printer: Elegoo Mars 4
If I was starting today, I would buy the Elegoo Mars 4 at around $149.
That looks like a budget recommendation from someone who has been in the hobby this long. Hear me out. The Mars 4 does one thing. It prints at 18 micron pixel size with no features to distract from the result. No tilting VAT. No wifi. No smart levelling. A simple, focused machine that produces prints on par with anything in its class.
When I started printing I went bigger than I needed because that felt like the responsible adult decision. I was wrong. A small printer you understand fully is more useful than a big printer you find intimidating. You will print faster, iterate more, and make more mistakes cheaply on a Mars 4. That mistake ladder is how you get good at resin printing.
The build plate is 143 by 89 mm, which fits several 28 mm or 32 mm miniatures at once. Once you outgrow it, the natural upgrade is a Saturn 4 Ultraaff, and the Mars 4 stays as a second printer for test prints. You do not have to sell it. If your budget for that second machine is tight, second hand Saturns are extraordinary value in 2026.
The reason I would not start with a Saturn 4 Ultra, a Photon M7 Pro, or a Jupiter 2 is that the upfront cost creates pressure. A hobbyist who has spent $500 or $900 is reluctant to experiment and reluctant to fail. A Mars 4 owner is not precious about any of that. Failure is cheap. Learning is fast.
If you genuinely want to start bigger, the Saturn 3aff at around $230 gives you a 24 micron build plate that is meaningfully larger, and the Mars 5 Ultraaff at around $249 buys you a tilting VAT for noticeably faster prints at the same 18 microns. Both are sensible. Neither is necessary. The full printer buying guide covers the matrix in detail.
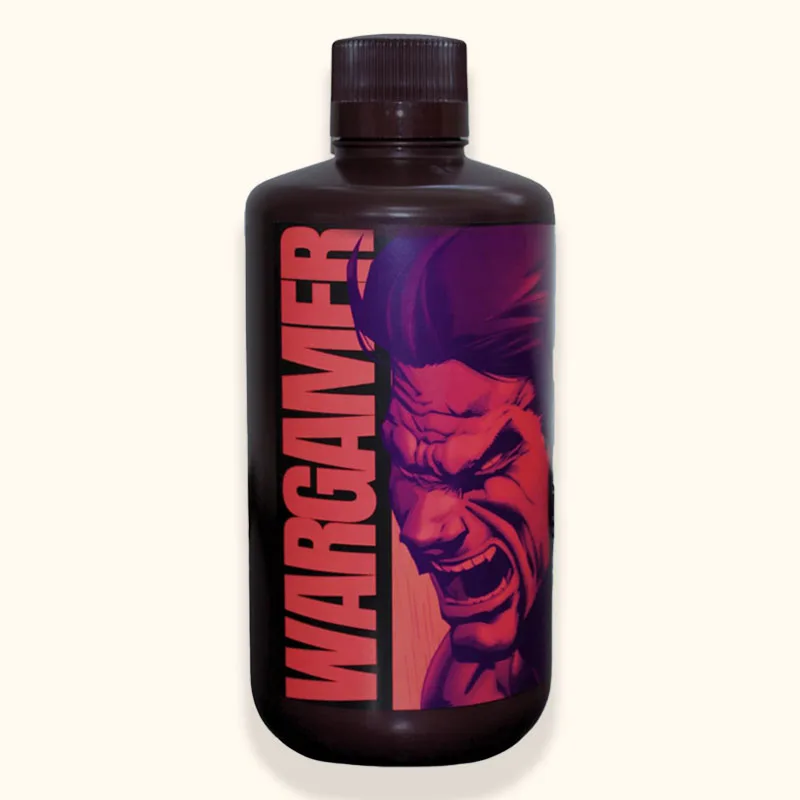
The resin: Wargamer Resin
I would start with one bottle of Wargamer Resinaff and nothing else.
Wargamer Resin is purpose built for printing miniatures. It has the flex I want so prints survive being dropped off the table, the detail retention I need for faces and filigree, and a forgiveness profile that tolerates a beginner who has not yet learned to wash and cure perfectly.
I would not start with the free bottle that comes in the printer box. It is generic filler that the manufacturer includes to avoid shipping you an empty machine. Beginning with a sharp, forgiving miniature resin makes the first month much less frustrating.
I would also not start with TGM-7aff, even though it is my favourite resin for character models. As a first bottle it is too unforgiving. The flex is higher, which makes supports trickier, and the wash and cure window is less generous. Start with Wargamer, move to TGM-7 in month two or three.
Sunlu ABS-Likeaff is the cheap bulk workhorse I use for rank and file and terrain. Around half the price per bottle of Wargamer, perfectly acceptable detail, reliable enough that you can buy it in bulk without worrying about a bad batch. Add it as a second bottle around the two month mark. Not as a first purchase.
If you want the longer version of the resin conversation, the resin buying guide sits alongside this article and covers the broader picks.
Wash and cure station
I would buy a combined wash and cure station on day one. No manual washing in jars. No UV nail lamp hack.
The Elegoo Mercury Plusaff or the Anycubic Wash and Cure 3.0 at around $120 is the right purchase. I have watched too many new hobbyists save $120 by washing in a jar of alcohol and curing under a desk lamp, and the result is almost always a run of tacky or under cured prints they blame on the resin or the printer. The wash and cure station is not optional kit.
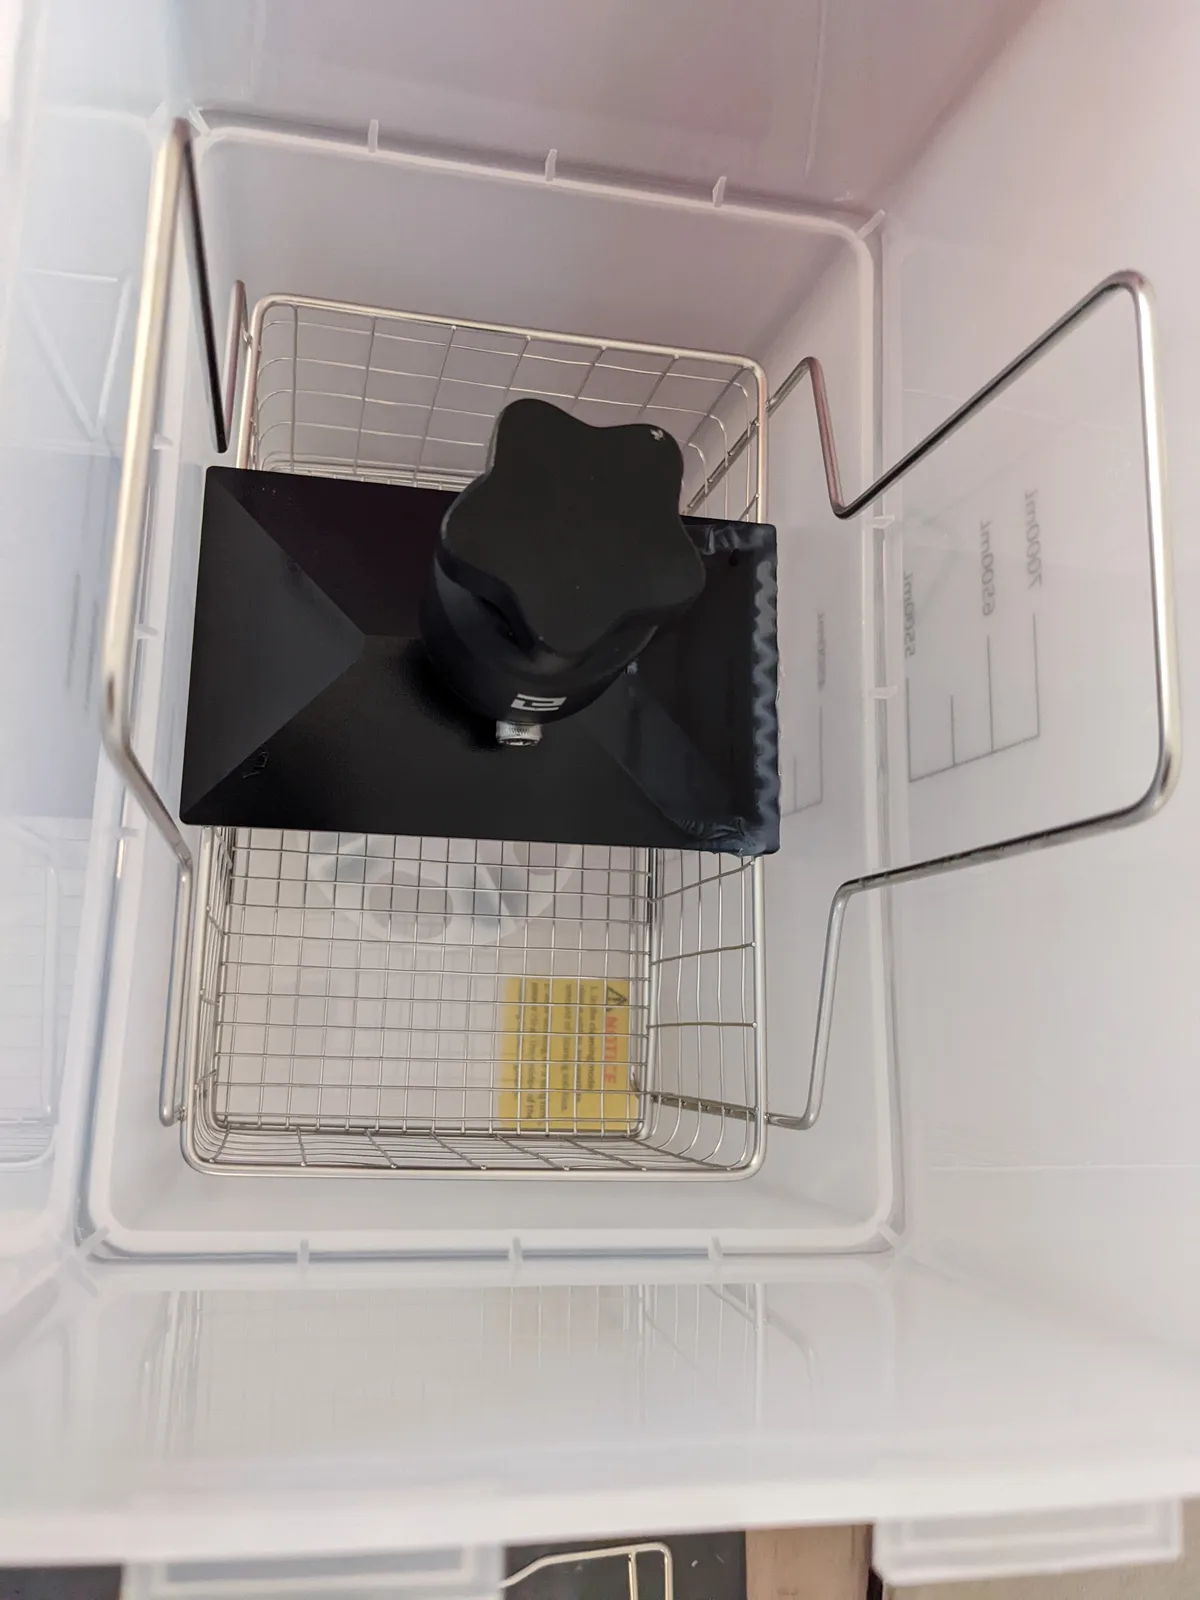
Either brand is fine. Buy whichever is available for less than $150 when you go to order.
Workspace and ventilation
The workspace I would set up is deliberately unglamorous. A corner of a garage, a shelf in a workshop, or a spare room. Not a bedroom. Not a living room. Somewhere with a window that opens and a hard floor.
I would run a window extractor fan on day one, not a month later. A $30 fan and a few feet of ducting is the difference between a sustainable hobby and a sensitisation risk. The ventilation and safety article covers realistic home setups in more detail. This is the one category where I would overspend rather than underspend.
Underneath the printer goes a silicone mat. A cheap silicone baking mat from a homewares shop works perfectly, $10 to $15. Resin cures into a permanent hard plastic under UV light, so a spill you do not clean up becomes a permanent feature of your desk. Do this before the first print, not after the first spill.
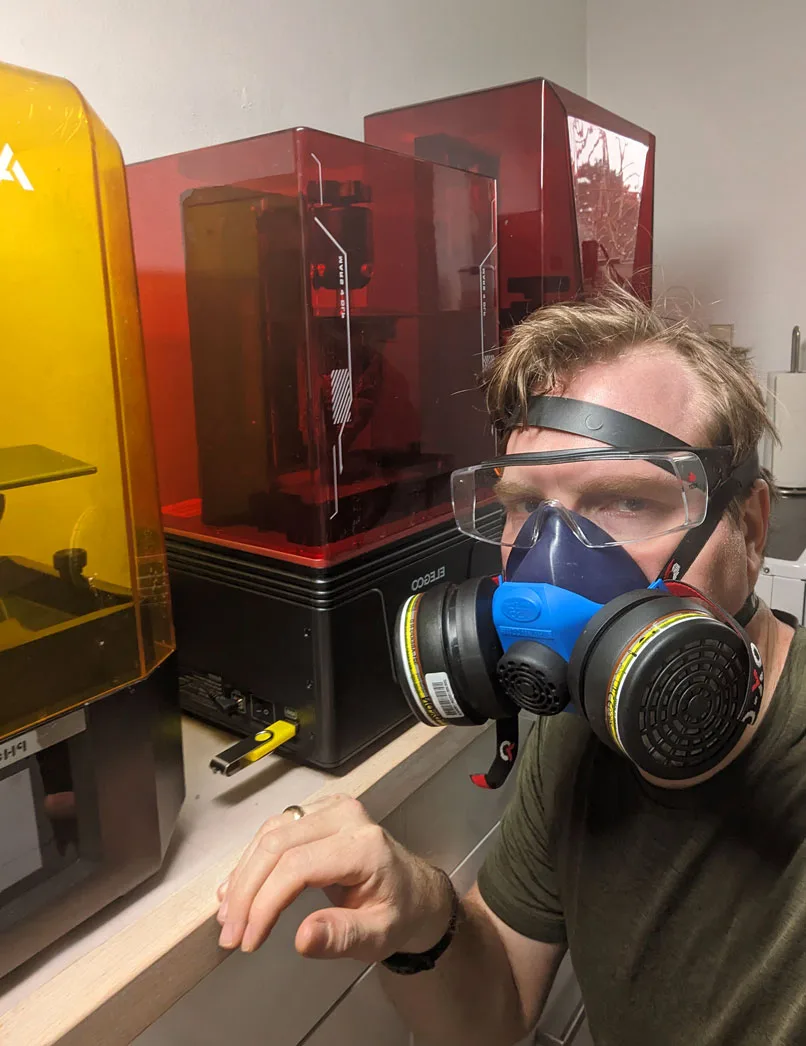
Next to the printer lives a box of nitrile gloves and a 3M 6200 respirator. Resin is not water. Uncured resin is mildly toxic and mildly sensitising, meaning repeated exposure can trigger an allergic reaction even if your first exposure was fine. Gloves and a respirator are simple, cheap, and entirely adequate. What is not adequate is skipping them.
On the wall goes a cheap whiteboard for exposure settings, printer hour count, and lessons learned. I did not do this when I started and I wasted months re solving problems I had already solved. Write it down.
A closet or a windowless cupboard is not a printing space, no matter what anyone on a forum tells you. Resin needs airflow. If you can put the printer itself inside an enclosure with extraction venting to a window, even better. This is not a starter kit requirement, but it is the single biggest quality of life upgrade you can make later.
Water washable or alcohol: pick the cleaning route
The single decision that changes the rest of the gear list is whether you are going to wash prints in water or in alcohol. The starter kit splits along this line.
If you are going water washable, and for most beginners I think you should (the water washing article covers the full case), the cleaning gear is minimal. A water washable resin in the better ABS-like chemistry, a squirt bottle that holds about half a litre, and a large bucket with a lid to catch the run off. That is it.
If you are going alcohol washable, you need more. Several jars with a strainer system, big enough to fit your largest print. High percentage isopropyl alcohol, 99 percent if you can get it, 91 percent if you cannot, denatured spirits in regions where IPA is impractical, bought in bulk to manage cost. The wash station I described above, which I now consider close to essential. I printed without one for the first two years and regretted it the entire time.
The water route is cheaper, simpler, and lower risk for a beginner. The alcohol route gives you slightly better detail on certain resins and is the right call for big hollow display pieces. Pick one, buy the gear for that route, add the other later if you have a reason.
Where I would get my files
Pre supported premium files are the right starting point. Buying a model with supports already designed by the sculptor removes one of the biggest variables from a beginner’s first month. The slicer profile, the resin, the printer, and the supports are all things that can fail. Eliminate one of them.
My default place for files is MyMiniFactory, specifically the Tribes. A Tribe is a monthly subscription to a sculptor that includes a release of new models each month plus a back catalogue. Per file the cost is far lower than buying individual models, and the files in a Tribe are almost always pre supported by people who actually print them.
Free files are not bad, they are just risky for a beginner. Most are uploaded by hobbyists for hobbyists, and the ones that include supports often include supports tuned for someone else’s printer, which may or may not work on yours. Save the free files for when you have a stable workflow and can support them yourself if you need to.
A short warning on the digital pile: subscribe to one or two creators whose style you genuinely love, print from them regularly, and ignore the rest. The full breakdown of what to print first covers the file ecosystem in detail.
The tools I would buy on day one
The tool list is shorter than the gear lists online suggest, but a few specific picks matter more than they look like they should.
A sharp plastic scraper with replaceable razor blades. The plastic scraper that ships in the printer box is too blunt and will damage either the model or the build plate or both. A razor blade scraper slides cleanly under a print and pops it off. Replace the blade when it dulls. This is the one starter kit upgrade I push hard on.
A silicone spatula. Used for two jobs: stirring the resin in the VAT before every print, and feeling along the bottom of the FEP for cured chunks. Cured chunks are the number one killer of FEP film, and a silicone spatula is the only tool gentle enough to use against the FEP without damaging it.
A screen protector if your printer does not ship with tempered glass over the LCD. So close to mandatory that I almost classify it as a must have rather than a tool. A leaked layer of resin against an unprotected screen is an expensive afternoon. The protector adds a tiny amount of softness to the prints, but in a blind test you would not see the difference.
A proper USB stick, not the one that came in the printer box. The cheap stick that ships with most printers is prone to data corruption that produces mystery print failures with no obvious cause. A 32 GB SanDisk Ultra USBaff costs almost nothing and is reliable.
The Cones of Calibration from TableFlip Foundry for dialling in your exposure when you change resin or move the printer to a new room. The print test is small, the diagnostic is unambiguous, and you do not need callipers or guesswork to read it.
Side cutters, the same ones you would use for plastic model kits, for the rare support that needs cutting rather than peeling off by hand.
Kitchen paper in bulk. You will use a lot of it.
That is enough tooling to get clean, paintable miniatures out of the printer.
The first models I would print
The first model off the printer would be the manufacturer’s calibration test. Not a dragon, not a hero character, not the cool thing I downloaded before the printer arrived. The RERF exposure test, or the Cones of Calibration mentioned above. Do it first, get the exposure right, and do not move on until the test looks correct. The how to read RERF test results article covers exactly what to look for in the printed tile.
The second print would be a community test print like the AmeraLabs Town. Ten to fifteen minutes to confirm the machine is producing crisp detail across thin walls, small text, and overhangs.
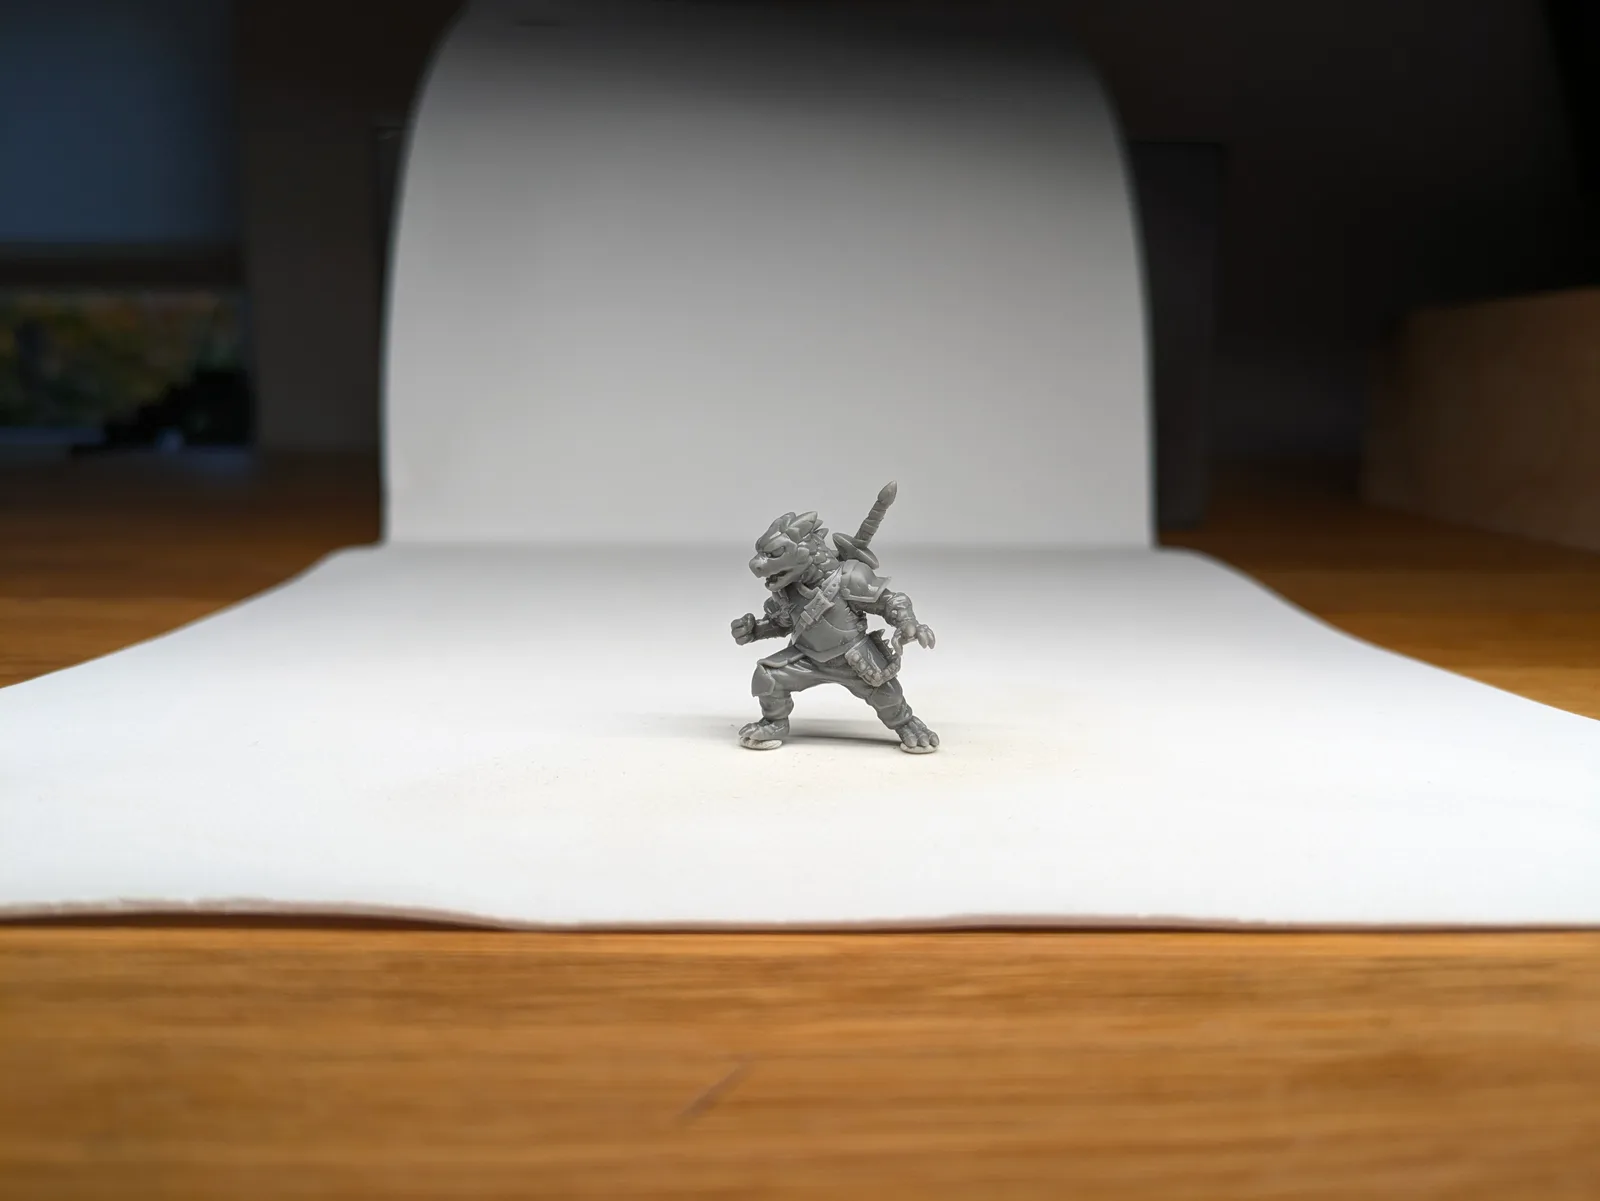
The third print would be a single 28 mm miniature on its existing pre supported file. One figure, not a plate of eight. Something with a face, drapery, a weapon, and armour detail. A fantasy warrior or a sci fi trooper is perfect.
Only once I had printed three successful single miniatures would I move to a full plate. The temptation to fill the build plate on print one is strong and I would resist it.
The mistakes I would consciously avoid
A short list of things I did when I started that I would skip this time.
Upgrading too early. I bought a second printer before I had mastered the first. I bought an enclosure before I had solved my ventilation. Use what you have, hit the limits, then upgrade. Do not buy ahead of the problem.
Stockpiling resin. I bought five bottles in my first month because a deal came up. Two had partially degraded by the time I opened them nine months later. Buy one bottle at a time for the first few months. The deals come back.
Chasing every slicer setting. The settings that matter are exposure time, lift height, and lift speed. Tune those and ignore the rest until you are much further in.
Printing at the max build plate every time. A failed plate of eight is eight failures. A failed single model is one. Early on, one is enough.
Ignoring the calibration tests. I thought I knew better than to run a RERF test. I was wrong. Run the test.
The things I would NOT buy in the first six months
None of the following are necessary in the first six months. Most are optimisations that make more sense once you know your workflow.
- A dedicated curing chamber beyond the wash and cure station
- A heating mat for the VAT
- An air purifier separate from your ventilation
- A second printer
- A third party build plate with magnetic flex
- A dedicated slicer PC
- A spare LCD screen as a backup
- A filter funnel system that costs more than $20
- Speciality resins for temperature, flex, or transparency
- A hygrometer or thermometer
- Dedicated resin storage containers beyond the bottle the resin shipped in
The hours spent researching these are hours not spent printing, which is the activity that actually makes you a better resin printer.
What this actually costs on day one
Adding up the starter kit at the specific gear I would pick:
- Elegoo Mars 4aff: $149
- Wargamer Resin (1 bottle): $35
- Wash and cure station: $120
- Nitrile gloves (100): $10
- Respirator: $30
- Window extractor fan and ducting: $60
- Silicone mat: $10
- Cleanup tools and kitchen paper: $20
Total: around $430 for a complete, safe, working setup that will carry you through the first several months without any upgrades.
That is a real number. Not the cheapest possible. Not the most expensive. It is what a working kit actually costs when you strip out everything you do not need on day one.
Where I would go from here
Print every day or every other day for the first month. Run the full calibration once. Keep a written log. Fail cheaply on the Mars 4 until the failures stop. Then, and only then, consider the next purchase.
At month six, the next purchase would be a Saturn 4 Ultra for larger batches. Not a flagship. Not a Jupiter. A Saturn 4 Ultra alongside the Mars 4, with the Mars relegated to test prints. That is the two printer setup most hobbyists genuinely need, and beyond that the returns diminish quickly.
The final thing I would tell past me is that the equipment is a small part of the hobby. The models, the paint, the games, the communities, the friends you print for. That is where the reward actually lives. The printer is a tool. Buy the tool you need to start, start with it properly, and let the rest of the hobby grow from there.
The free miniature resin printing course walks through the same kit on camera. Whichever route you take, start small, start sensibly, and give yourself room to grow into the hobby rather than trying to arrive at the finish line on day one.