There are two wrong ways to talk about resin printing safety. The first is the scare piece, where every bottle is treated like industrial waste and every paragraph contains the word “carcinogenic” whether it belongs there or not. The second is the shrug, where a hobbyist tells a new printer owner they have been printing in a bedroom cupboard for five years with no problem, so the whole conversation is overblown.
Both positions are wrong. Resin is a chemical product. It is not nuclear waste and it is not spring water. With sensible precautions, the hobby is sustainable over decades. Ignore those precautions and you will eventually run into trouble, usually arriving as a resin allergy that ends the hobby permanently.
This article is the middle ground. What resin actually is, why ventilation matters, what gear is worth buying, and what to do when something goes wrong.
What resin is and is not
Uncured liquid photopolymer resin is a mixture of acrylate or methacrylate monomers, photoinitiators, and additives. In its liquid state it is mildly toxic if swallowed, irritant to skin on contact, and mildly sensitising on repeated exposure.
“Sensitising” is the important word. Sensitisation means that your immune system can gradually learn to treat the chemical as an allergen, even if your first exposure was fine. Someone who handles resin bare handed for a year with no symptoms can develop a rash on contact the following month. Once sensitisation sets in, it does not go away. This is the single most important risk to understand.
Uncured resin vapours are unpleasant but not acutely toxic at the levels a home printer produces. They are not radioactive. The smell correlates roughly with the exposure level. A printer that smells strong in a room has higher vapour levels than one that does not.
Cured resin, meaning resin fully exposed to UV light after printing, is essentially inert hard plastic. You can handle a cured, washed miniature without gloves. The safety conversation is almost entirely about the liquid and semi cured state before the print is finished.
Why ventilation matters
Ventilation removes vapours from the air you are breathing and from the air near your skin and eyes. That matters for long term respiratory comfort, for sensitisation risk, and for simple irritation.
Printing in a sealed room does not make a single session more dangerous. It makes every session cumulatively worse, because vapours build up over hours. A hobbyist who prints every evening in a closed bedroom is breathing progressively higher concentrations across the week, and the sensitisation clock is ticking faster than they realise. By the time symptoms appear, the damage is done.
The goal is not to remove all vapours. That is not realistic in a home setup. The goal is to keep the concentration low enough that exposure stays in the range your body can tolerate indefinitely.
Realistic ventilation setups
There is no single correct ventilation setup. The right answer depends on where your printer lives, the climate you print in, and how much you are willing to invest. Here are four that work, ranked from cheapest to most effective.
Open window
The minimum. Print with a window open and some airflow through the room. This is acceptable if you print infrequently and the room is not a bedroom or other sleeping space. It is not acceptable as a long term solution if you print several times a week.
Cost: free.
Window fan pulling air out
Significantly better. A small window fan set to extract (pulling air out of the room rather than blowing in) creates a measurable negative pressure that draws vapours towards the window and outside. Pair it with a door slightly ajar on the opposite side of the room to provide intake airflow.
Cost: around $30 for a basic window fan.
Dedicated extractor fan ducted to outside
An inline duct fan pulls air through flexible ducting from near the printer out through a window port or wall vent. It runs whenever the printer is printing. The airflow is directional, quiet, and consistent.
Cost: around $80 to $150 for a decent inline fan, ducting, and a window port kit.
Enclosed printer with extraction
The best option for home use. The printer sits inside an enclosure (a resin printer cover, a grow tent, or a purpose built box) and a fan pulls air from inside the enclosure out through ducting to a window. Vapours never reach the main room in meaningful quantities. You can print in a bedroom or office without noticing a smell.
Cost: around $130 to $250 depending on enclosure choice.
The progression is worth taking seriously. Start with at least the window fan. Move to dedicated extraction within a few months. Add an enclosure if you print daily or if the printer lives in a shared living space.
My own setup, for what it is worth
I spent years printing in a dedicated indoor room with a good fan. Purpose built workshop space, extraction moving air the right way, nothing shared with a living room or bedroom. That setup worked well for years and is the kind of thing I would recommend to anyone setting up properly in a house with the room to spare.
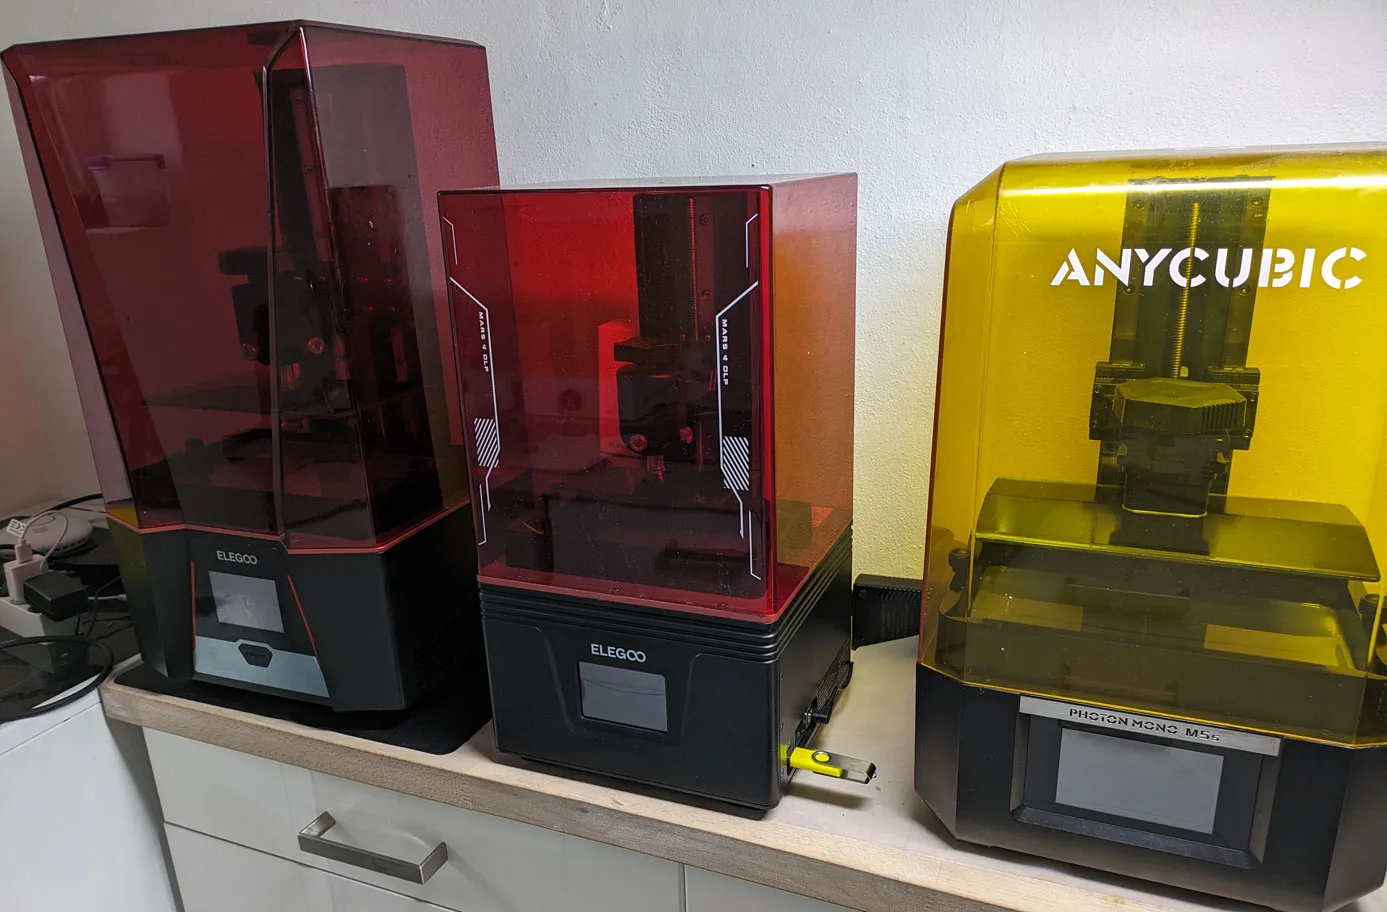
In early 2026 I moved the whole operation to the attic. The logic was straightforward. The attic is dry, out of the way of daily life, has a roof window for airflow, and stays a consistent temperature. The resin printers, the wash and cure station, the resin storage, and the tools all moved up there together. The attic is now what I would call a correct resin printing space. A separate volume of air from the rest of the house, with dedicated ventilation, and no reason for anyone who is not printing to enter it.
If you have the option of using a space like that, take it. A printer does not need much floor area. What it needs is air it is allowed to dirty and a door you can close. Garages, sheds, attics, dedicated workshop rooms, and converted outbuildings all work better than a shared living space, regardless of how good the extraction is.
Respirators
A respirator is the second line of defence. It does not replace ventilation. It supplements it during handling moments, when exposure is highest.
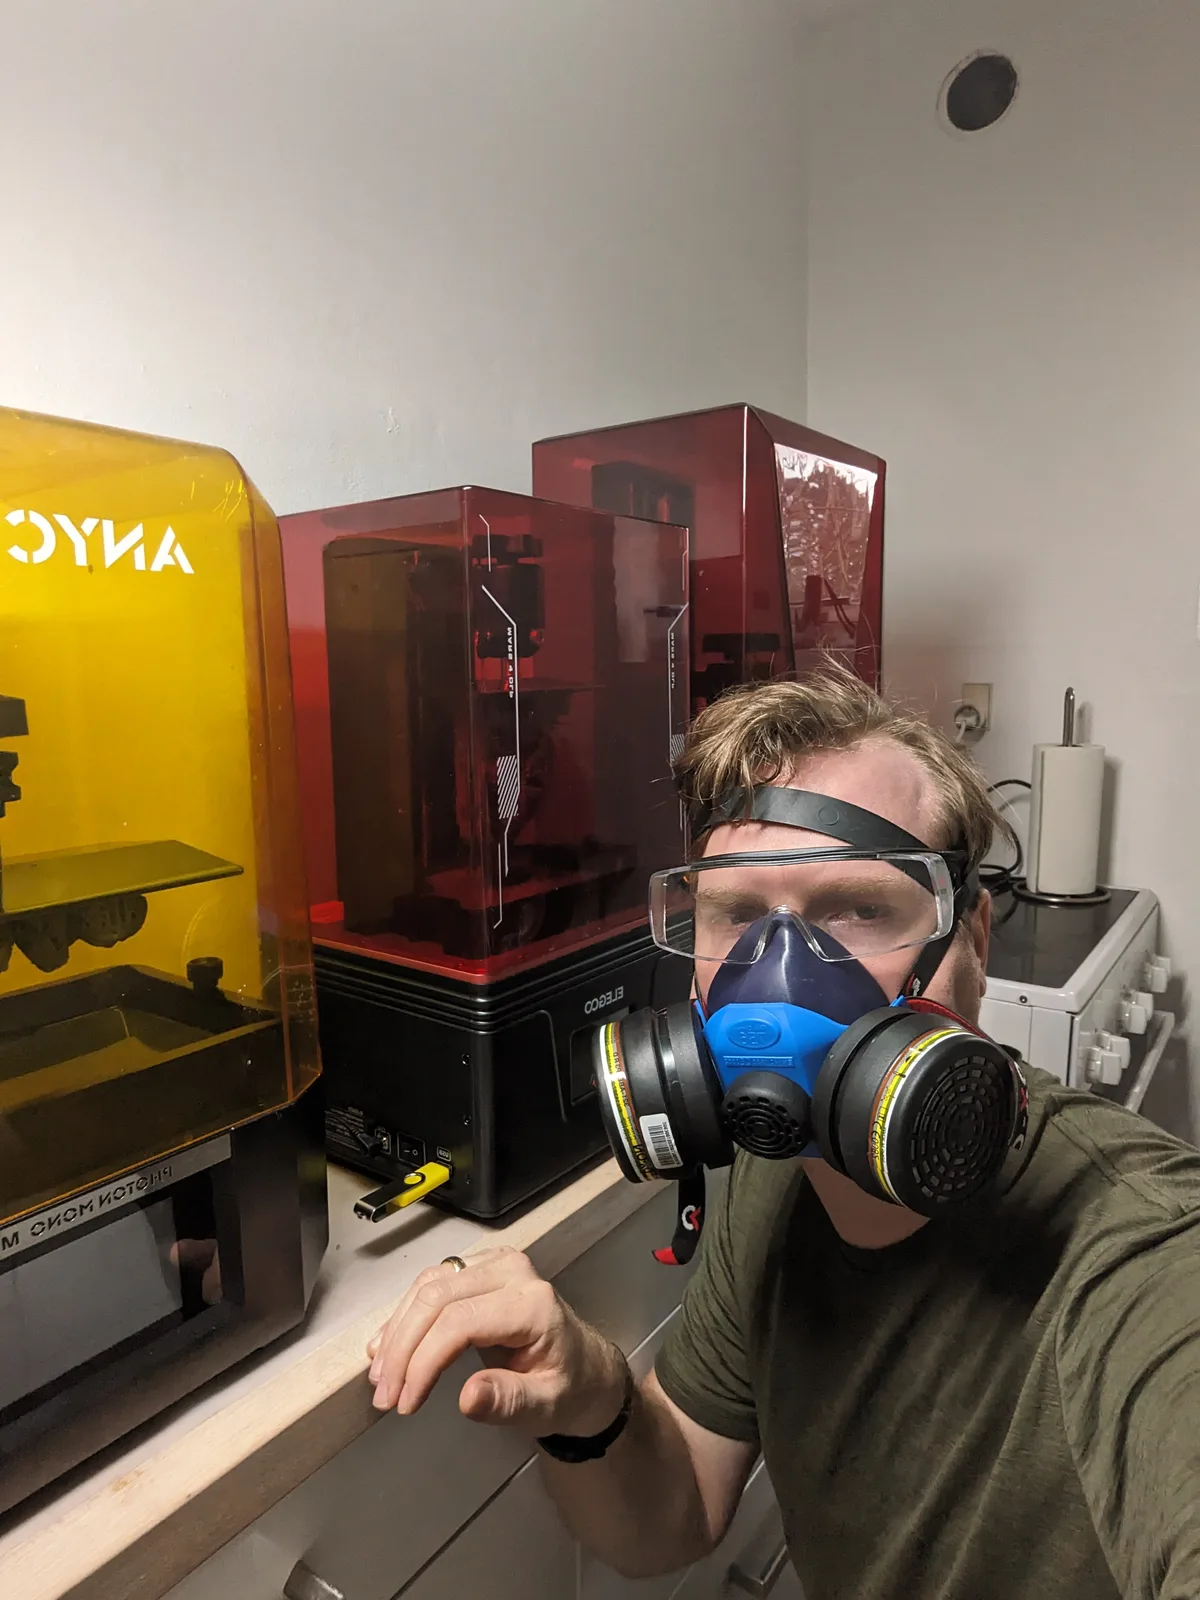
For home printing, a half mask respirator with organic vapour cartridges is the right choice. The 3M 6200 with 6001 cartridges is the reference product. Total cost is around $35 to $50. Cartridges need replacing every few months of regular use, and you will know it is time when the smell starts coming through during handling.
A dust mask or a basic surgical mask does nothing for resin vapours. These masks filter particulates. Resin vapours are gaseous. Buying a dust mask to protect yourself from resin is a waste of money.
A full face respirator adds eye protection. It is overkill for most home printing but worth it if you are pouring larger quantities, cleaning significant spills, or working in tight spaces. Cost is around $100 to $150.
The key rule: a respirator is for handling moments. Wear it when pouring resin, removing prints, cleaning the VAT, or dealing with a spill. You do not need to wear it while the printer is quietly running on the other side of the room, assuming your ventilation is adequate.
Gloves
Nitrile, always. Never latex.
Nitrile resists resin solvents well enough to keep your skin clean during normal handling. Latex dissolves. It lets resin through within minutes, and the false sense of protection is worse than no glove at all.
A box of 100 nitrile gloves costs under $15 and lasts months. Thick workshop grade is better than the thinnest disposable variety. Do not reuse gloves across sessions. Treat them as consumables.
Skin contact
If uncured resin touches your skin, you have a short window to clean it off before it absorbs or starts to cure.
The correct response is soap and warm water. Wash thoroughly. Do not use isopropyl alcohol on skin as a first response, because it can help the resin penetrate rather than remove it. Soap and water first.
If you develop a rash, hives, or persistent itching after skin contact, stop printing until symptoms clear and consider whether you have become sensitised. A dermatologist can do a patch test to confirm. Returning to resin handling after a confirmed sensitisation is not advisable.
Do not panic over a single contact event. One drop on a fingertip, washed off promptly, is not a crisis. Repeated contact over months is the risk.
Spills
A small spill on a silicone mat is a minor inconvenience. Lay kitchen paper over it, press to soak up the liquid, then wipe the residue with isopropyl alcohol on a fresh sheet. Dispose of the paper in a sealable bag.
A larger spill needs more care. Ventilate the room, put on gloves and a respirator, and work in sections. Resin cures under UV light, including sunlight, so a spill on a daylit surface becomes a permanent hard plastic feature within hours.
Spills on carpet or fabric are difficult. Resin soaks in and isopropyl rarely gets it all out. You cannot fully restore a carpet after a significant spill. This is why a silicone mat under the printer is worth the $10 it costs.
Storing resin
Keep bottles tightly capped, out of direct sunlight, and at room temperature. Heat and UV accelerate resin degradation. A bottle left in a sunny window will print worse than one stored in a cupboard.
Do not store resin in a kitchen or anywhere children or pets have access. The bottles look like drinks to small people who cannot read labels.
Unopened bottles generally last a year or two in proper storage according to common manufacturer guidance. Opened bottles start to change within a few months. Buy what you will use within a reasonable window rather than stockpiling.
Disposing of waste resin
Liquid resin is not household waste. Pouring it down a drain is illegal in most places and environmentally damaging everywhere.
Cure any liquid resin before disposal. Pour the waste into a shallow container, leave it in direct sunlight or under a UV lamp for several hours, and let it cure to a solid. Cured resin is inert plastic and can be disposed of with normal household waste or taken to a recycling centre.
The same applies to resin soaked paper, used gloves, and anything else that has absorbed liquid. Cure the residue first. Used isopropyl alcohol from washing contains dissolved resin and needs the same treatment.
Long term sensitisation
Sensitisation is the outcome that ends the hobby, and the precautions above are built around avoiding it. Following them keeps the risk genuinely low. I have been printing resin for several years without symptoms. It is not an inevitable ending.
The path to sensitisation is repeated low level exposure that you are not tracking. Resin on skin you did not wash off promptly. Vapours in an unventilated room. Micro amounts transferred from gloves to face. The daily, cumulative, unnoticed exposures are what build up.
If you develop any new skin reaction, respiratory symptom, or persistent headache that coincides with printing sessions, stop and investigate. Do not push through. The difference between a mild early warning and a full sensitisation is often a few weeks of continued exposure.
The bottom line
Resin printing is sustainable if you treat the chemistry with respect. Ventilate the space. Wear gloves. Keep a respirator for handling moments. Clean spills promptly. Cure waste before disposal. Pay attention to your body.
None of this is expensive. A full safety kit costs under $150 and lasts years. The cost of skipping it is a sensitisation that ends your hobby permanently, which is a much higher price to pay.
If you are setting up for the first time, the start resin printing guide walks through the safety gear alongside the rest. For the beginner workflow, the beginner setup guide is the next step. My free miniature resin printing course on the home page covers this on camera.
Print safely. Print for decades. The precautions are simple, cheap, and the reason this hobby has a long future for the people who take them seriously.