Some links on this page are affiliate links — marked with aff — and if you buy through them I may earn a small commission at no extra cost to you. Read the full disclosure.
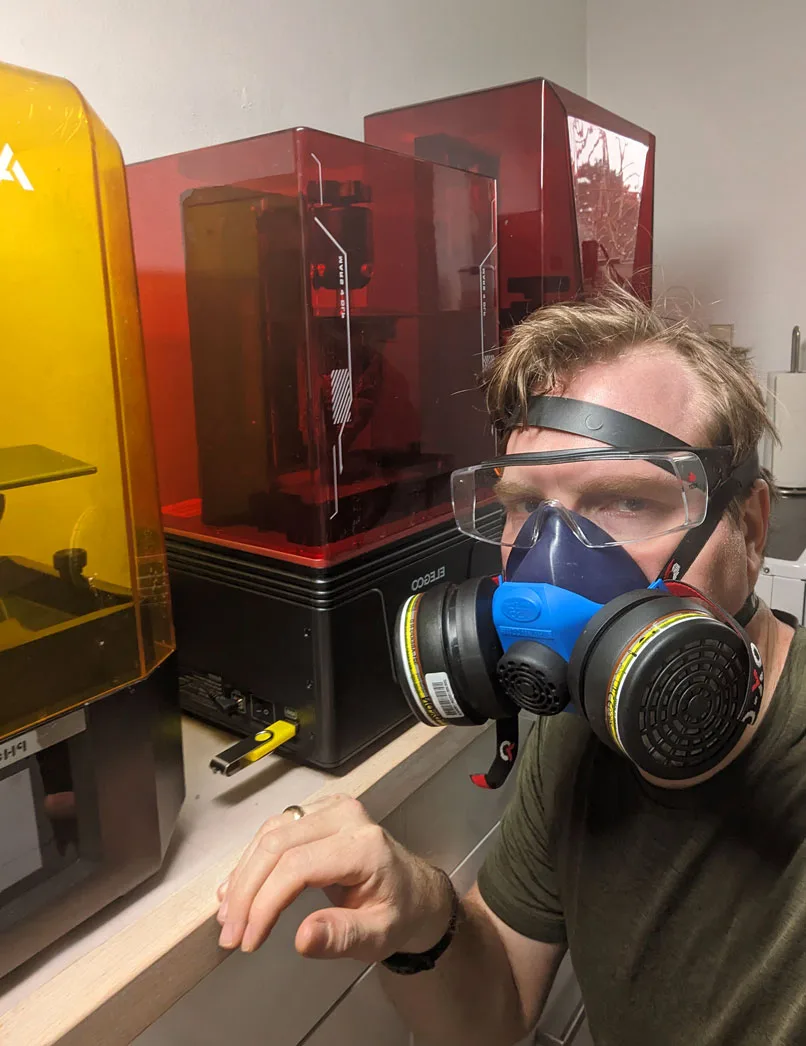
You have run your calibration print. The machine is working. The exposure is dialled in. You stand in front of a printer with a blinking screen and the question that should not be hard: what now?
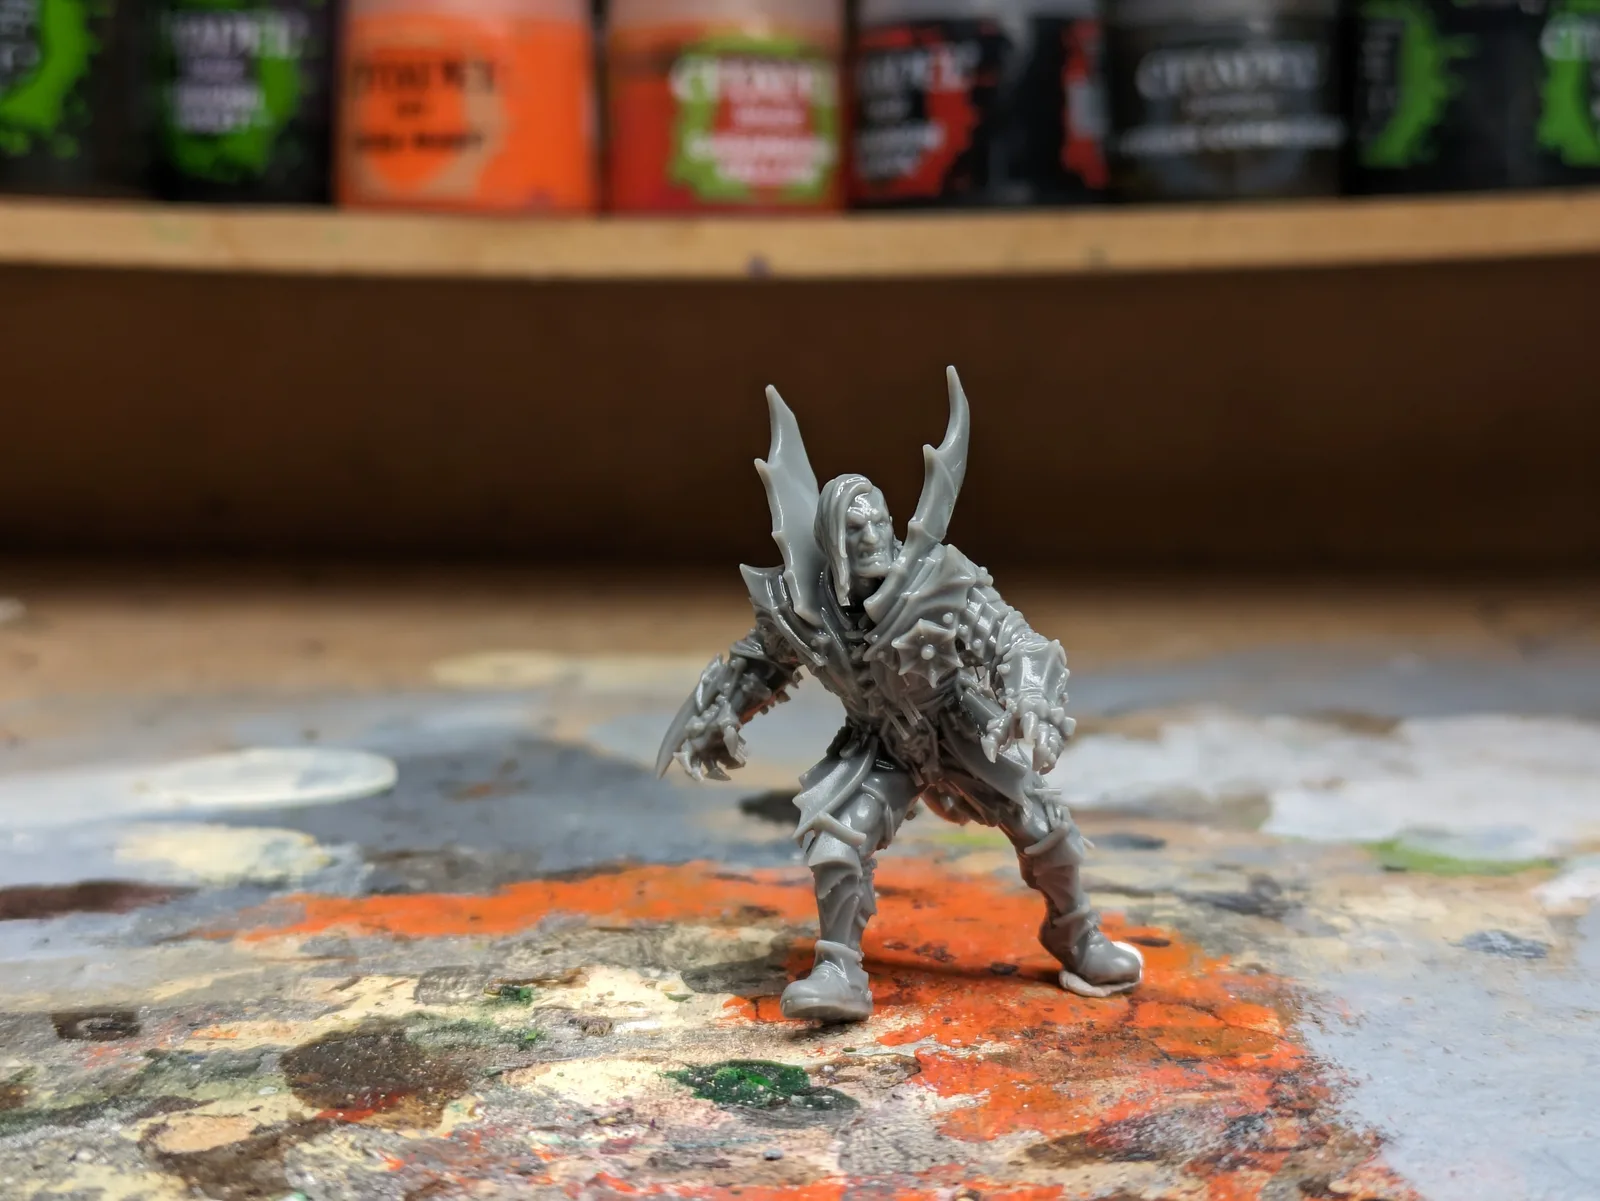
The fun starts here. The thing nobody tells you about resin printing for miniatures is that the printer is the small part of the hobby. The world of indie sculptors, model creators, terrain projects, and custom kit you can suddenly produce from a spool of resin is the actual reward, and most beginner guides skip past it because they assume you already know it exists.
This article is a tour of what to actually print once your printer is working. Where to find the files, which creators are worth knowing, and the side projects that quietly become the reason you keep the printer running.
A quick prerequisite: do run the manufacturer’s calibration print first if you have not already. The common mistakes article covers the upstream errors to dodge before that first plate, and the hub article on resin printing for miniatures covers the broader setup. Everything in this article assumes you have a working machine and clean test prints under your belt. If you are still on day one, run the test, then come back.
Start with pre supported premium files
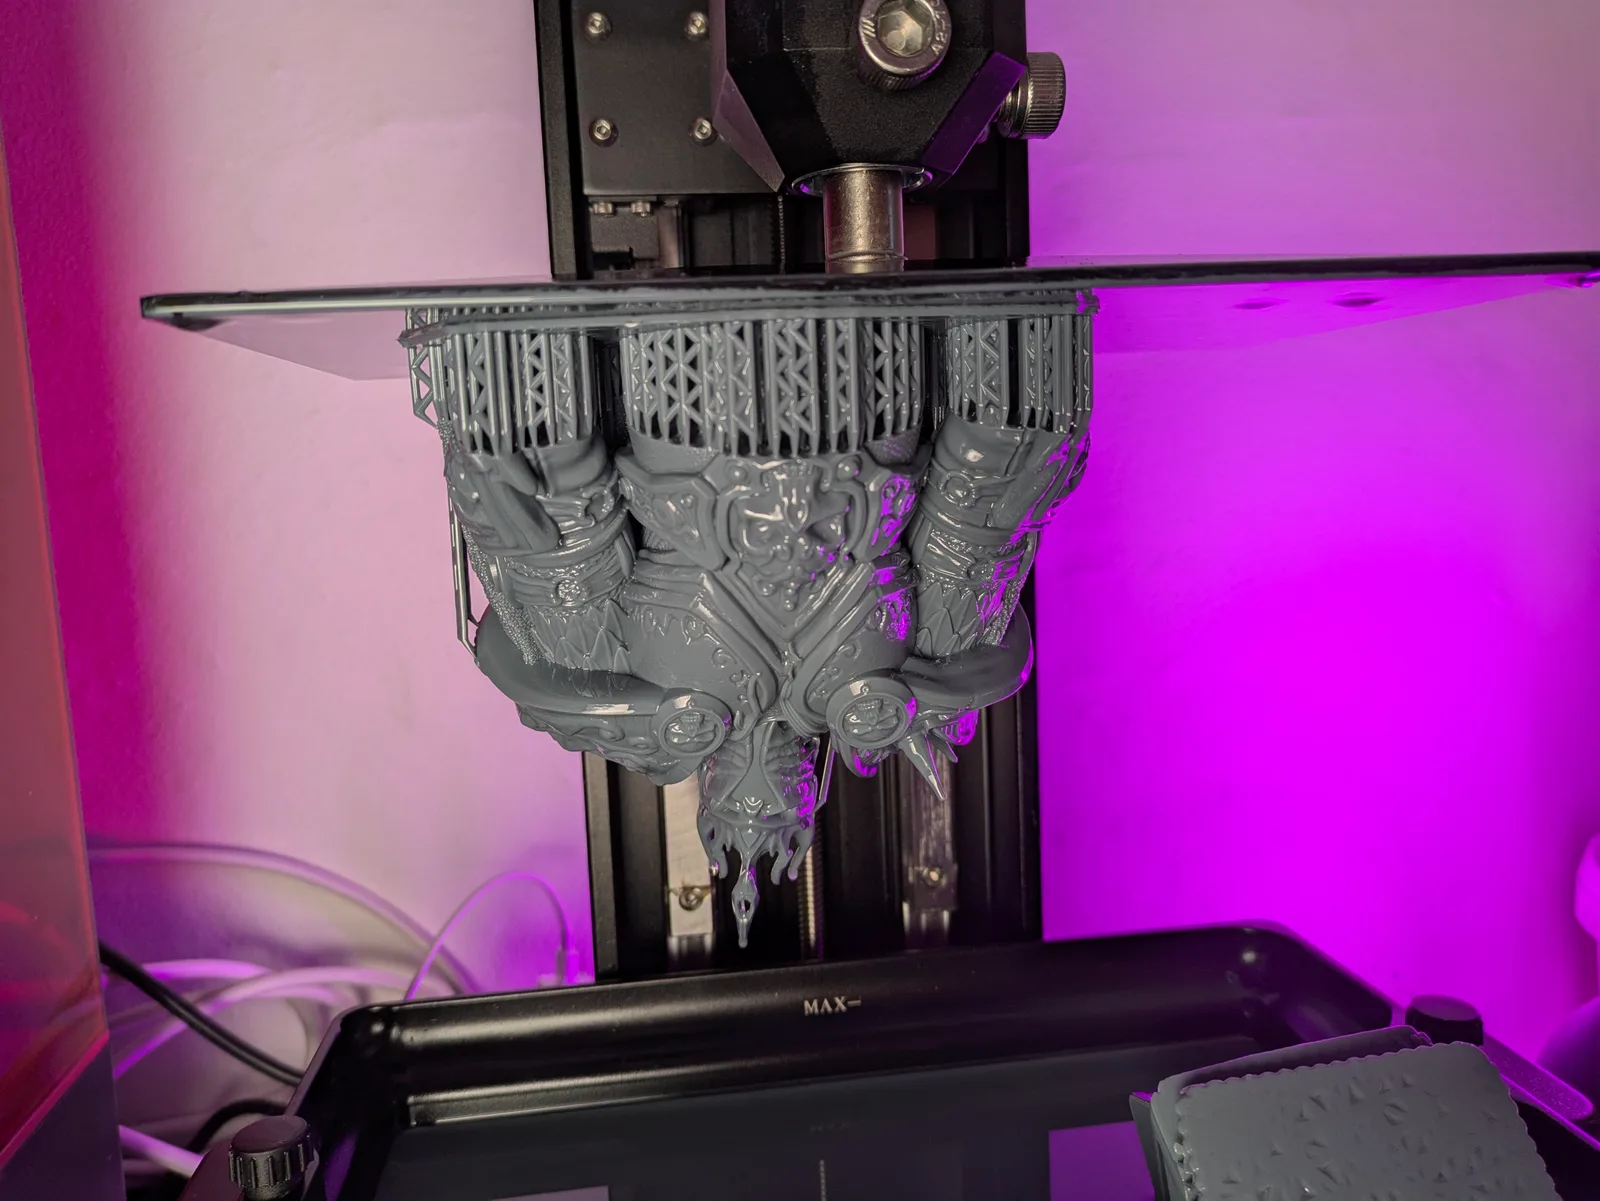
The single most useful piece of advice for a new printer owner is this: start with files that have already been supported by the sculptor.
Pre supported files take one of the biggest variables out of your first weeks of printing. Doing your own supports is a separate skill that introduces a separate set of failure modes. If you mix the two learning processes, you will never know whether a failed print is a settings problem or a support problem. Wait on your own supports until your basic workflow is steady. The starter Tribes from indie creators are tuned by people who actually print them, and they almost always work first time on a calibrated printer.
My default place for files is MyMiniFactory and specifically the Tribes. A Tribe is a monthly subscription to a sculptor that includes new releases each month plus a back catalogue. Per file the cost is a fraction of buying individually, the files are nearly always pre supported, and you can browse and re download them from the cloud rather than living in a tangled folder structure on your hard drive. The recurring fee is the only catch. Think carefully about whether you will print enough to justify it.
Many creators also offer a free welcome pack or sample files. Take advantage of those before subscribing. Try the style, see if you like printing it, decide if it is worth the monthly commitment. The sales come back round, the creators are not going anywhere, and there is no urgency to lock in a subscription on day one.
Grimdark and 40k inspired
If your hobby gravity is toward the grimdark 40k aesthetic, the indie scene is where the depth lives.
Station Forge is a personal favourite. I am a sucker for Death Korps of Krieg style trench guard, and as a kid I wanted an army of them that would have cost more than the family house. Now I can just print one for the price of a few bottles of resin. Their range covers grim regiments, mechanised support, and the kind of attritional wargame aesthetic that defined early 40k.
For those who want the smaller veteran or kill team scale, Red Makers is excellent. Remember that veteran guardsman kill team box you needed to buy two of to be competitive at tournaments? Print four squads instead.
A pragmatic note on grimdark and similar fanmade ranges. Some creators publish models that are clearly inspired by Games Workshop intellectual property without licensing it. Whether you want to support that is up to you. If you do print files in the grimdark inspired bucket, download a hard backup of the files when you buy them. The sculptors in this category occasionally get takedown notices that pull the files from the platforms they were sold on, and if your library only exists in the cloud, you can lose your collection overnight.
Fantasy at scale
For larger fantasy scale, OPR (One Page Rules) is doing genuinely interesting work. They publish free or near free rules systems and they are slowly building toward an ecosystem where printed miniatures are the default rather than the exception. The model output is plentiful, and a lot of it is free. If you want a fantasy mass battle game and a steady stream of files in one subscription, OPR is hard to beat.
Rescale Miniatures is the other big name in the fantasy scale category. Vast range, regular releases, consistent quality.
In this bracket the problem is not finding files, it is choosing which subscription to commit to. Try the free samples from a few before you settle.
Fantasy skirmish and characters
For fantasy skirmish and roleplay character models, the field is wide enough that personal taste matters more than the brand.
TytanTroll Miniatures is what I keep coming back to for character work. The faces are wonderful and the Guard line was something I had to print as soon as I saw it.
Titan Forge is the standard for roleplay parties. Characters, monsters, environment pieces, all of it usable for a typical D and D campaign or any other narrative roleplay system.
If you DM and you want monsters and villains with a bit more menace, Flesh of Gods is excellent. Their monster sculpts have a presence that most generic D and D monster ranges lack.
For digital kitbashing, almost any character model you buy can become a printed party. Swap a weapon, swap a head, repose an arm. The skills involved are basic Blender or Lychee operations and there are plenty of YouTube tutorials covering each step.

Display pieces, busts, and big models
Resin really shines on display sized work where the surface area is large enough to show off the chemistry’s detail retention.
Witchsing Miniatures is reliably cheap for the size and quality. Archvillain Games is well established and gives genuinely good value across their crowdfunding releases.
For busts specifically, the supply tends to be more episodic. Find a few sculptors who release a bust per month and follow them. The MyMiniFactory and Patreon discovery feeds are the easiest way to spot new bust artists.
A note on big models from games, films, or shows. There are a lot of options online, and almost all of them are infringing on someone else’s intellectual property. I am not going to lecture about it. The choice is yours and the consequences are between you and the rights holders. Just go in with eyes open.
Bases
One of the quiet upgrades that resin printing brings to the hobby is bases. The custom basing aesthetic that used to require sculpting putty, static grass, and a lot of patience is now available straight off the printer. CobraMode is the standout. Their bases are detailed, varied, and convert a generic miniature into a display piece without any extra work.
Crowdfunded base sets show up regularly with hundreds of options across themed ranges. If you want the custom basing look without the labour, this is the easiest unlock in the hobby.

If you genuinely enjoy basing and you want to keep doing it manually, the printer can still help. Print extra basing bits, custom rocks, broken weapons, ruined columns, and incorporate them into your usual basing workflow. The printer becomes a bits box rather than a finished base supplier.
Custom kit and kitbashing bits
Once the printer is working you stop seeing miniatures as fixed objects. Every plastic kit becomes a starting point. Every model in your collection can have its head swapped for something more interesting, its weapon replaced, its pose reposed with bits from a different range.
A whole army can be made distinctive just by printing a unique head for every figure. Helmets, hoods, masks, hair pieces, hats. Search for “head sprue” or “head swap kit” on MyMiniFactory and you will find ranges that cover every aesthetic you might want.
Weapons and shoulder pads are the next tier of customisation. Conversion bits and squad markers come in vast pre made ranges across most popular factions and aesthetics.
Tokens, markers, and game accessories
This is the side of resin printing that nobody mentions in the buying guides and that becomes one of the most genuinely useful parts of owning a printer.
A custom token set for your favourite game system. Status markers for the conditions you always forget about during play. Wound trackers, objective markers, scatter terrain pieces sized for the rules you are using. Once you own a printer, the cost of producing a custom token is essentially the cost of the resin in it, which is pennies. The barrier between “I always forget about poisoned” and “I have a poison token in my dice tray” disappears.
I have found that printing a small marker for the rule I most often forget about in a given system is one of the highest impact uses of the printer. The mental load of tracking forgotten conditions during a game drops substantially when there is a physical reminder on the table.
A side project I keep meaning to finish: a unique themed chess set on a board I already have ready. The printer makes it not just possible but easy. Most of these projects are limited only by how much time you want to give them.
Terrain (with one caveat)
Resin printing for terrain is a divisive topic. For most terrain, FDM is a better tool. The build volume on most resin printers is too small for room sized scatter, the cost per gram of terrain is much higher with resin than with PLA, and the fragility of cured resin is not what you want for objects that will be picked up, moved, and stacked at every game.
The exception is small scatter terrain where the detail level resin offers genuinely shows up. Skulls, weapons, broken statues, intricate machinery, ruined consoles. For those, resin is excellent and the small scale fits comfortably on most build plates.
Dungeon tiles are a category I have printed on both technologies and the results are interesting. FDM is honestly the right call for the bulk tiles, but resin is fine for accent pieces. Dungeon Blocks is the simplest option and what I default to when I want a quick set without much fuss.
Give the prints away
A bonus tip that quietly becomes a habit. Once your printing space starts filling up with miniatures you have not painted, start giving prints away as gifts.
People who do not own a printer genuinely appreciate a small printed figure as a gift. The cost to you is minimal, the surprise factor is high, and the side benefit is that your house gradually fills up with fewer half painted projects you feel guilty about. A character figure for a friend’s D and D campaign, a bust of a setting they love, a custom token set for a game they play. Almost everyone reacts to a printed gift better than they react to a generic gift.
Where to go from here
Two articles worth your time as follow ups. My piece on water washing resin prints is the cleanup workflow that lets you print all of the above without a wash station. The resin buying guide covers the bottle decision so you are not pouring the wrong resin into your printer for the kind of work you actually want to do.
If a creator I have not mentioned is your favourite, the comments under the video version of this piece are the right place to shout them out. The indie scene is enormous and I deliberately keep this list short rather than trying to be exhaustive. Find your taste, follow the sculptors whose work you genuinely love, and let the printer become a tool for the parts of the hobby you actually enjoy.
That is the answer to “what now”. The printer was the easy part. The hobby is everything you choose to do with it.