Every miniature in the slicer wants to be printed at a specific angle, and the slicer’s auto-orient button is wrong about half the time. Orientation is the single setting that decides whether supports land on faces or on bases, whether print time is twelve hours or three, and whether the model peels off the plate cleanly. Worth getting right.
What orientation actually does
Two effects, in order of importance.
The first is support placement. The orientation of a model determines which surfaces face downward during the print. Every downward-facing surface beyond a shallow angle needs a support column to hold it in place against the peel force of each layer cycle. Get the orientation wrong and the supports land on faces, cloaks, sword hands, and anywhere else you cannot remove them cleanly. Get it right and the supports cluster on the base, the bottom of a tabard, the underside of a forearm.
The second effect is print time. Resin printing spends time on layer count, not on resin volume. Every layer requires a lift and a peel cycle regardless of how much resin is actually being cured on that layer. A model printed upright in a vertical orientation with a narrow cross-section at every layer completes in far fewer cycles than the same model laid flat across the plate. The resin used is identical; the time is not. Orientation controls height, height controls layer count, layer count controls time.
The three orientations
Three configurations cover almost every miniature you will encounter.
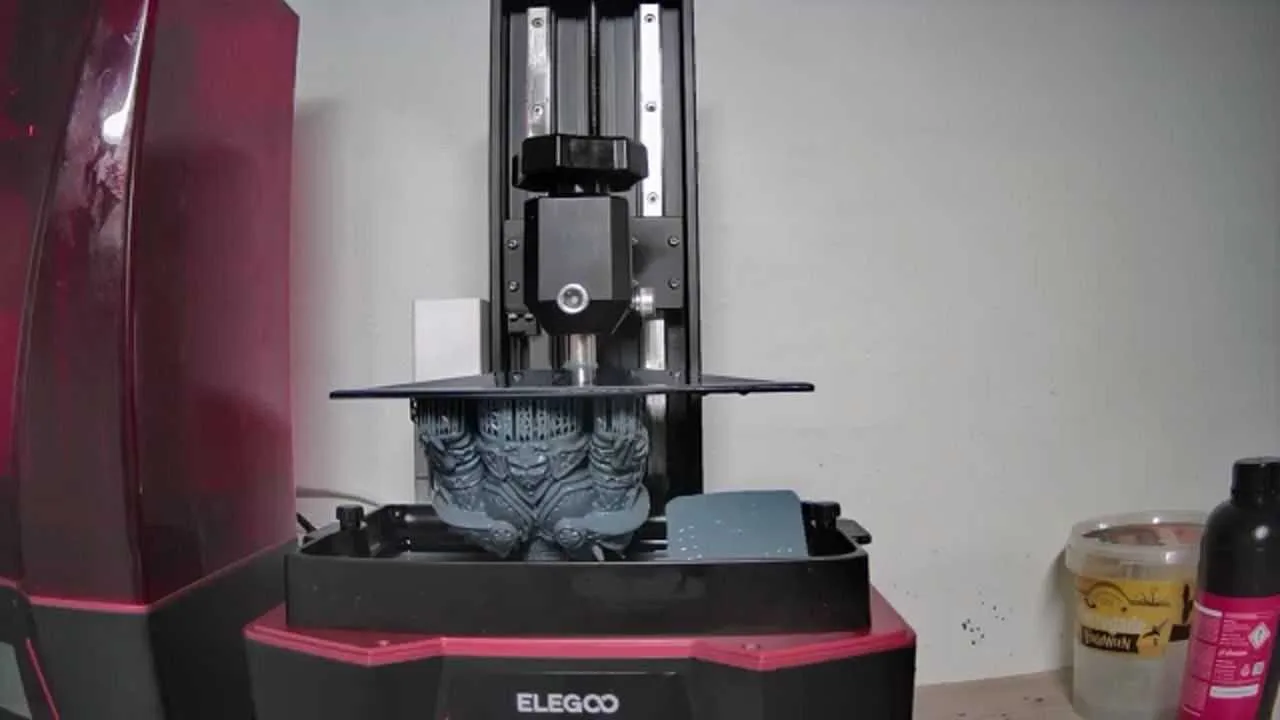
Tilted at 45 degrees. This is the default for miniature printing. The model leans at a 45-degree angle to the plate, usually with the head pointing up and slightly back. Almost every pre-supported file from a Patreon or Tribes creator arrives in this orientation. It is the correct starting point.
Vertical. The model stands more or less upright on a tip: a sword point, a scenic base rim, a foot. The cross-section per layer is very small if the model is thin, which produces fast prints. The risk is that a vertical model concentrates all its weight and peel stress through a tiny contact area, which increases the chance of the whole print detaching mid-way.
Flat. The model lies parallel to the build plate with the entire surface area exposed at once. This is rare and usually wrong. It maximises peel force on every layer, dramatically increases print time for anything with height, and puts supports across every upward-facing surface of the model’s top. Use it only for genuinely flat objects: coins, shield faces, terrain tiles that are thinner than they are wide.
The rest of this article spends most of its time on the 45-degree default and on the specific cases where you should deviate from it.
Why 45 degrees works
Three reasons, each significant on its own.
First, a model tilted at 45 degrees reduces the cross-section the printer has to cure on each layer. A smaller cross-section means lower peel force, which is the mechanical stress that tears prints off supports mid-way. Lower peel force means a lower failure rate, particularly on thin or delicate geometry.
Second, the tilt routes supports to the underside of the model, which means the lower side of the cloak, the inside of an upraised arm, the bottom of the base. These are surfaces you can reach without risking visible faces. Support scars on the base do not matter. Support scars on the character’s face do matter.
Third, the tilt hides the inevitable layer-line stair-stepping on surfaces that face away from the viewer rather than across a face or cloak. Every resin print has layer lines. At 35 to 50 microns they are not always visible to the naked eye, but at angles where light catches them they show. A tilted orientation puts those surfaces at the back and underside of the model where they are least noticed.
When to deviate from 45 degrees
Four situations call for a different angle.
Very tall thin models. A wizard staff, a banner pole, a javelin held aloft: these are models where standing closer to vertical reduces the total lift height and shortens print time noticeably. A staff that is 80 mm tall and 1.5 mm wide at 45 degrees will be roughly 56 mm of lift height. At 70 degrees, it comes down further. The trade-off is a higher concentration of cross-section at the widest part of the model.
A single critical face. Some models are essentially one-sided: a classical statue, a relief panel, a bas-relief display base. Tilting the critical face to be on the upper side of the print rather than the lower side keeps it away from supports entirely. A steeper angle of 60 to 70 degrees is sometimes better here than 45, because it tilts the primary face further upward and pushes the support contact toward the back of the base.
Flat models. Coins, shield faces, terrain tiles, and dungeon-floor scatter pieces that are wider than they are tall print best flat or nearly flat. There is little to gain from tilting a 3 mm thick floor tile at 45 degrees. The lift height goes up without reducing peel force meaningfully, and you add supports to the edges for no real benefit.
Post-processing priority. If you know from experience that a specific surface on a model will be extremely difficult to clean support marks from, it is worth adjusting the orientation to keep supports away from that area even at the cost of a slightly longer print or a higher failure risk elsewhere. The goal of orientation is clean prints, not mechanical optimality.
The cape and cloak rule
A cape or cloak that hangs behind a model is one of the most common orientation challenges. The instinct when tilting a model is to have the heaviest part of the geometry at the bottom, which tends to put the cape facing downward. This is wrong.
A cape that faces downward needs support coverage across its entire underside, and the inside surface of a cape is almost always a visible surface. Support marks inside a cloak are hard to remove and easy to spot after painting.
The correct approach: orient the model so the cape faces upward. The cape interior becomes an unsupported upward-facing surface that needs no supports at all, and the cape’s exterior, which hangs below the cloak mass at the back, gets support coverage on its least visible side.
Check the orientation by rotating the model in the slicer and looking at the cape from below after enabling support preview. If you see columns going into the interior folds of the cloak, rotate the model until they disappear.
The base rule
A miniature’s integral base wants to be near the build plate, not at the top of the model. The base underside is the least visible surface on any miniature: it sits on a table, inside a case, or on a display shelf. Support marks on the base underside are invisible in normal use.
Placing the base low and the model high means the bulk of the support load anchors into that base rim, which is exactly where you want it.
The exception is a base with fine surface texture: cobblestones, rune carvings, grass texture, patterned marble. A highly detailed base that faces downward at 45 degrees will accumulate supports across that texture. In this case, tilt the model more steeply so the base surface rotates upward and the detailed texture faces away from the supports. The upper side of the print at 45 degrees is a support-free surface.
The hollow model exception
Hollow models are a special case that breaks the standard orientation logic.
When you hollow a model in the slicer or receive a pre-hollowed file, the hollow interior creates a sealed space. As the print progresses, resin fills and traps inside that space, and when the layer later cures, the trapped resin creates internal pressure. Drainage holes exist to let uncured resin drain out and to vent the pressure.
For a hollow model, the drainage hole must be at the lowest point of the model during the print. The resin drains by gravity, not by any active mechanism, and if the hole points upward or to the side, the resin stays trapped. This often dictates the orientation completely: the drainage hole position forces the angle regardless of where supports would otherwise naturally land.
If you receive a pre-supported hollow file from a creator, check the drainage hole position before you accept the default orientation. The creator may have placed the hole and the orientation to work together already, but confirming this takes ten seconds of inspection. Printing bigger and hollow resin miniatures covers the hollowing settings in full detail.
Auto-orient: when to trust it and when not to
Auto-orient is useful but not reliable across all model types.
Trust it for: terrain pieces, scatter terrain, coins and tokens, rank-and-file infantry where no single surface is more important than another, vehicles viewed from one side.
Do not trust it for: hero characters, any model with a cape or trailing fabric, models with weapons held far from the body, anything with fine lace or filigree details, models where one face is the primary display surface.
Auto-orient gets the orientation roughly right about four times in five for simple geometry and roughly half the time for complex character models. It is a starting point, not a final answer. After auto-orient runs, spend sixty seconds in the slicer rotating the model and checking where the support columns are landing before you accept the result.
The slicer comparison guide covers how the auto-orient implementation differs across Lychee, Chitubox, and manufacturer slicers in more detail.
Checking before you slice
Three things to look at before clicking the slice button.
Where are the supports landing? Rotate the model in the slicer with support preview enabled and look at the underside. If columns are hitting the face, the cloak interior, or the front of any outstretched limb, the orientation needs adjustment. This takes twenty seconds and saves a failed print.
What is the lift height? The tallest point of the model above the build plate, including supports, sets the total lift count. A taller model takes longer. If the model is oriented vertically for no particular reason and the same model at 45 degrees would be noticeably shorter, the 45-degree orientation is almost always better.
Are there unsupported overhangs beyond 30 degrees from vertical? Any surface that overhangs at more than 30 degrees from vertical needs support coverage. Most slicers flag these with a colour overlay. If large areas of the model are flagged after you have placed supports, either add more supports or adjust the orientation to reduce the overhang angle.
This is also where the relationship between orientation and support settings becomes clear. A better orientation reduces the number of unsupported overhangs, which means fewer supports overall, which means less removal time and fewer scars. The support settings guide covers tip diameter and contact depth in detail, but the best outcome is always the one that requires the fewest supports in the first place.
Developing an orientation profile
If you print from the same creator’s catalogue repeatedly, the orientation question is often already answered after the first successful print of each model type.
A single-piece 28 mm infantry model from a given creator almost always prints well at the same angle. A bust from the same creator has a different ideal angle that will also be consistent. A terrain piece from the same creator follows a third pattern.
Note the angle that worked the first time. Most slicers allow you to save orientation presets or to note the rotation values in the file name or a comment. The slicer remembers between sessions if you save a project file; the workflow remembers if you write it down.
For painters who work through Patreon or Tribes subscriptions, this habit pays back quickly. The same creator releases models on a monthly schedule; if you have established that their infantry prints well at a given orientation, that decision does not need to be made again. Note it, reuse it.
The goal is to move orientation from a decision to a habit: a small number of model categories, each with a known correct angle, applied consistently across the batch.
Orientation and the broader workflow
Orientation sits in the middle of the broader resin miniature workflow. It comes after you have a calibrated printer and dialled-in exposure settings, and before you run support generation. The better the orientation, the fewer overhangs need covering, and the easier the support work that follows.
After orientation, supports are the next lever. The support settings guide covers the five settings that genuinely move the failure rate, the slicer defaults that ship wrong, and the four model placements where auto support always needs a manual correction. The CRISP method overview shows how both steps fit into the full workflow from calibration through post-processing.
For the complete beginner context, resin 3D printing for miniatures covers the full picture from printer choice through first print.

