The Bambu AMS 2 Pro is one of those pieces of hardware that looks transformative in the product renders. A fully assembled, multicolour terrain piece rolling off the plate with no post-print painting required. No primer, no basecoat, no drybrushing the cobblestones grey. Just pull it off the bed and put it on the table.
The reality is more complicated than that, and more interesting. I have been using one alongside my Bambu P1P for terrain and the occasional multicolour miniature print, and this review is the unvarnished account of what that has actually been like for a tabletop hobbyist.
What the AMS 2 Pro is
The AMS 2 Pro is Bambu Lab’s second-generation Automatic Material System. The original AMS was a multi-spool feeder that enabled colour changes and multi-material printing by automatically swapping filament between the AMS unit and the printer’s hot end. The “Pro” variant, which is the current generation, adds active filament drying via a heated chamber. The first generation did not have that capability.
In practical terms: you load up to four spools of filament into the unit, tell Bambu Studio which colour each spool is, and the slicer handles the rest. When a layer needs to switch colour, the AMS feeds the outgoing filament back, advances the new filament, purges the hot end, and continues printing. You do not touch anything between colour changes.
Capacity is four spools per AMS unit. Multiple AMS units can be chained to expand the palette, though for tabletop terrain four colours is usually more than enough. Bambu publishes the compatibility list on their product page (see Bambu Lab’s AMS 2 Pro page for the current spec sheet). It is compatible with the P1P, P1S, and X-series printers. Confirm against the current list before purchasing, as compatibility does evolve with firmware updates.
Why a tabletop hobbyist might consider one
Most of the AMS marketing is aimed at mechanical prototype work, cosplay props, and those multicolour lithophanes that circulate on Reddit. The tabletop use case is quieter, and worth naming specifically.
Multicolour scatter terrain. The single most compelling use case for hobbyists. Scatter pieces (barrels, crates, braziers, rubble piles) are small enough that a four-colour print does not consume enormous amounts of filament. A crate that prints in brown with metal-grey banding and dark-rust streaks is genuinely useful on the table and genuinely resistant to chipping in a way that a hand-painted surface is not. The plastic colour goes all the way through.
Prepainted-look display pieces. A display-quality terrain centrepiece, a monster base, or a diorama element can look convincingly painted even at close range if the colour zoning is designed deliberately. The colour boundary is always a filament-swap line, which is a design constraint, but a skilled modeller works with that constraint rather than against it.
Multicolour bases or modular figures. Basing inserts and multipart figures can use colour zoning to differentiate materials without any brushwork. Stone grey and sand brown on a base insert, for example. The limitation is that the filament-swap resolution is one full layer, so sharp colour transitions on curved surfaces show the layer lines more than single-colour prints do.
None of these are magic. The AMS does not replicate freehand highlighting or blended washes. The correct frame is: it gives you a print that is already partially coloured and more chip-resistant than a painted surface, at the cost of more filament and more complexity.
The miniatures use case in practice
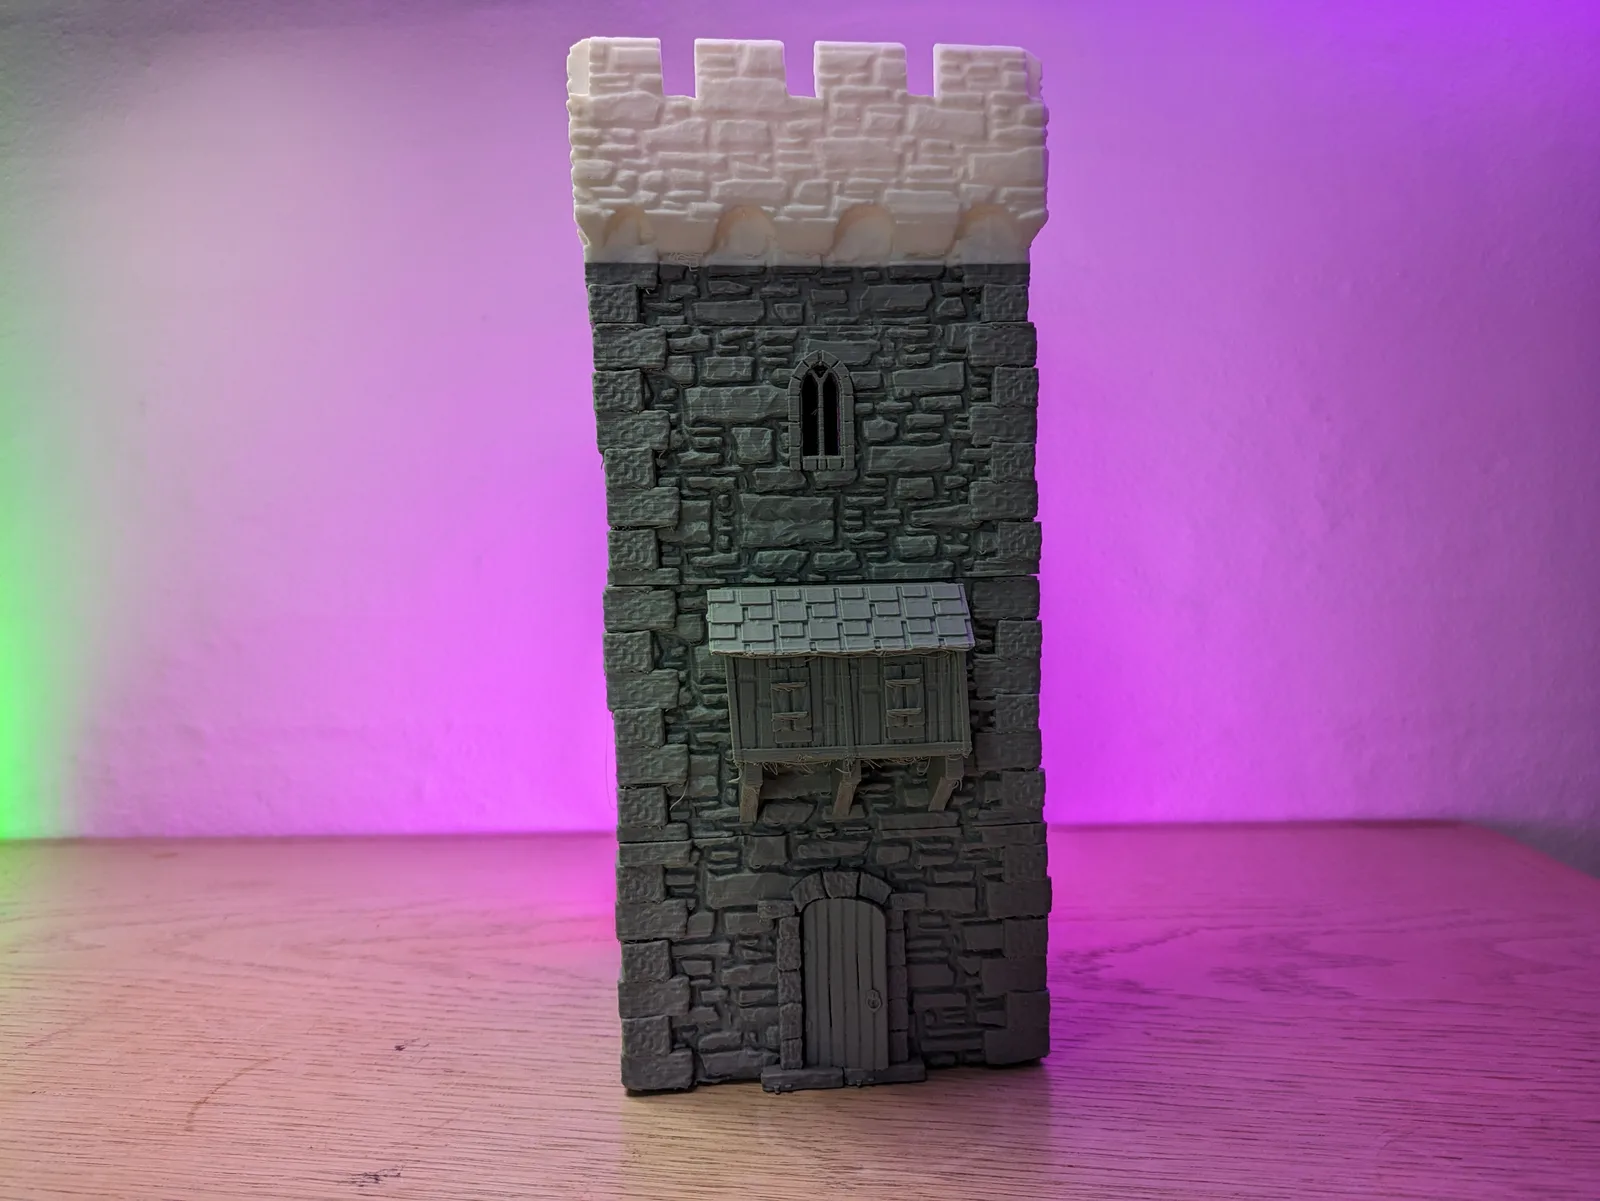
The terrain use case in practice
Filament purging cost
Every colour change purges some filament. This is not optional and not a setting you can remove entirely. When the hot end switches from brown to grey, it has to flush every trace of brown out of the nozzle before grey can print cleanly. The purge happens into a dedicated waste chute, and the wasted filament goes into a puck or a pile depending on your settings.
The volume of purge material scales with two things: how different the colours are (a white-to-black swap purges more than a grey-to-dark-grey swap, because you need to fully clear the lighter colour before the darker one prints without contamination), and how tight you have set your flush volume in the slicer. Bambu Studio lets you tune flush multipliers per colour-pair transition. The default settings are conservative, which means less colour contamination and more waste. Tightening them saves filament and risks ghost colour in the print.
On a four-colour print with frequent swaps, the purge puck can be a meaningful fraction of the total filament used. On a terrain piece with broad colour zones and infrequent swaps, the overhead is much lower.
Drying performance
The built-in drying chamber is one of the headline upgrades over the original AMS. Moisture in filament is a genuine problem for any filament that has been sitting on a shelf open to the air. Wet filament pops and crackles during printing, produces surface bubbles, and weakens layer adhesion. For materials that are particularly moisture-sensitive, including PETG and nylon, pre-drying before a long print matters.
Bambu builds the drying into the AMS unit so the filament conditions as it feeds, rather than needing a separate drying box beforehand. The target temperatures and durations for different filament types are documented in Bambu’s support materials.
When paint still beats the AMS on terrain colour
The multicolour terrain conversation has a number in it somewhere. Using the AMS has a filament cost that hand-painting does not.
A hand-painted terrain piece uses exactly the filament it takes to print. The colour comes from primer, basecoat, drybrushing, and wash, which have their own cost but do not add plastic to the print. A multicolour AMS terrain piece uses the print filament plus the purge filament from every colour transition. On a complex piece with many swaps, the purge overhead is not trivial.
The break-even question is real: at what point does the time saved by skipping the paint job cost more in filament than the paint would have cost? That calculation depends on the piece size, the colour count, the flush settings, the filament price, and your honest estimate of how long the equivalent paint job would have taken. Smaller pieces with few colour zones tip toward the AMS. Large complex pieces with many transitions tip toward painting, purely on material cost.
The other side of the ledger is time. Painting terrain for a four-by-four table is a substantial commitment. Even a rough drybrushed finish takes hours across a full terrain set. If the AMS eliminates most of that work on scatter pieces, the filament cost may be the better trade.
Quirks and frustrations
Verdict
The bottom line
The Bambu AMS 2 Pro is a tool with a specific job, and whether it belongs in your setup depends entirely on whether that job fits your workflow. If you are printing terrain in volume and want pieces that survive a gaming table without chipping, the chip-resistant multicolour print is a genuine advantage. If you are painting miniatures to a display standard, the brush wins every time and the AMS stays on the shelf.
The resin versus FDM terrain question is still the prior decision. Once you have committed to FDM for terrain, the AMS is the upgrade that closes the gap between functional and tabled. Whether it closes it enough to justify the cost and the purge waste is a question only your own printing volume can answer.
For a deeper look at the slicer settings that make the most of multicolour terrain prints, the FDM slicer settings article for tabletop terrain covers the layer height, wall count, and infill choices that pair best with AMS workflow. And if you are still deciding on a printer at all, the best 3D printer for terrain guide covers the broader field.

